2025-03-22
order, shop, cp, member
The Shop page makes it simple to sell items and keep track of them. You have the option of selling the items to any of your clients, in case it is for a member or a guest.
To add products to the shop, refer to Add product.
- The goods in the shop are categorized by product group, alphabetic, or price order, which may be changed in the "Shop settings" section (Figure 1).
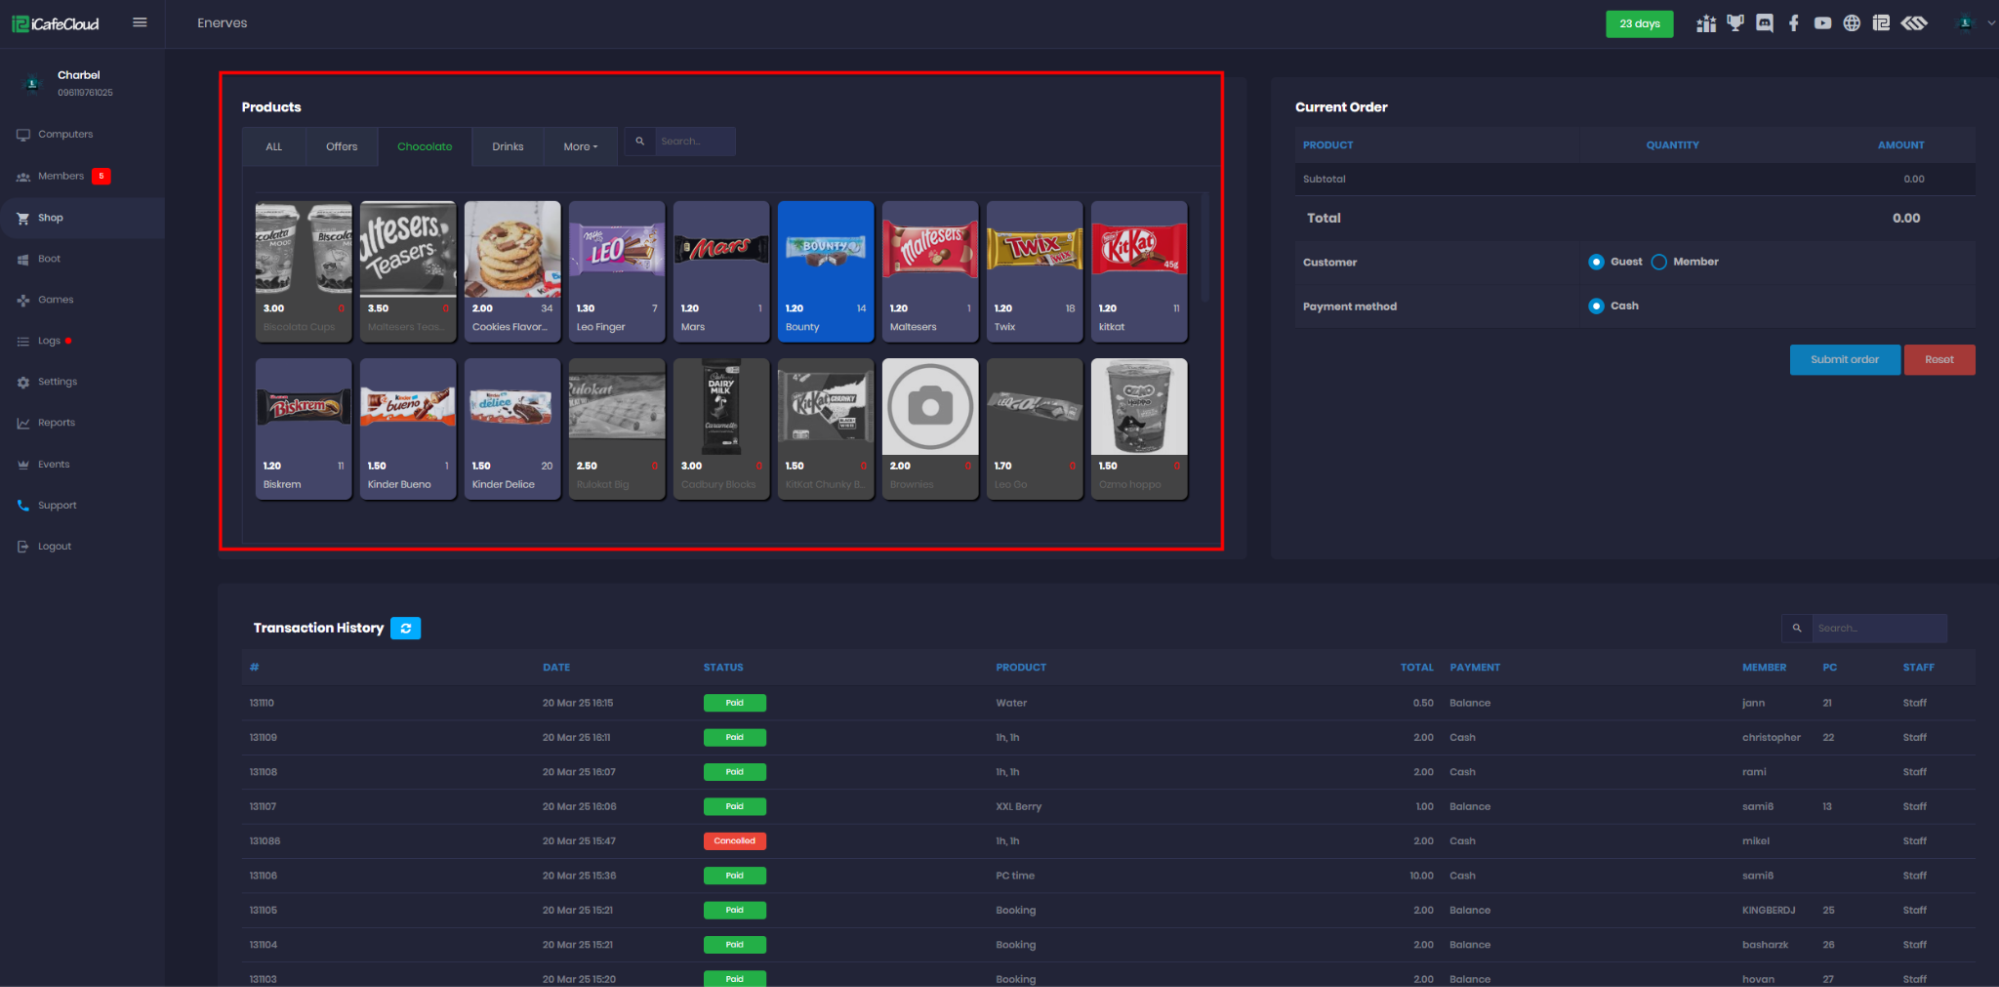
Figure 1
- To place an order for a member, click on the product or offer image, select the member account, choose the payment method, and then click “Submit Order”. (Figure 2).
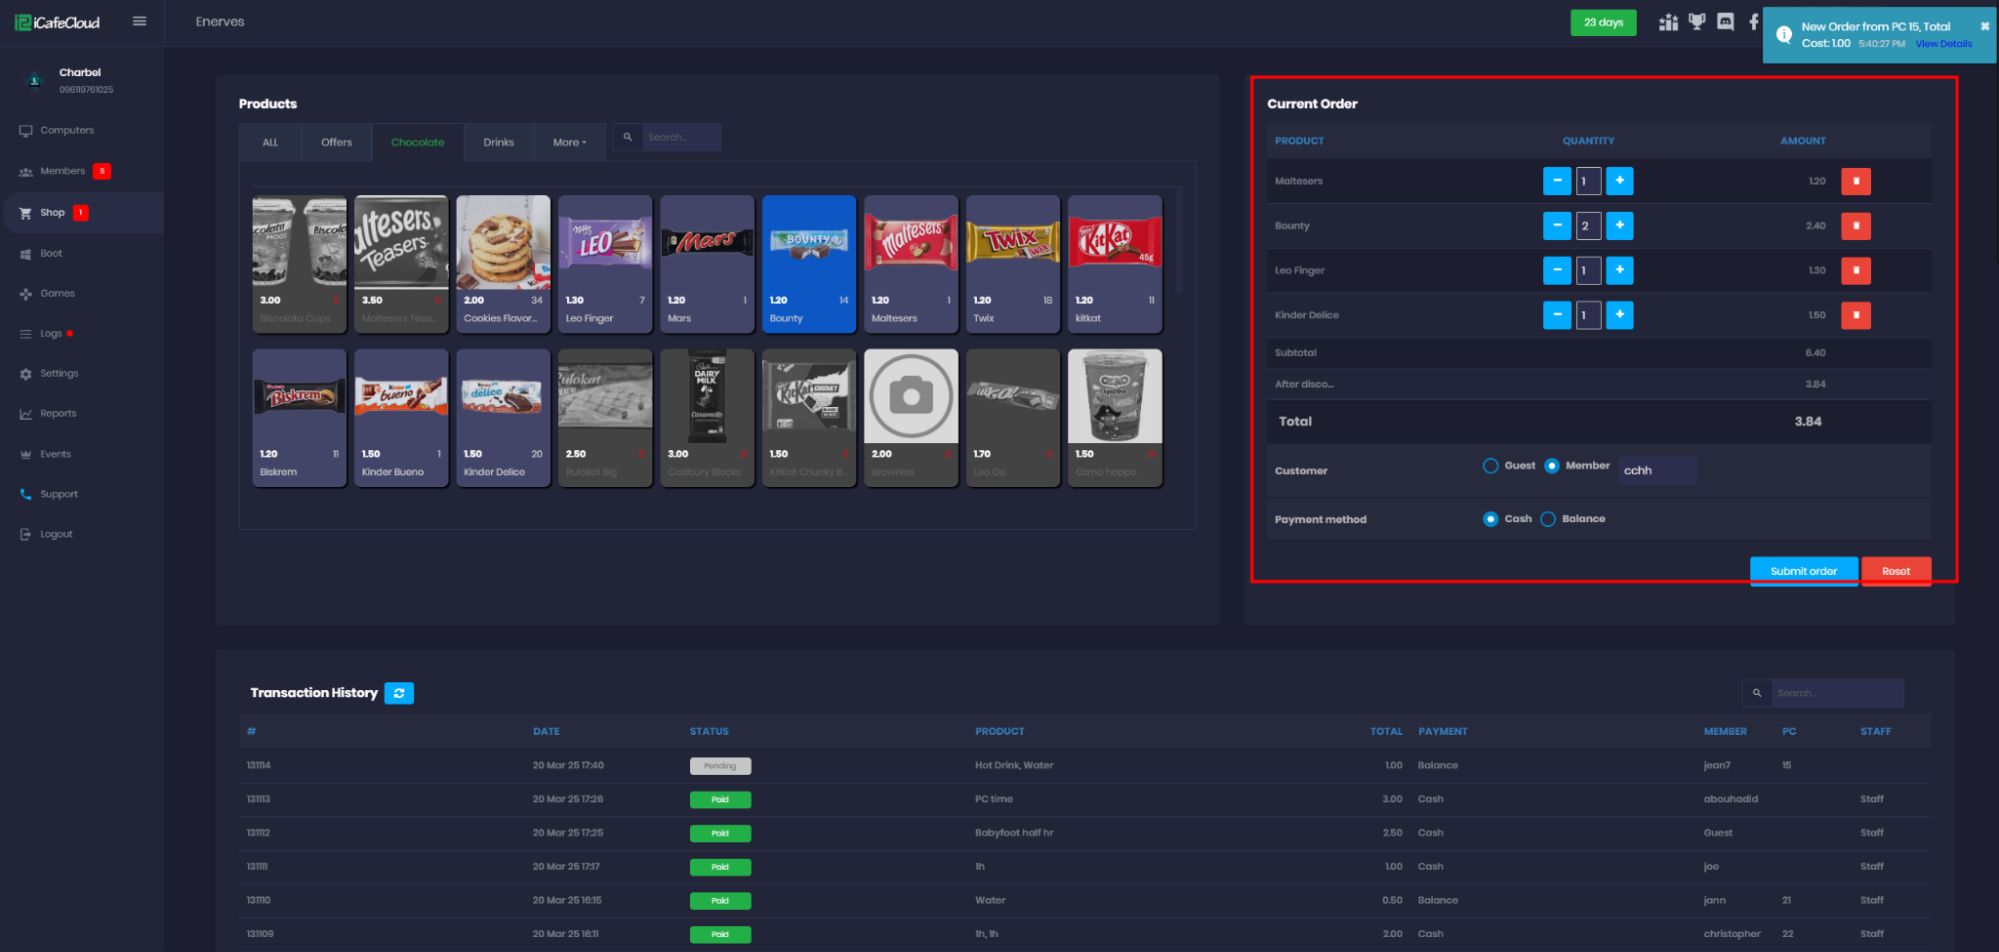
Figure 2
- To place an order for a guest, click on the product, optionally enter the phone number, choose the payment method, and then click “Submit Order”.(Figure 3)
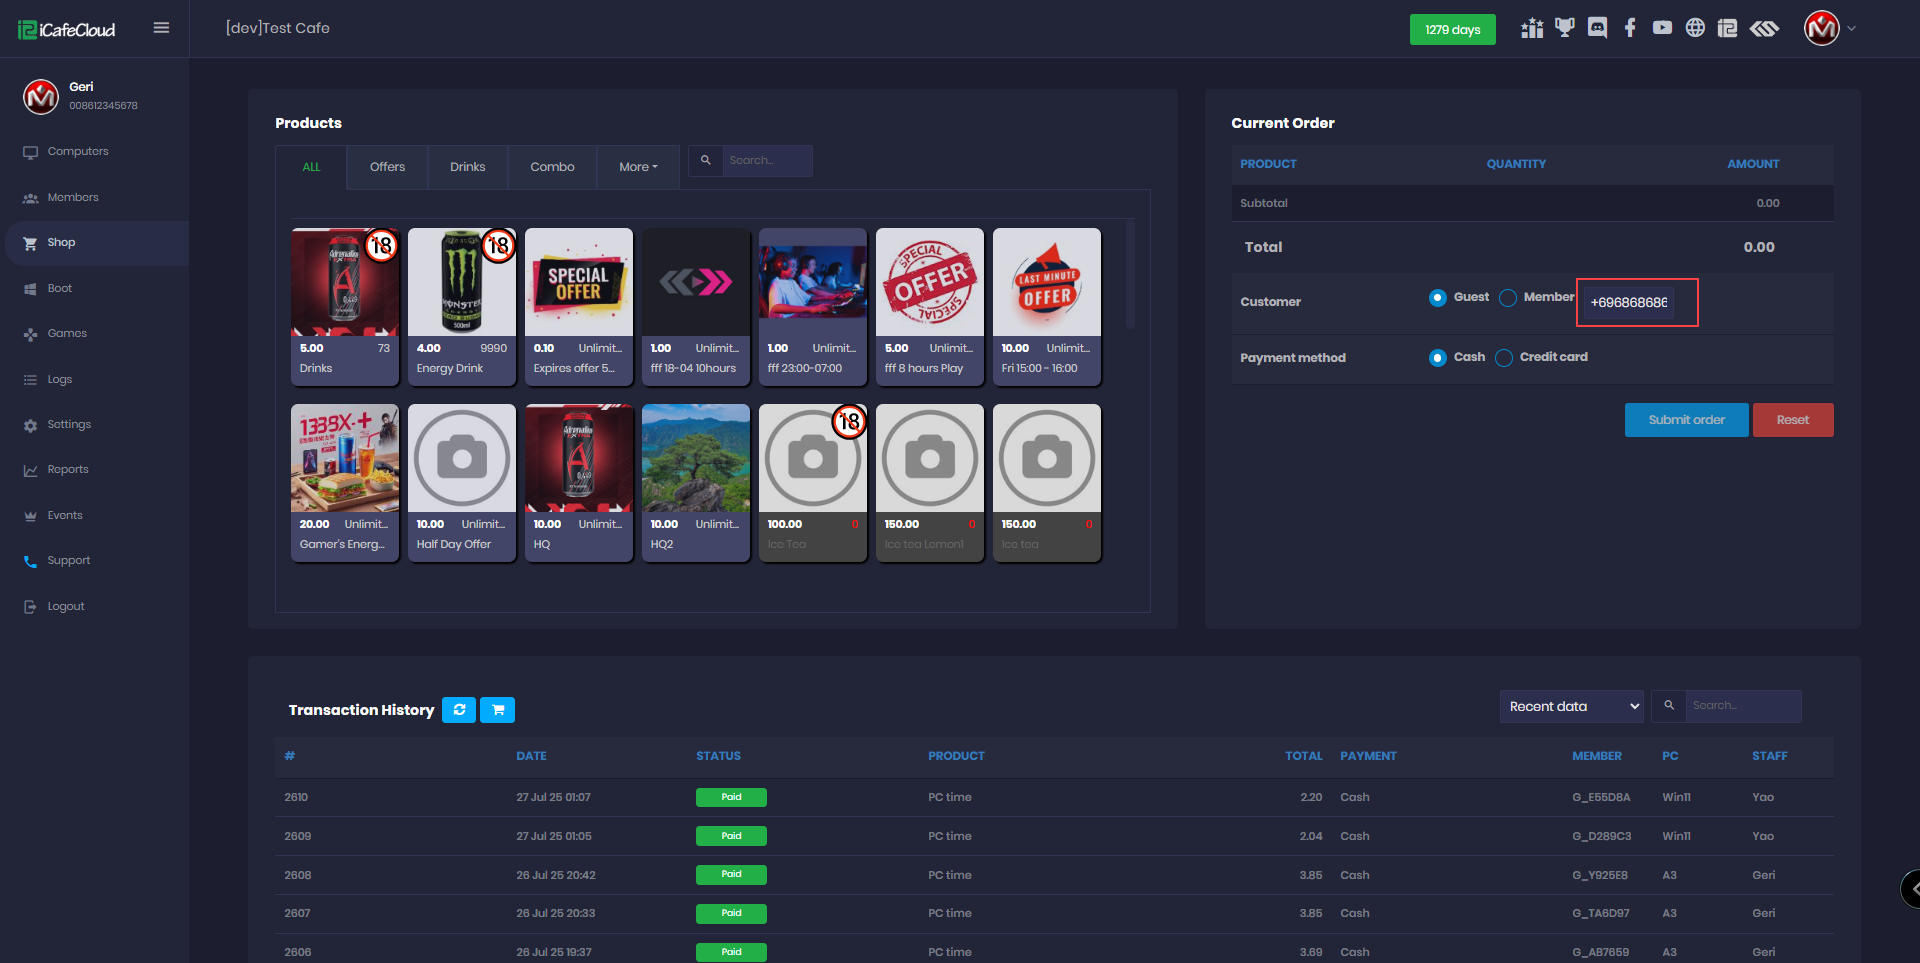
Figure 3
- If a product is out of stock, the PNG will appear grayed out, and the stock count will display a red zero (0).(Figure 4)
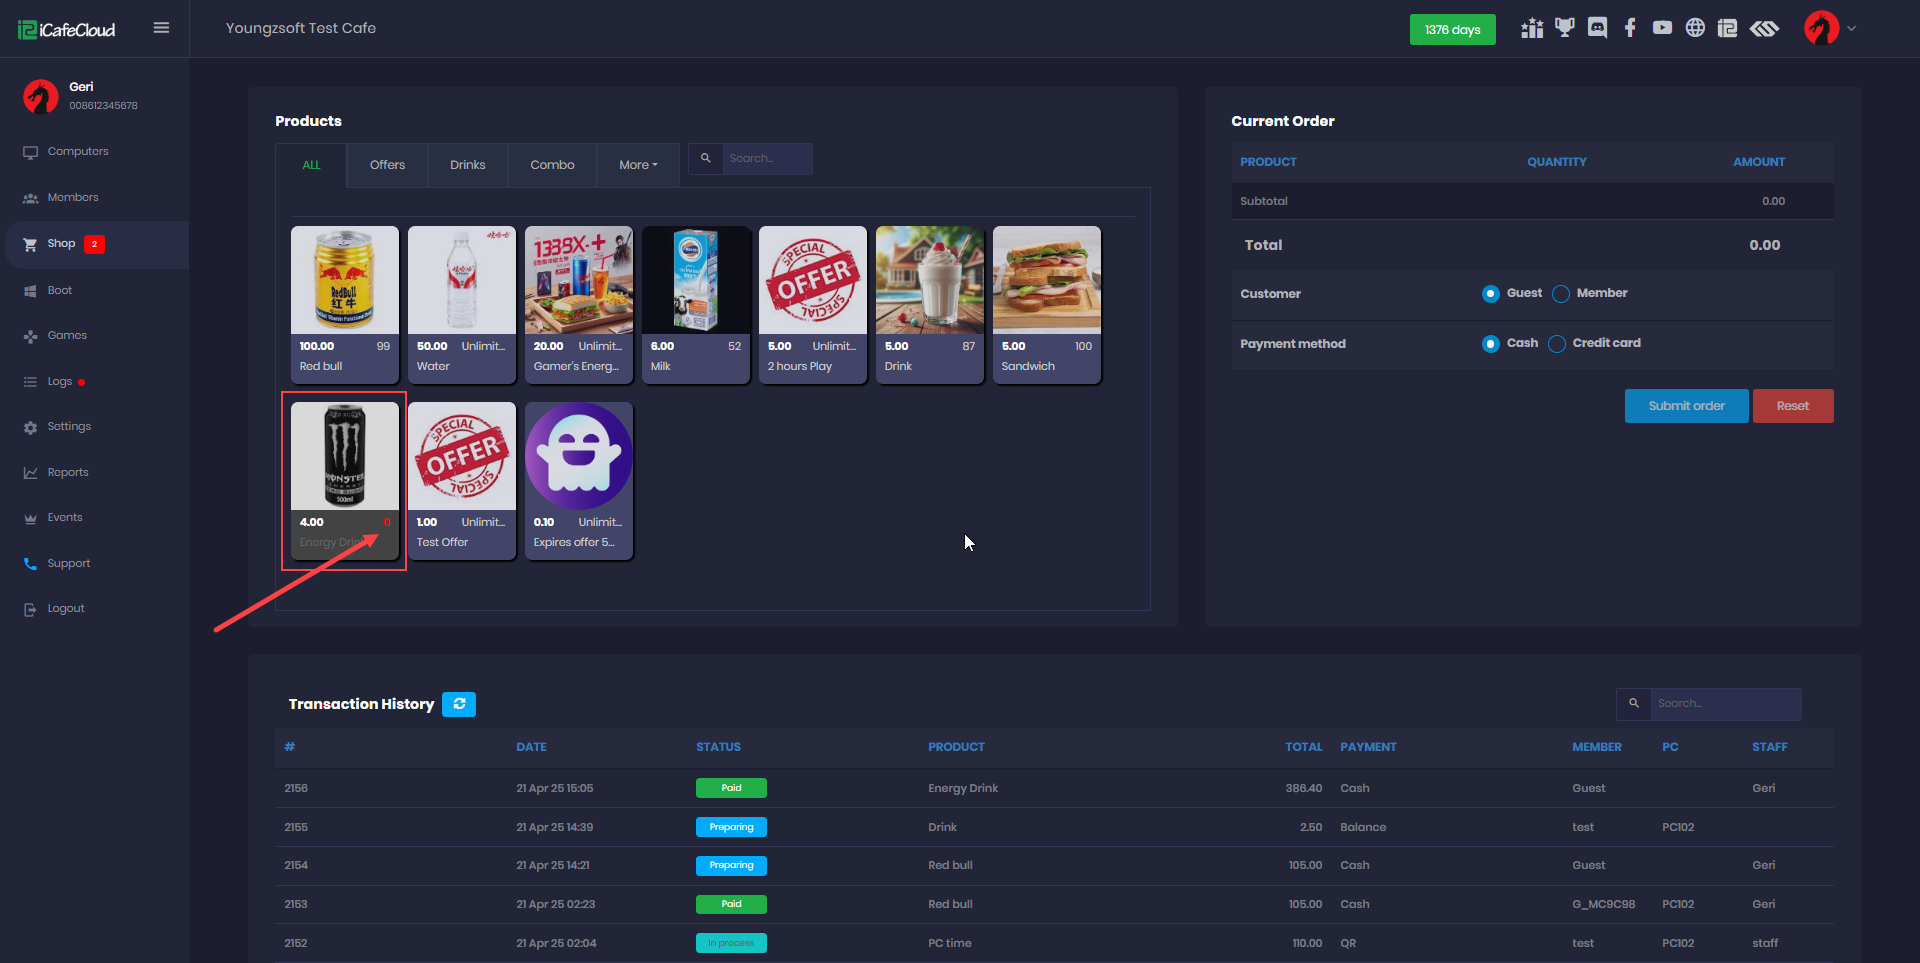
Figure 4
- The " + “ and “ - " buttons on the row of the current order table can be used to add or remove items.
- With the "Clear" red button, you may clear all of your orders at once. (Figure 5)
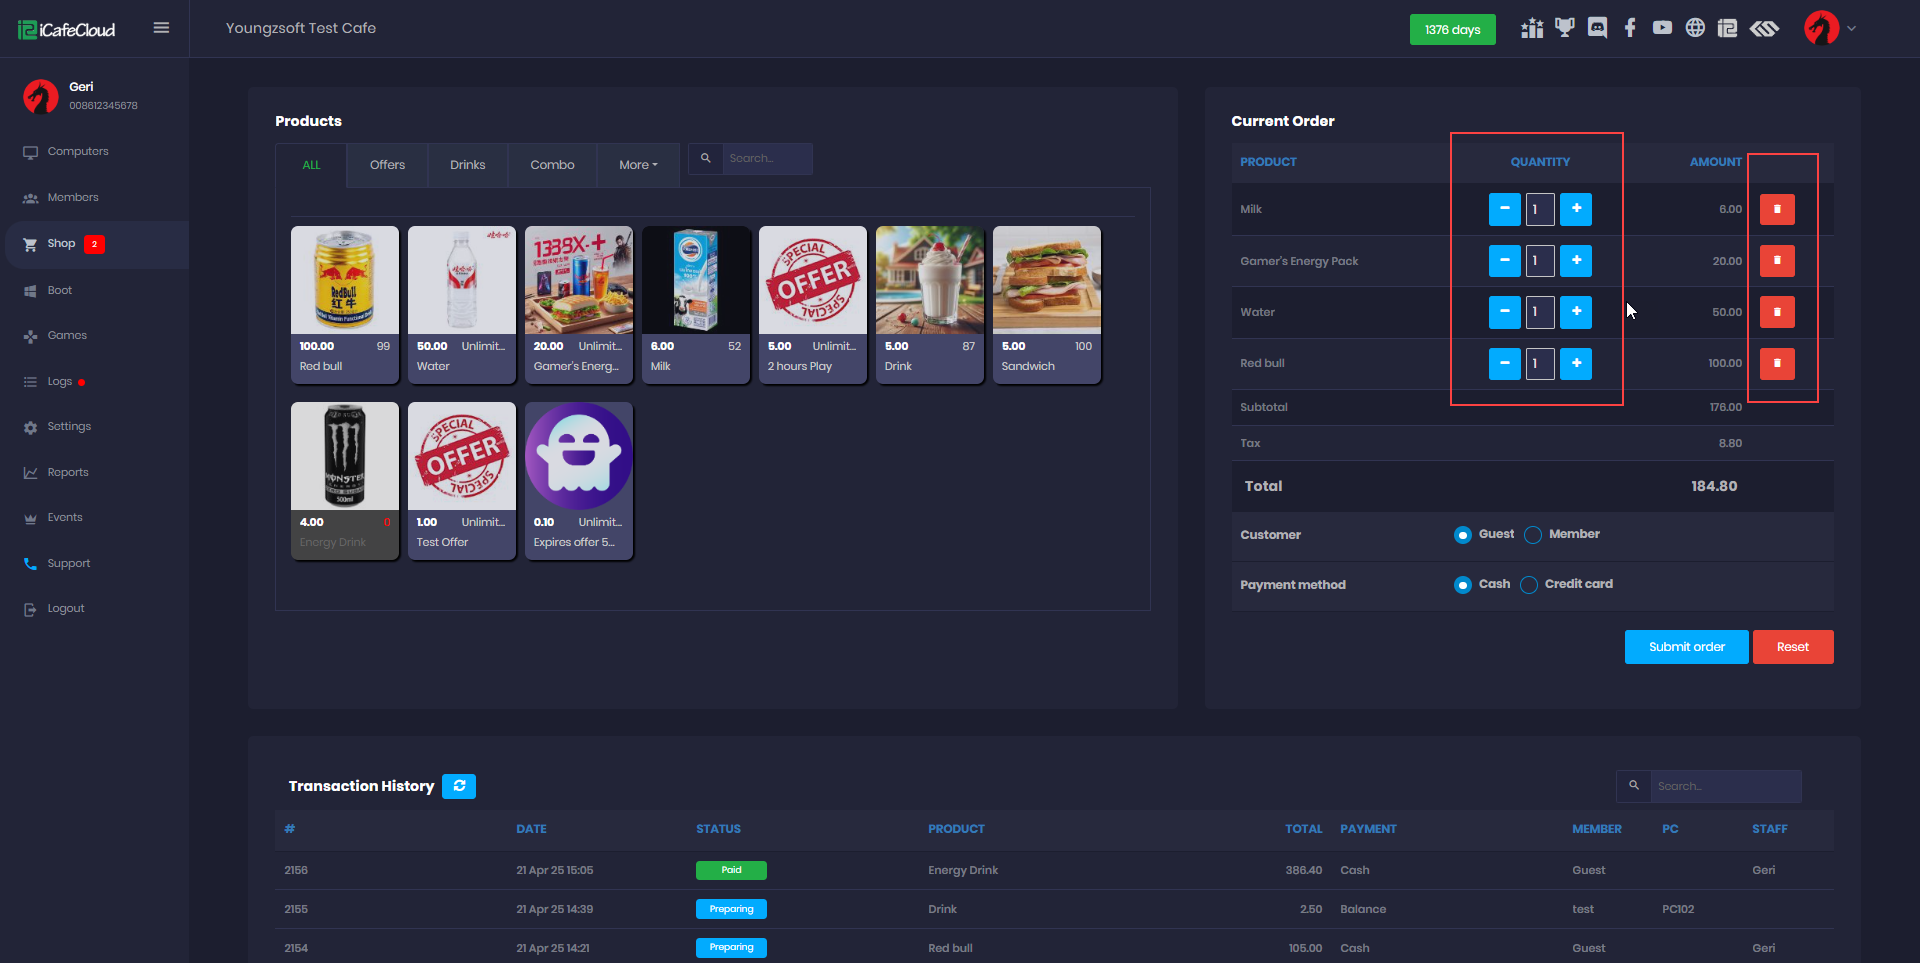
Figure 5
- Then, the employee can either confirm the order directly or click Preparing, which will place the order in a waiting phase. It will need to be confirmed later once it's ready for delivery. This is useful for orders that require time to prepare or deliver to the customer. (Figure 6).
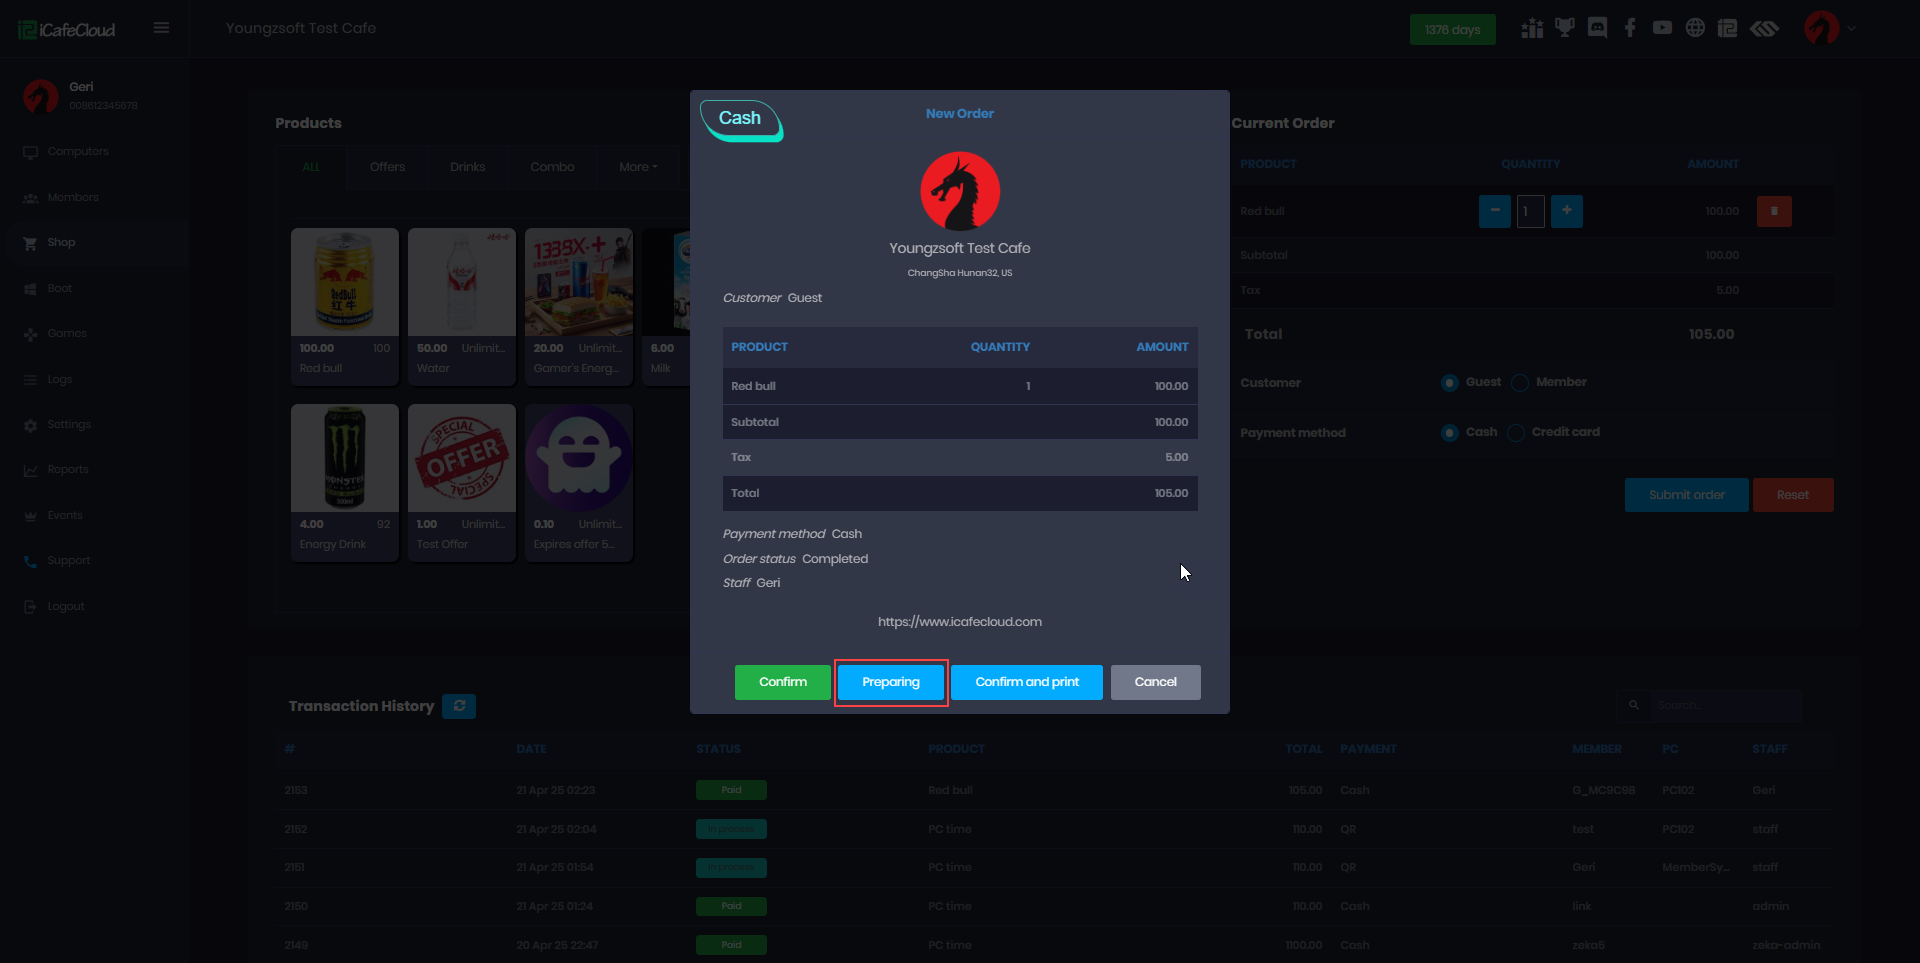
Figure 6
- Confirm the Preparing order from transaction list (Figure 7)
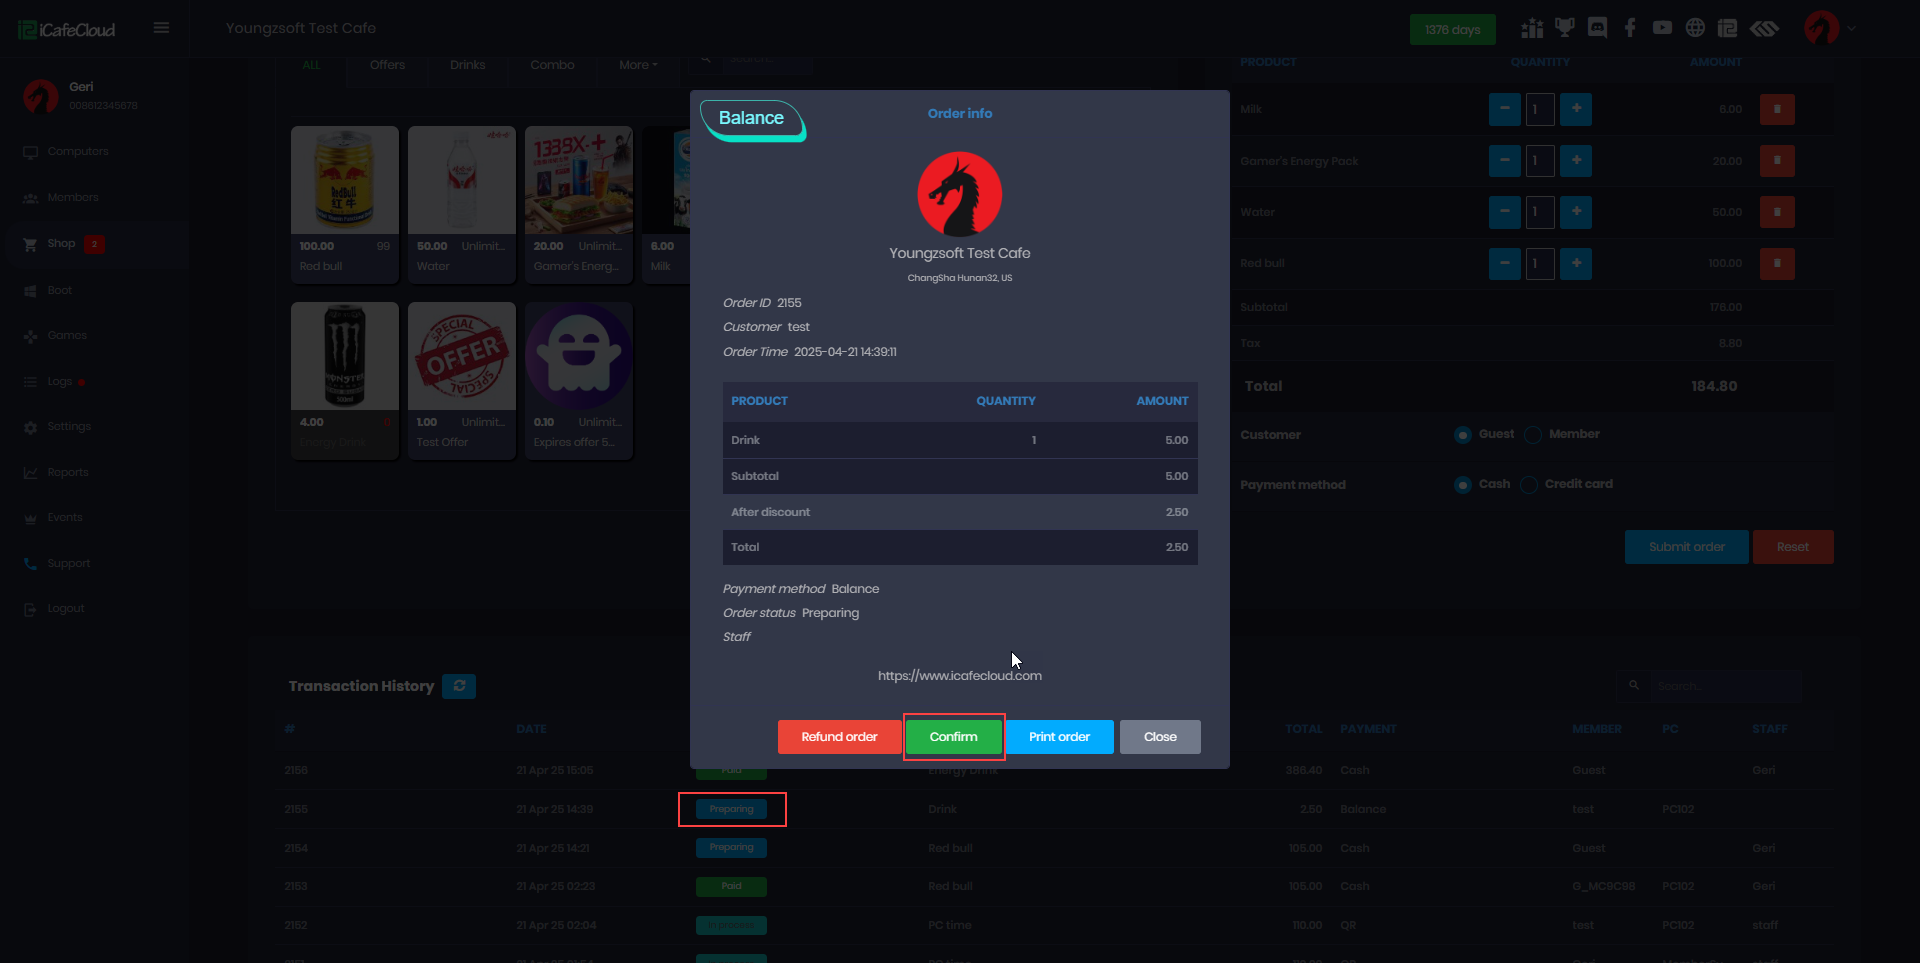
Figure 7
- The guest order will also display the phone number entered at the time of ordering.(Figure 8)
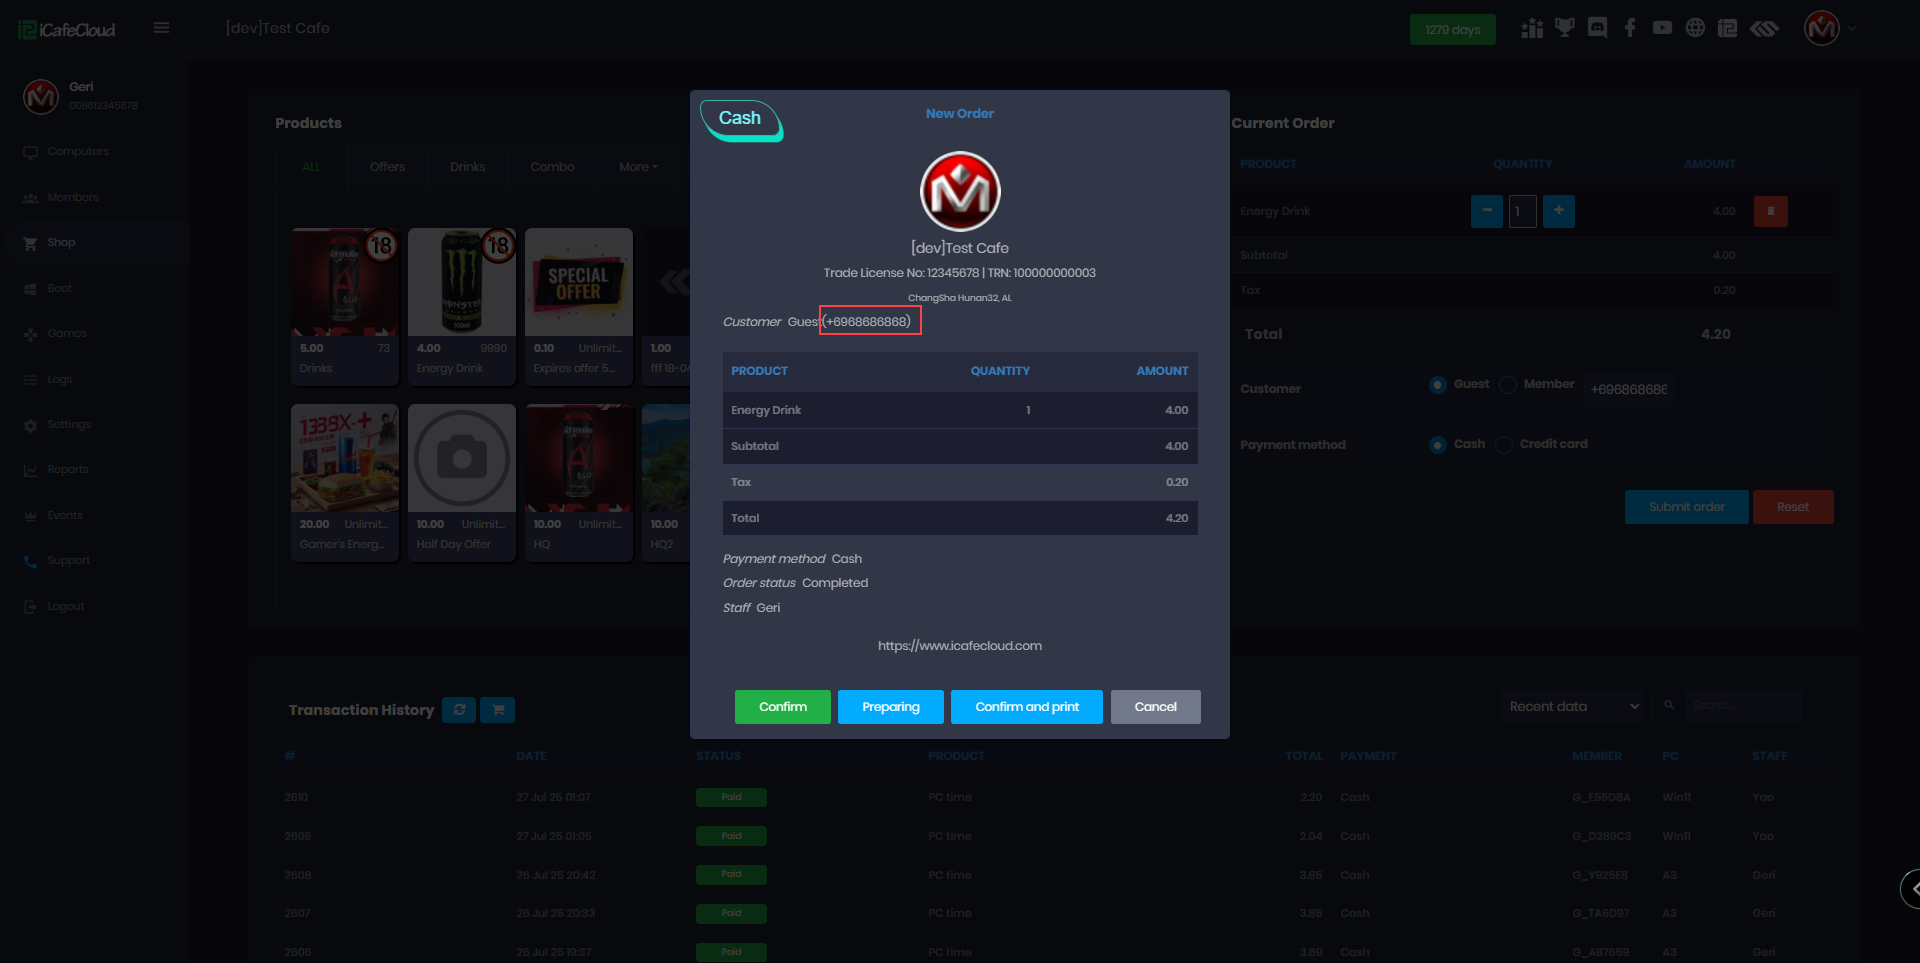
Figure 8
- Print the order (Figure 9)
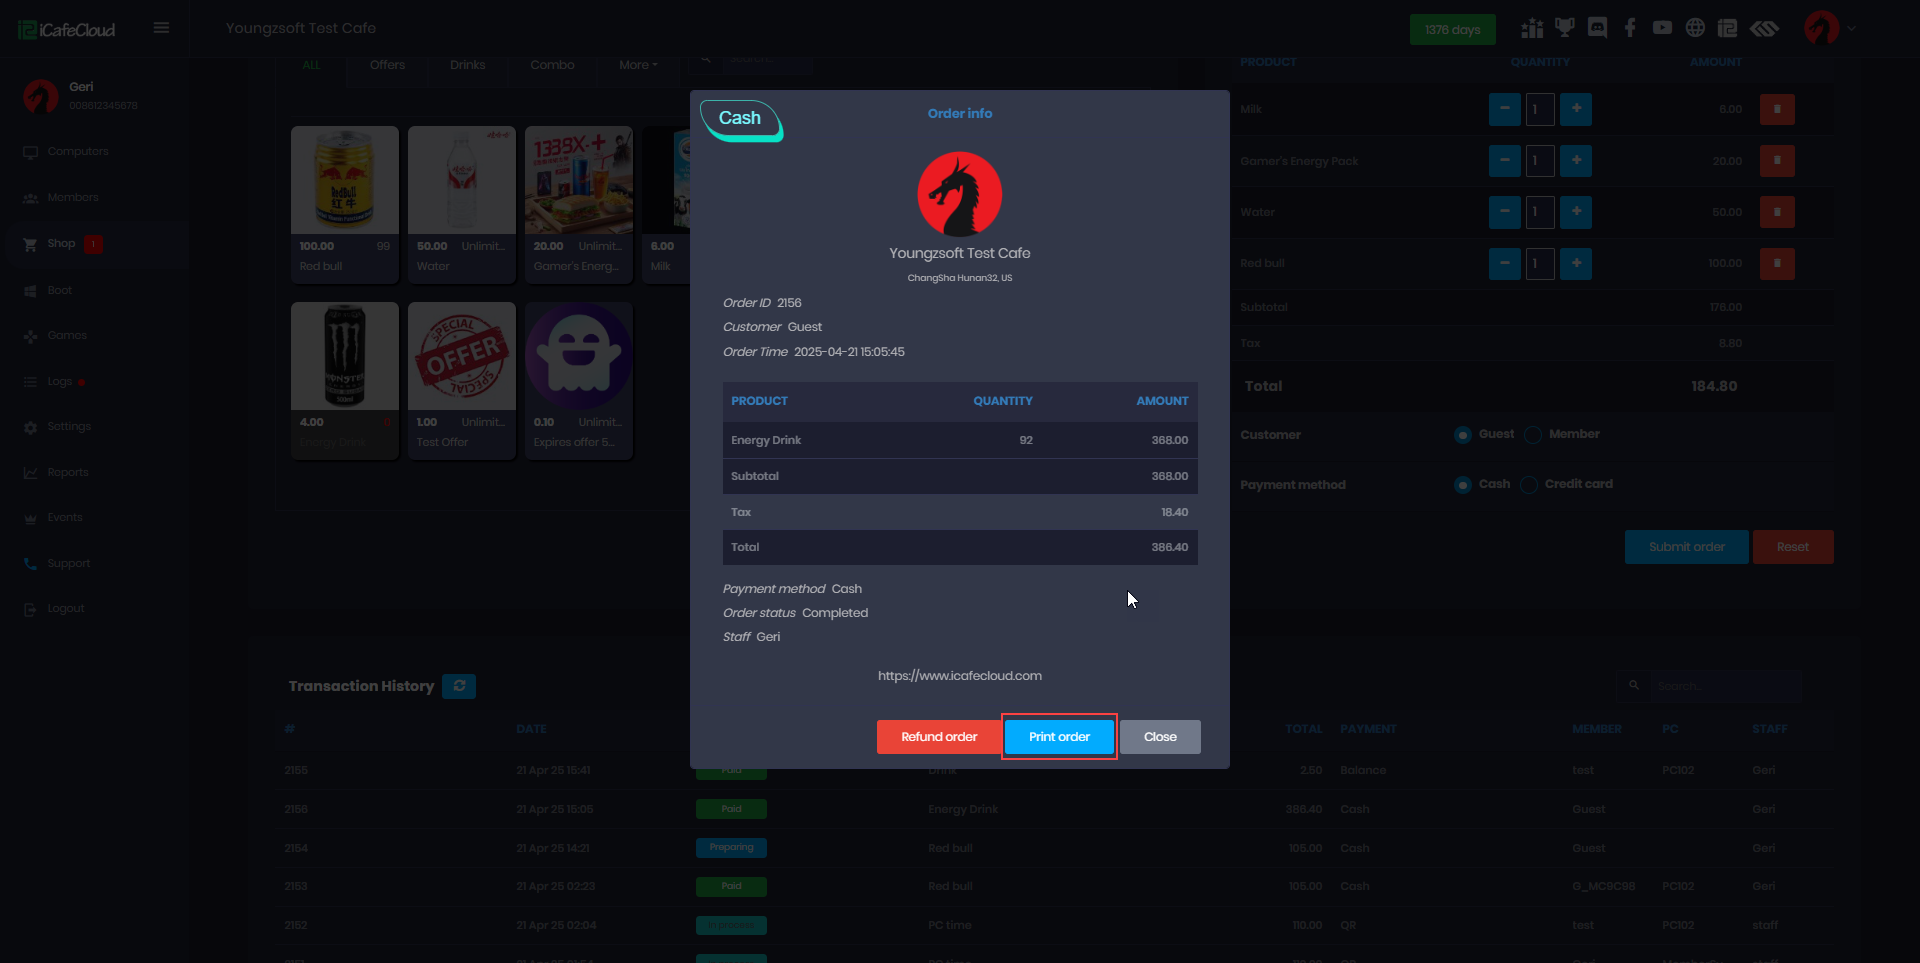
Figure 9
- The print page will display the following order details: Order ID, Customer Name, Start Time, End Time, Total Hours Used, Order Time, Product, Quantity, Amount, Payment Method, Order Status, and Staff Name. (Figure 10)
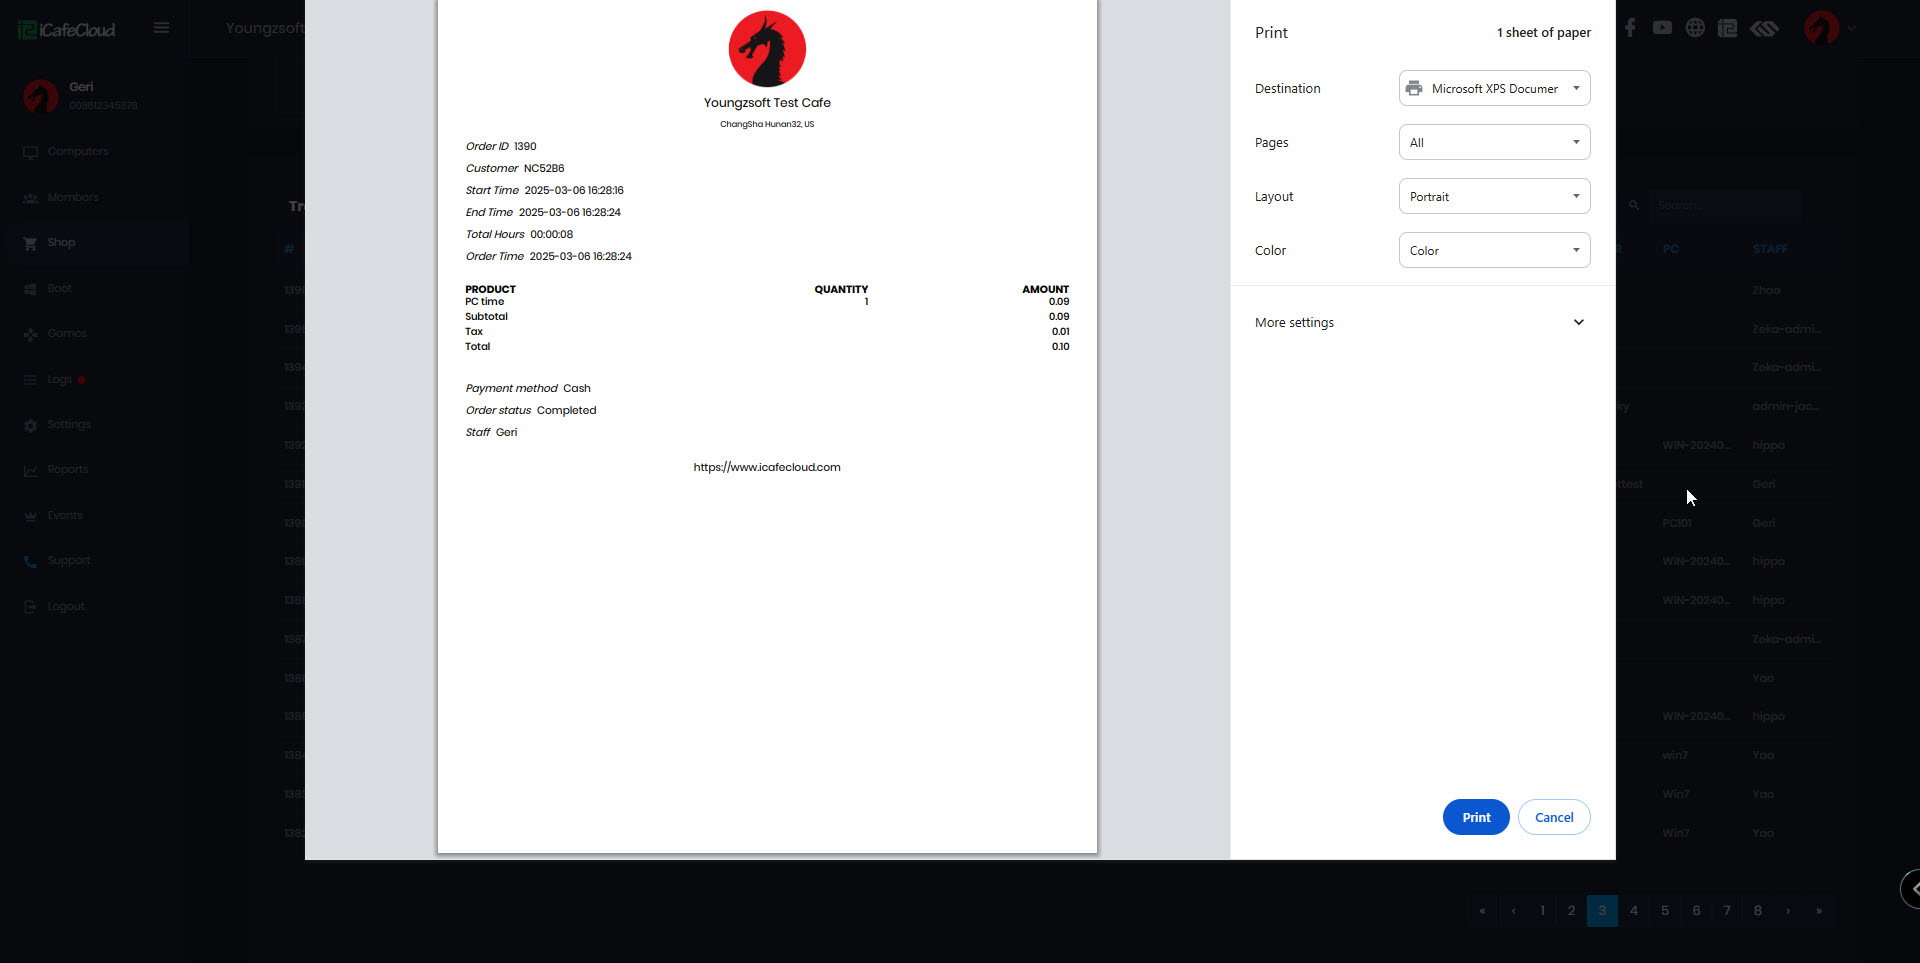
Figure 10
- If the printer prints a long receipt for guest account details, click "More settings" on print modal (Figure 11) and then uncheck "Headers and footers"
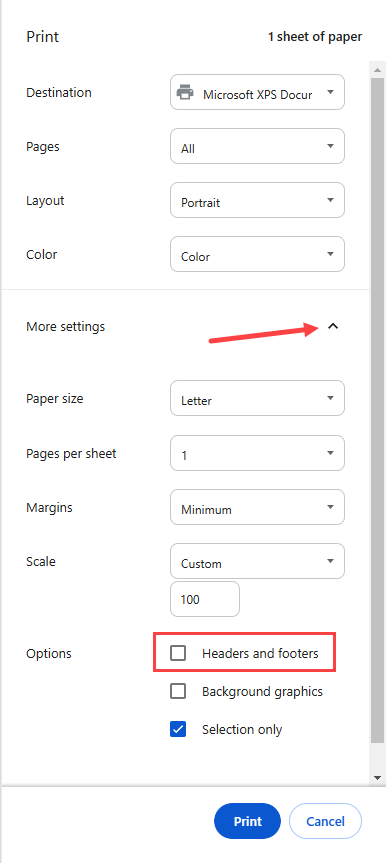
Figure 11
- In the transaction history table, all confirmed and ongoing/pending orders are presented (Figure 12).
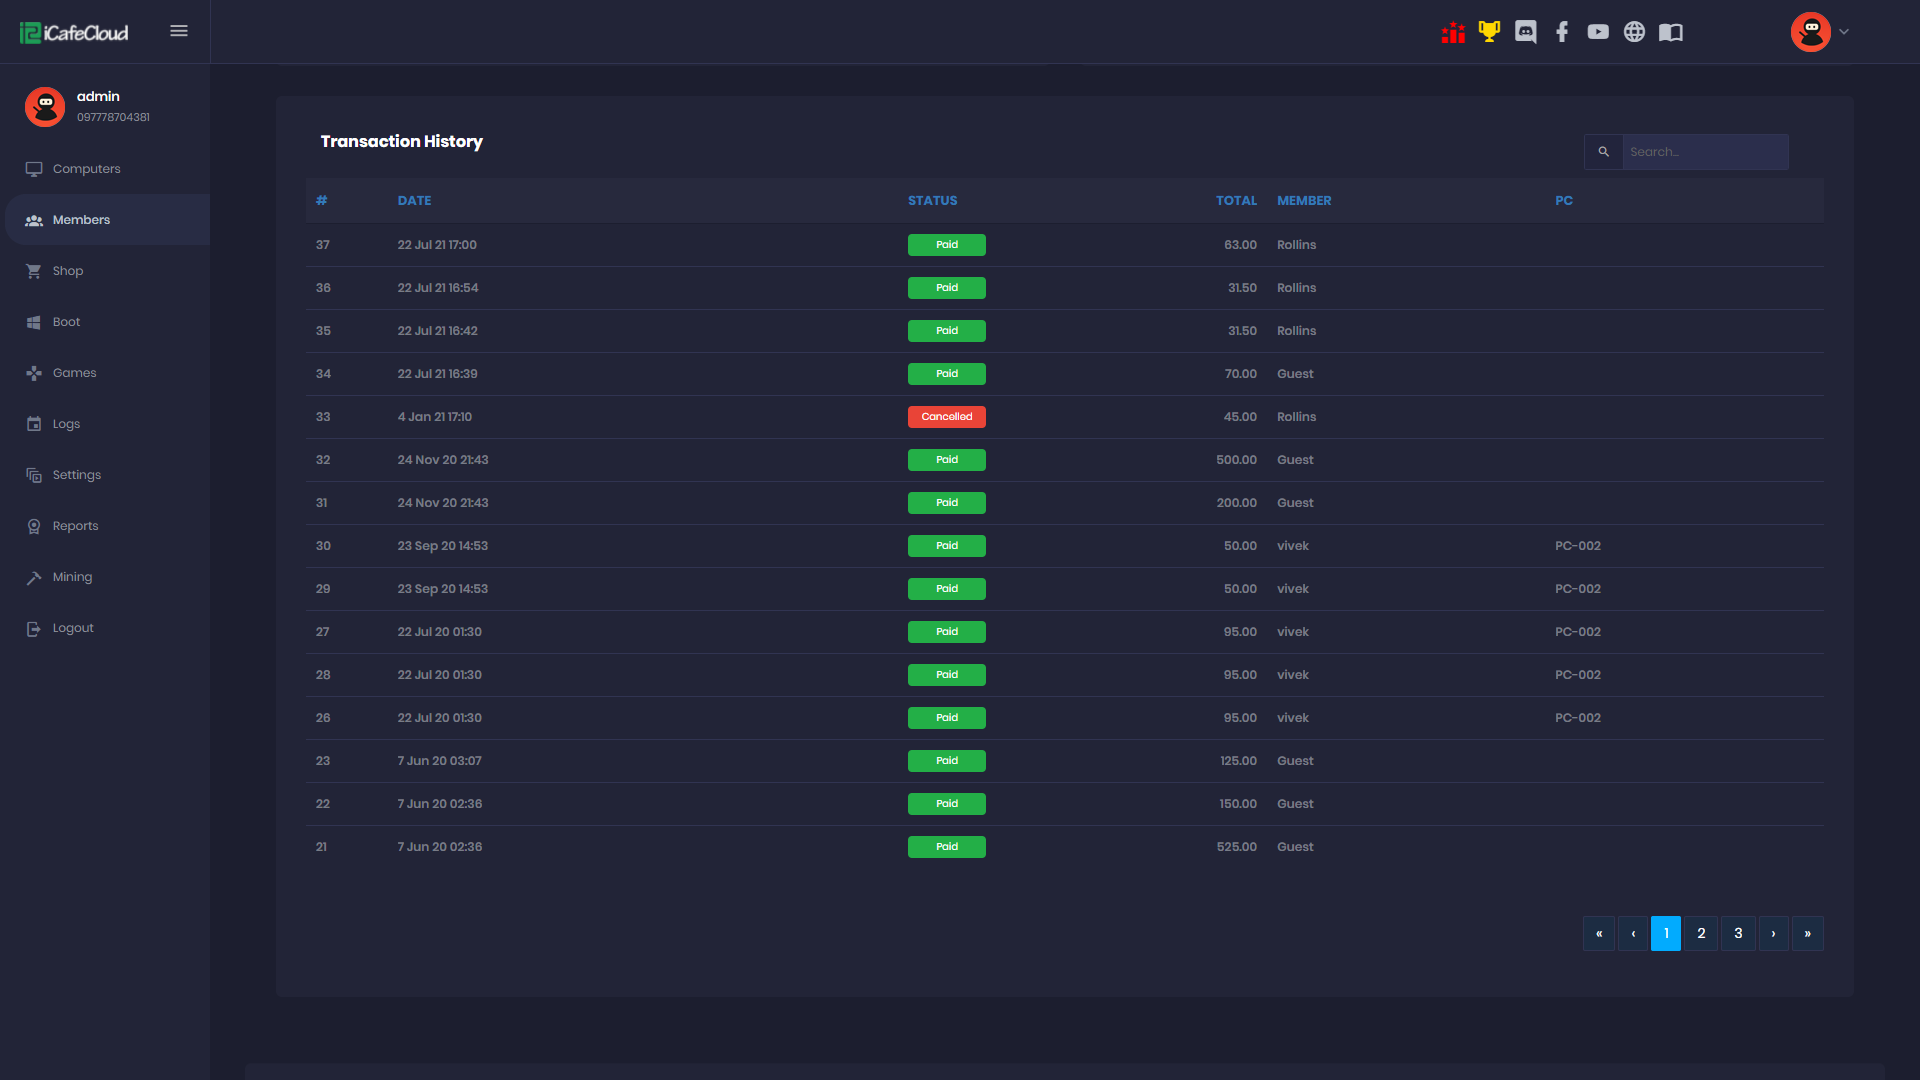
Figure 12
- Employees can only see orders that were placed during their shift. In addition, after 24 hours, any pending orders will be immediately canceled.