2023-05-23
server, install
The following steps show how to install iCafeCloud on the server side.
- For iCafeCloud installation on setups with more than 20 PCs, we recommend using Windows Server 2025 or newer. iCafeCloud relies on shared folders for saving game progress and game fixes.
- Download the iCafeCloud setup package from our website and put it on the desktop (Figure 1)
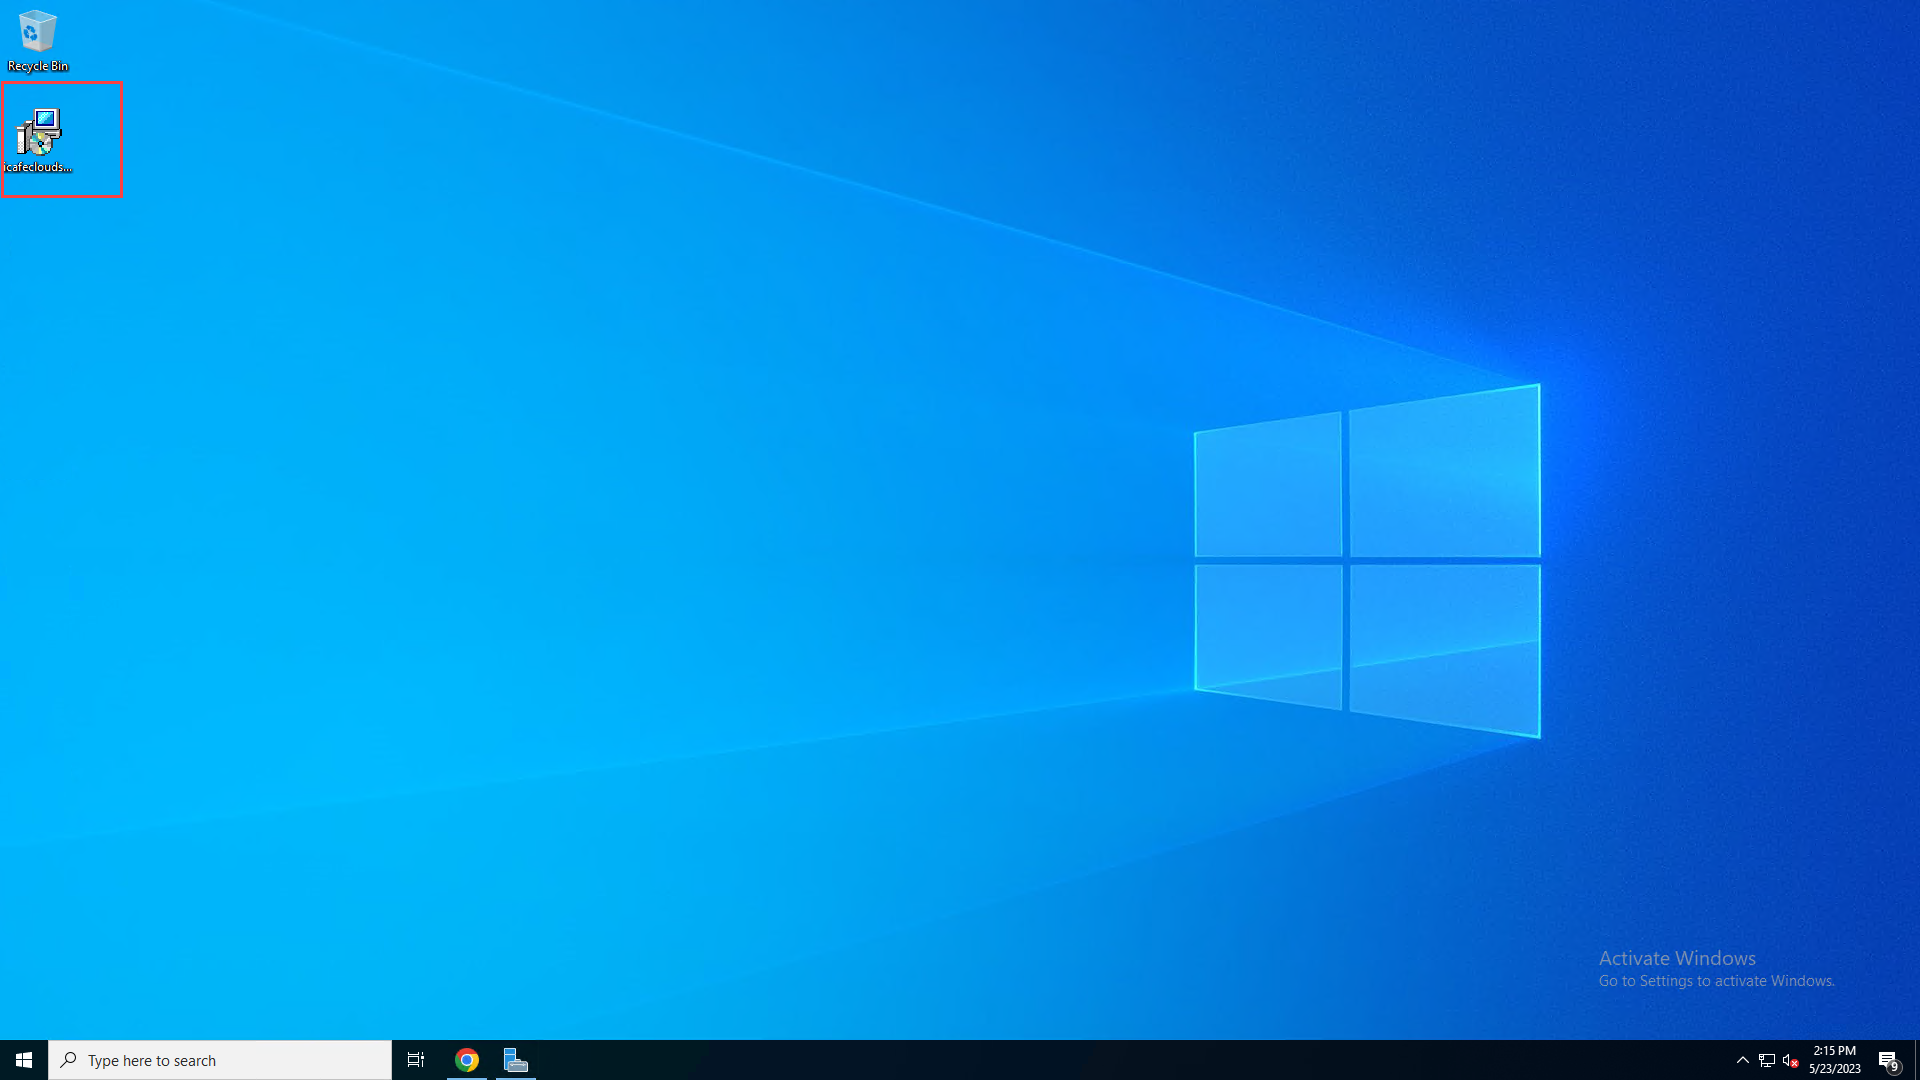
Figure 1
- Double click the setup package to open it, click the “Next” button until you get the “Install” button (Figure 2).
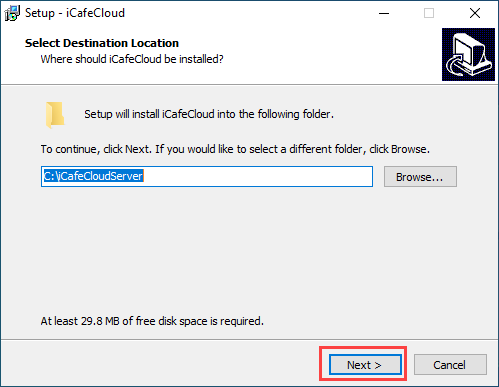
Figure 2
- Click the “Install” button to continue installation (Figure 3).
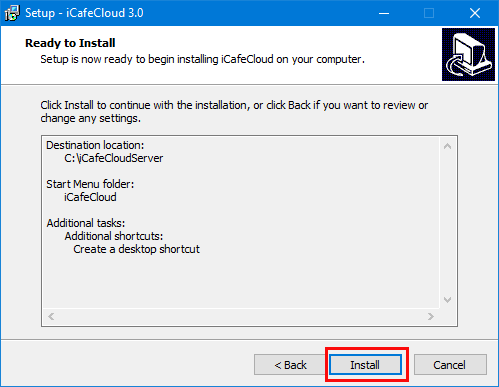
Figure 3
- Once installation is done, check the “Launch iCafeCloud” checkbox and click the “Finish” button (Figure 4).
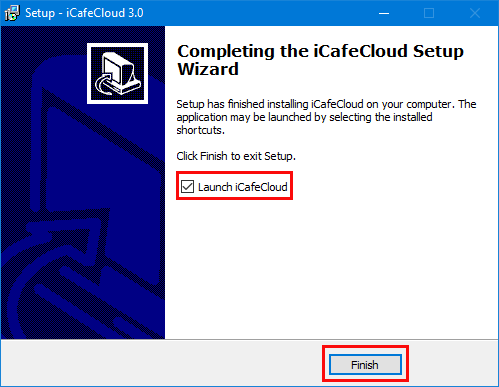
Figure 5
- It will ask you to restart the server once, choose “Yes” on the prompt to restart.
- Once the server has restarted from the desktop, double click the “iCafeCloud” icon to open, iCafeCloud server UI (Figure 6).
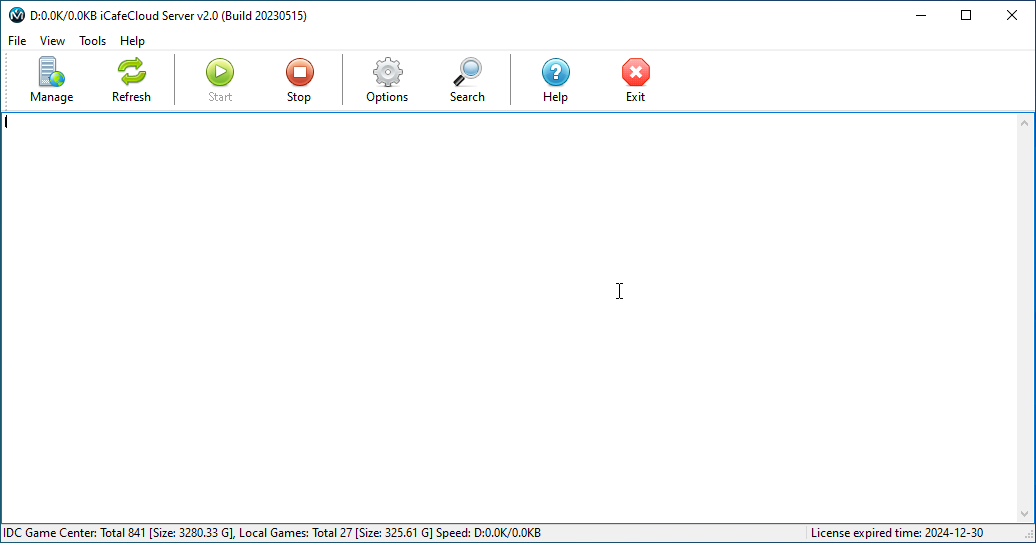
Figure 6
- Click the “Options” button on the toolbar to open the “Options” dialog box. Enter your license and password for iCafeCloud, then click the “OK” button (Figure 7).
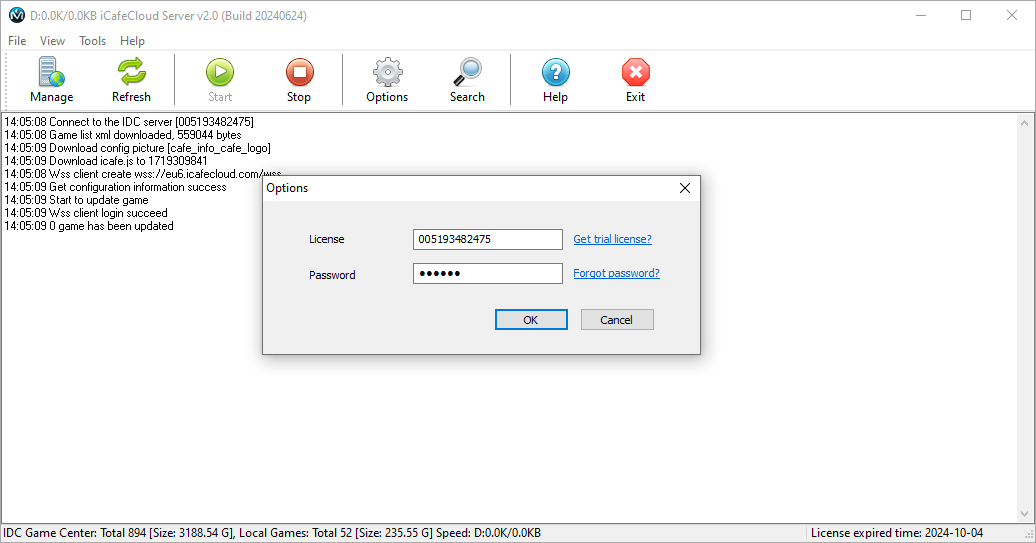
Figure 7
- If you haven’t configured the timezone before connecting the license, an error message will appear:
"Please go to https://cp.icafecloud.com/ to complete the initialization" - Now, it will connect to our server and you will be able to access the iCafeCloud Control Panel, and from there, the magic starts. (Figure 8).
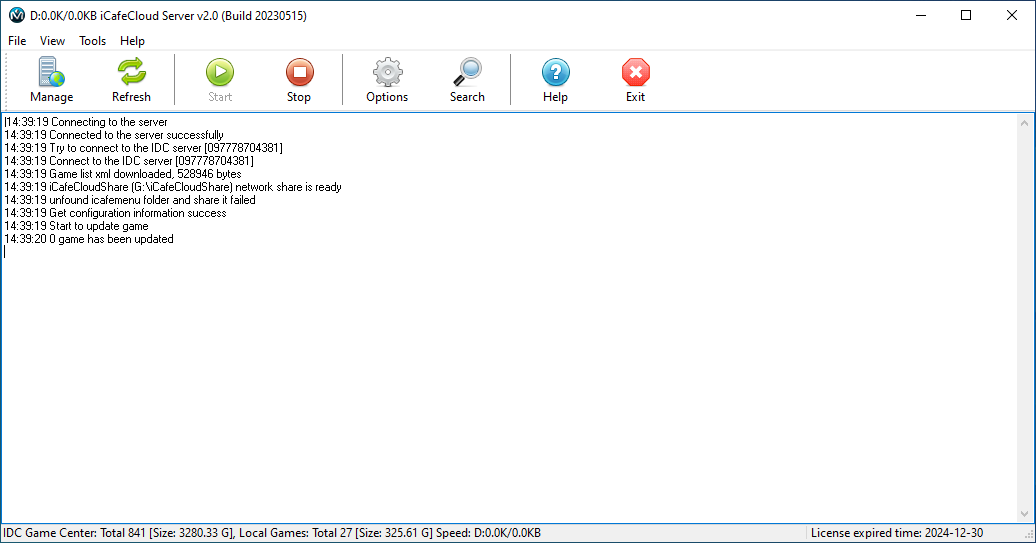
Figure 8