2025-04-09
server, proxy, client, connection, VPN
The following explains how to enable the proxy function, allowing client PCs to use the same internet connection as the server especially useful when the server is connected through a VPN and how to change server
- If you're experiencing connection issues or your country has restrictions accessing iCafeCloud servers, using a VPN on the server PC can help. However, installing a VPN on each client PC is not required. Instead, by enabling the “Enable proxy for client” option, the client PCs will automatically use the same internet connection as the server, allowing them to successfully connect to iCafeCloud servers through the VPN.
- Run the iCafeCloudServer.exe file, then click on the "Option" button to access the server configuration settings. (Figure 1)
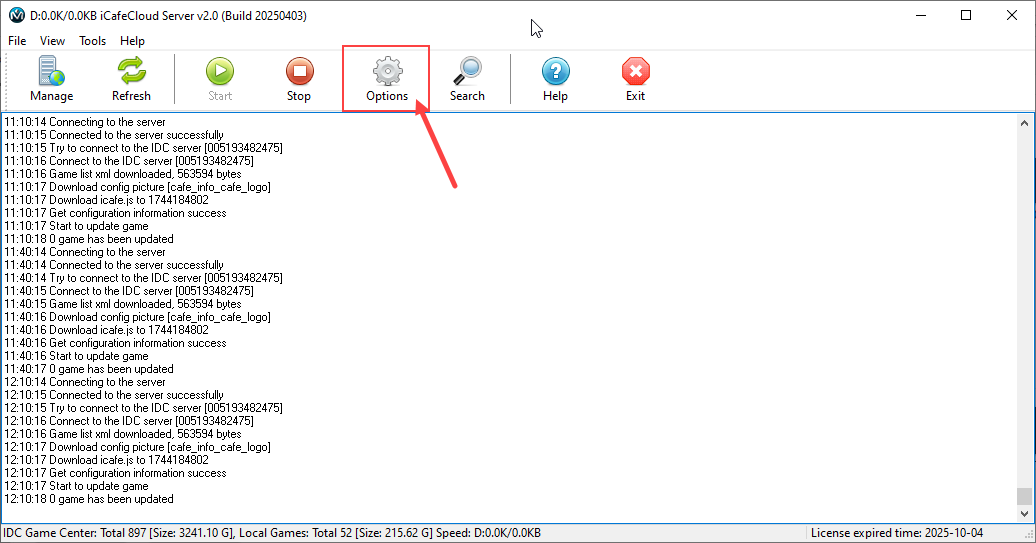
Figure 1
- Click "Enable proxy for client" and then click Save (see Figure 2).
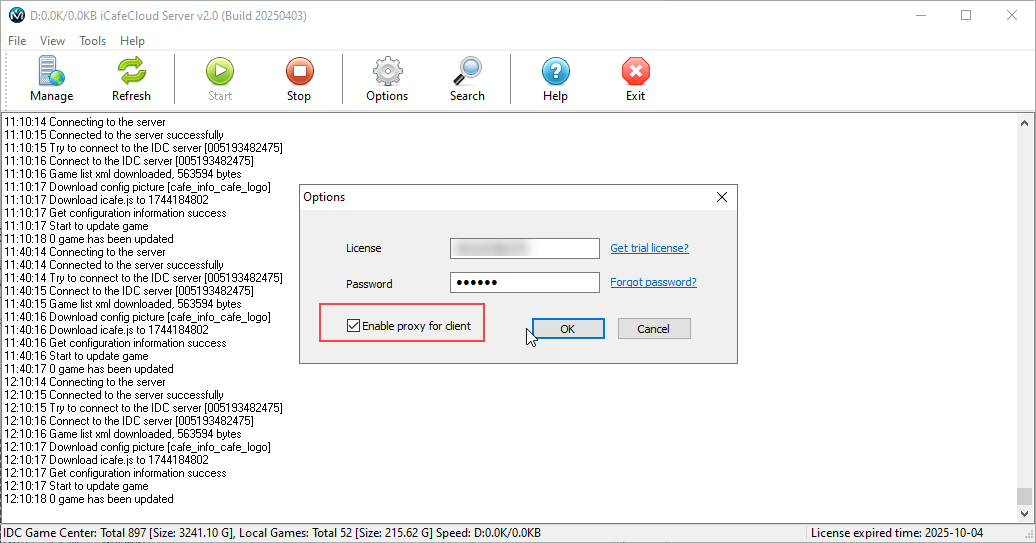
Figure 2
- This will apply the proxy settings, allowing client PCs to route their internet connection through the server.
Change server iCafeCloud
- To change the iCafeCloud server connection, go to the installation folder C:\iCafeCloudServer and open MenuServer.ini with Notepad.
- Locate the line CenterServer=EUX, which indicates the cloud server you are connected to (for example, EU1, EU6, etc.). Change the value to your preferred EU server, then save the MenuServer.ini file. (Figure 1)
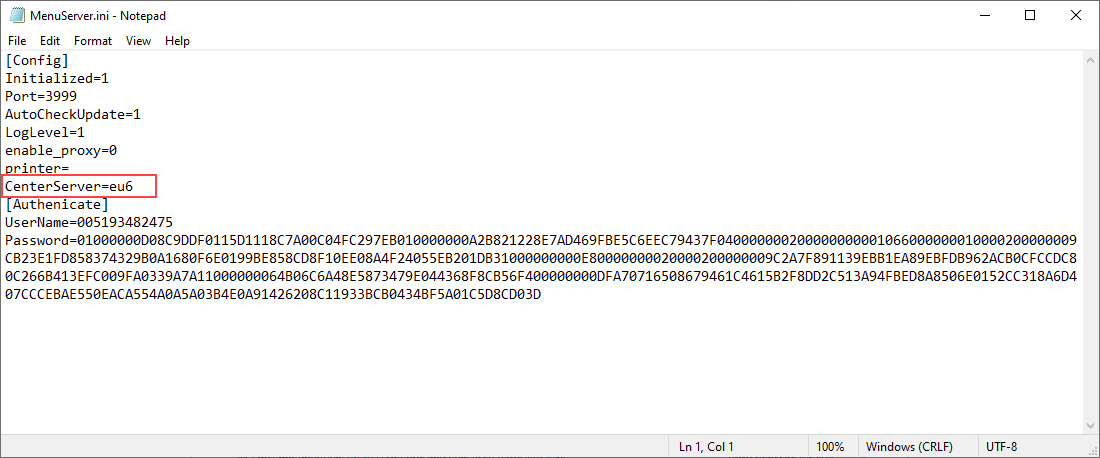
Figure 1
Change server CCBootCloud
- To change the CCBootcloud server connection, go to the installation folder C:\CCBoot and open CCBootCloud.ini with Notepad.
- Locate the line CenterServer=EUX, which indicates the cloud server you are connected to (for example, EU1, EU6, etc.). Change the value to your preferred EU server, then save the MenuServer.ini file. (Figure 1)
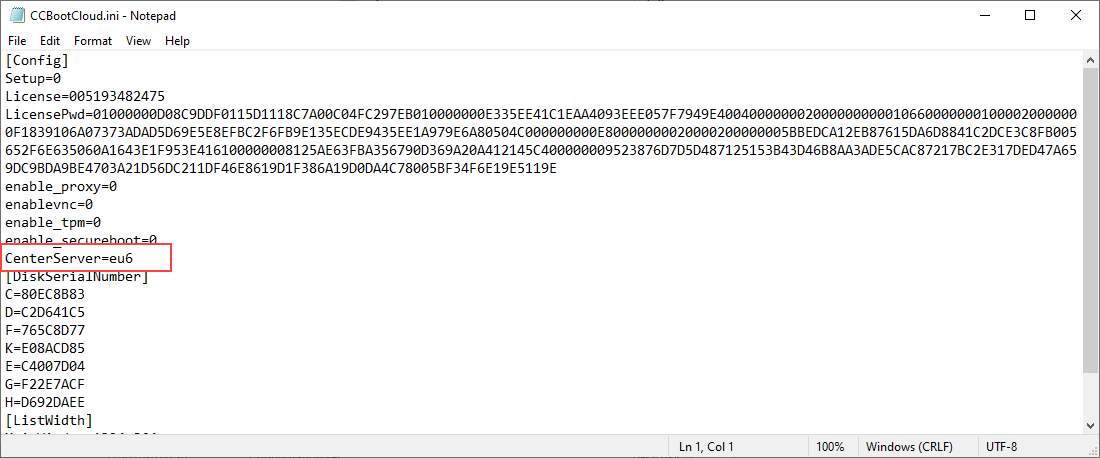
Figure 1