2026-04-29
kiosk, terminal, topup
The following explain how to use iCafeCloud as a Kiosk terminal and how members to top up their accounts self from the terminal
- To use the Kiosk feature, you’ll need a dedicated hardware terminal (sold separately) and a web page that allows customers to top up their accounts.
- We provide a unique URL linked to your center’s license, which should be opened in full-screen mode on the terminal: https://cp.icafecloud.com/kiosk/YourLicense
- The Kiosk page displays Topup, Register and Layout buttons on the main screen.(Figure 1)

Figure 1
- To allow registration on the kiosk, enable “Allow Public Register”
- By selecting Topup ,members can enter their account ID and the amount they wish to top up. If they have a promo code, they can apply it as well.(Figure 2)
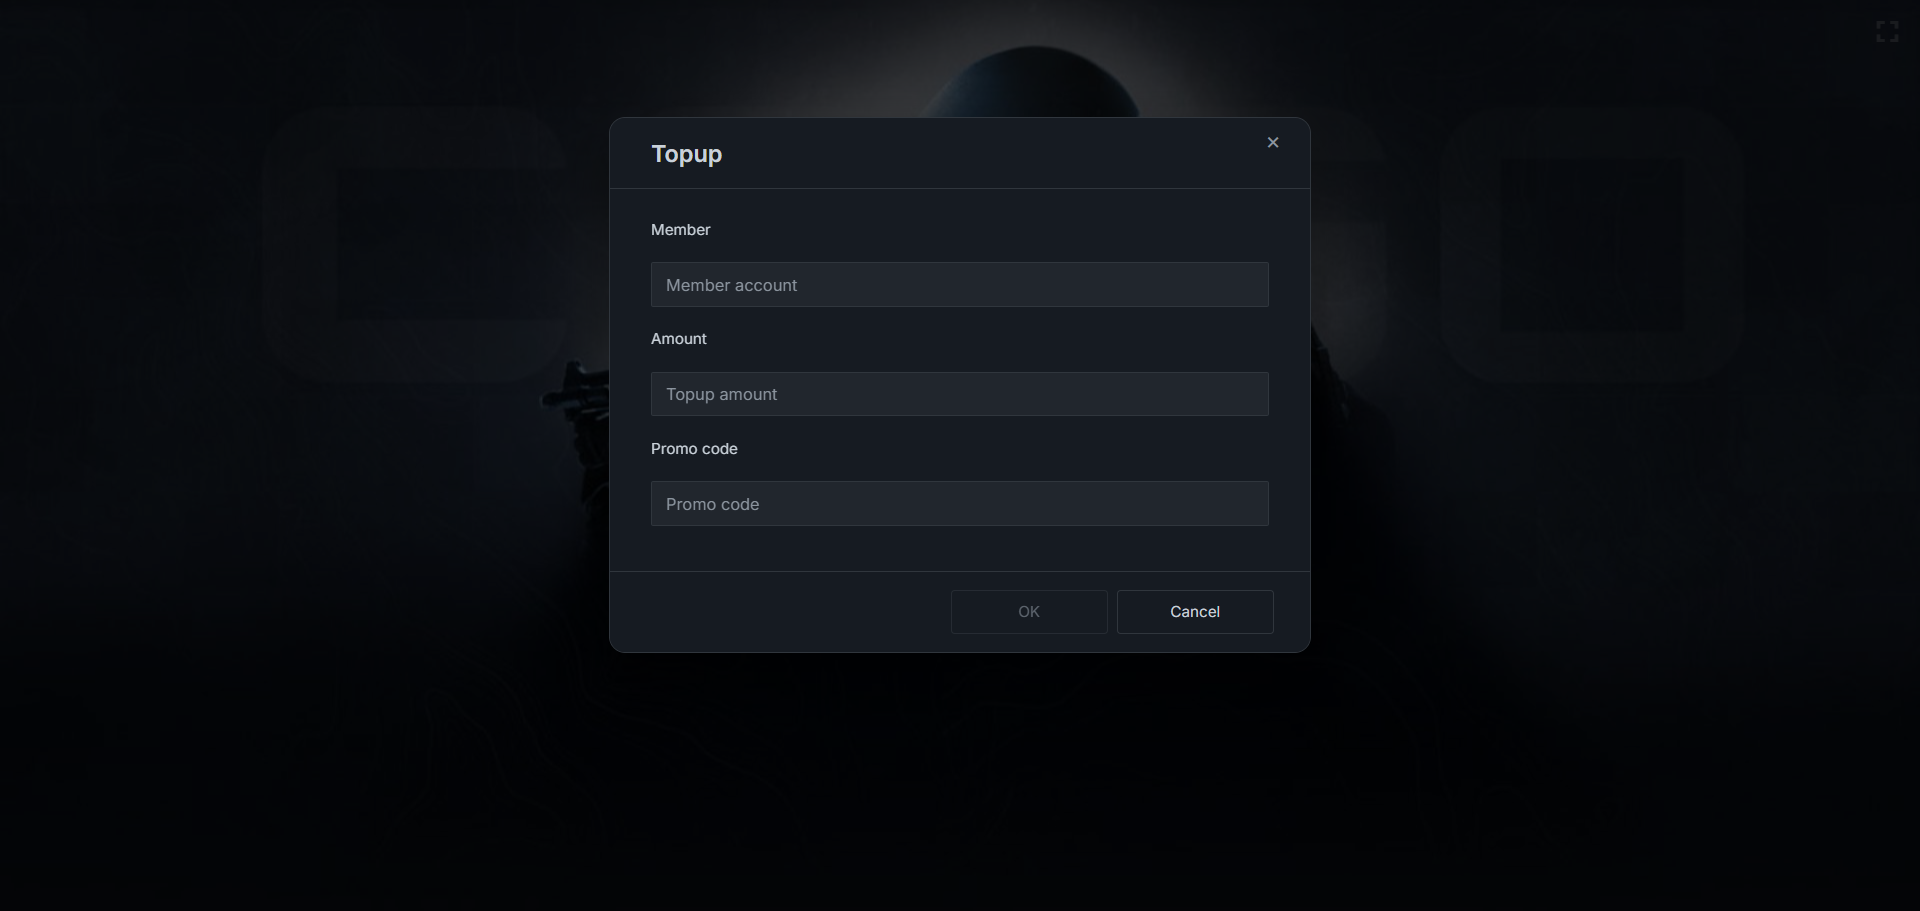
Figure 2
- After completing the form, click OK. You will be redirected to a page displaying a QR code Members name, order number , amount and the Status of the payment.
- Scan the code with your phone to complete the transaction. (Figure 3)
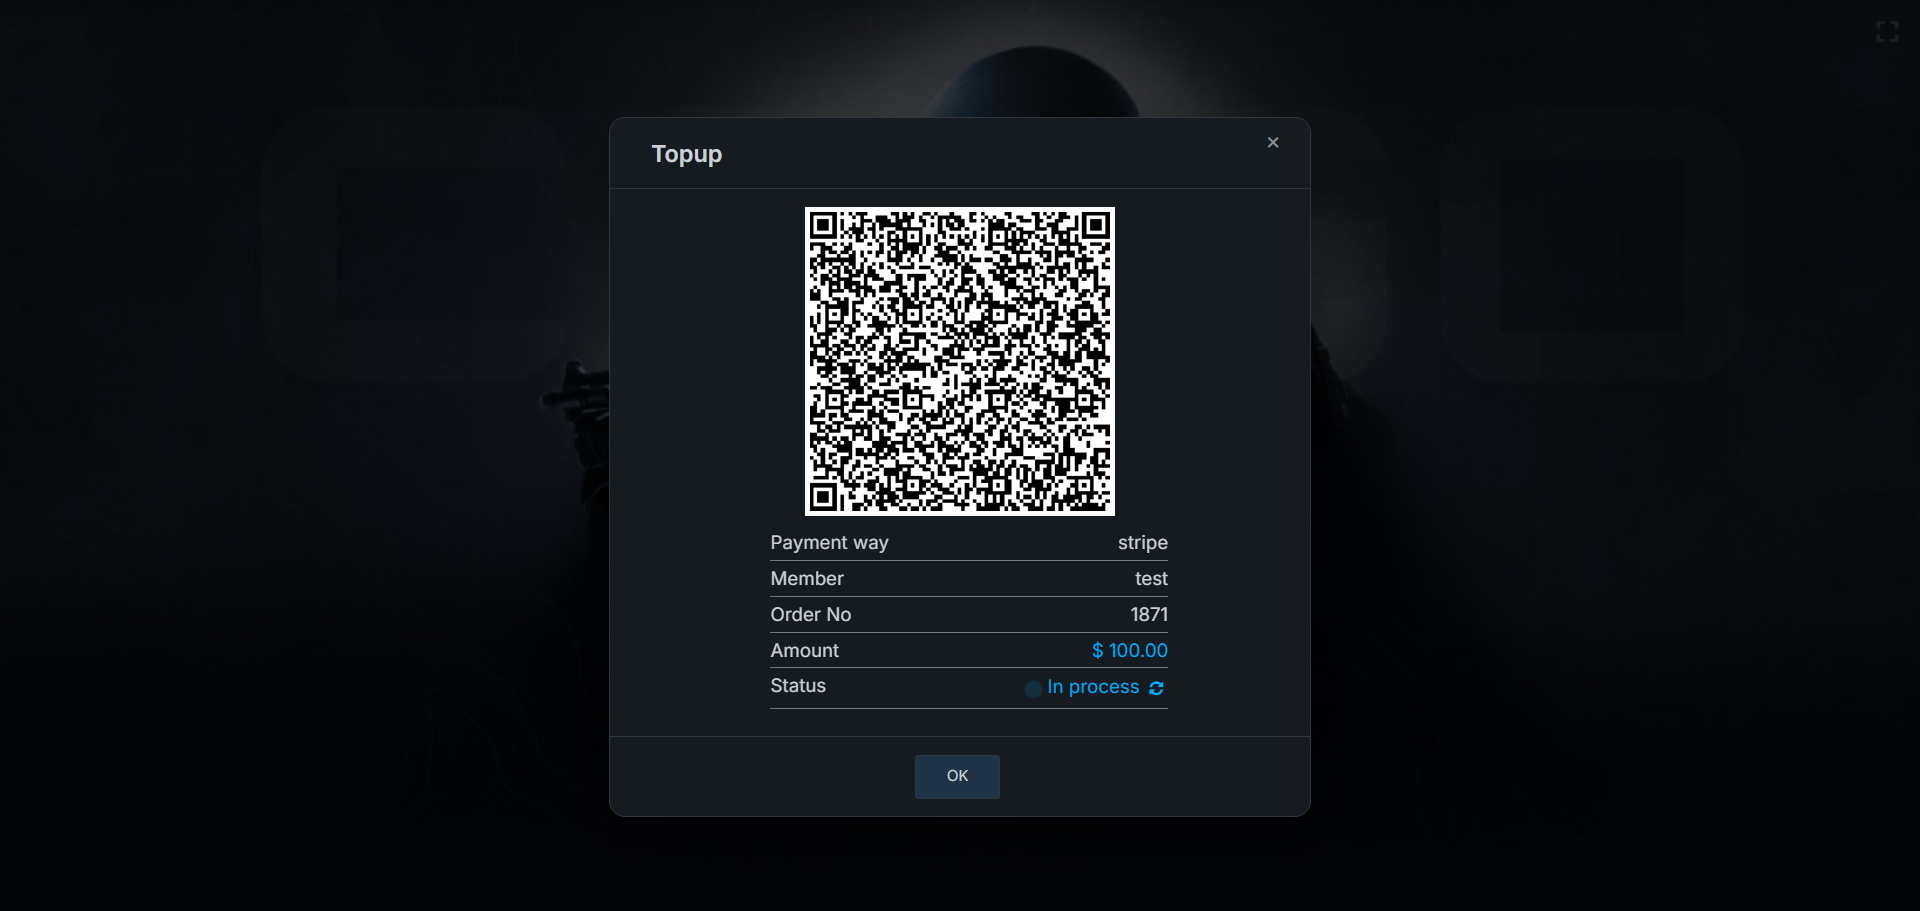
Figure 3
- Once the payment is completed successfully, it will appear in the Status section as “Completed.” (Figure 4)
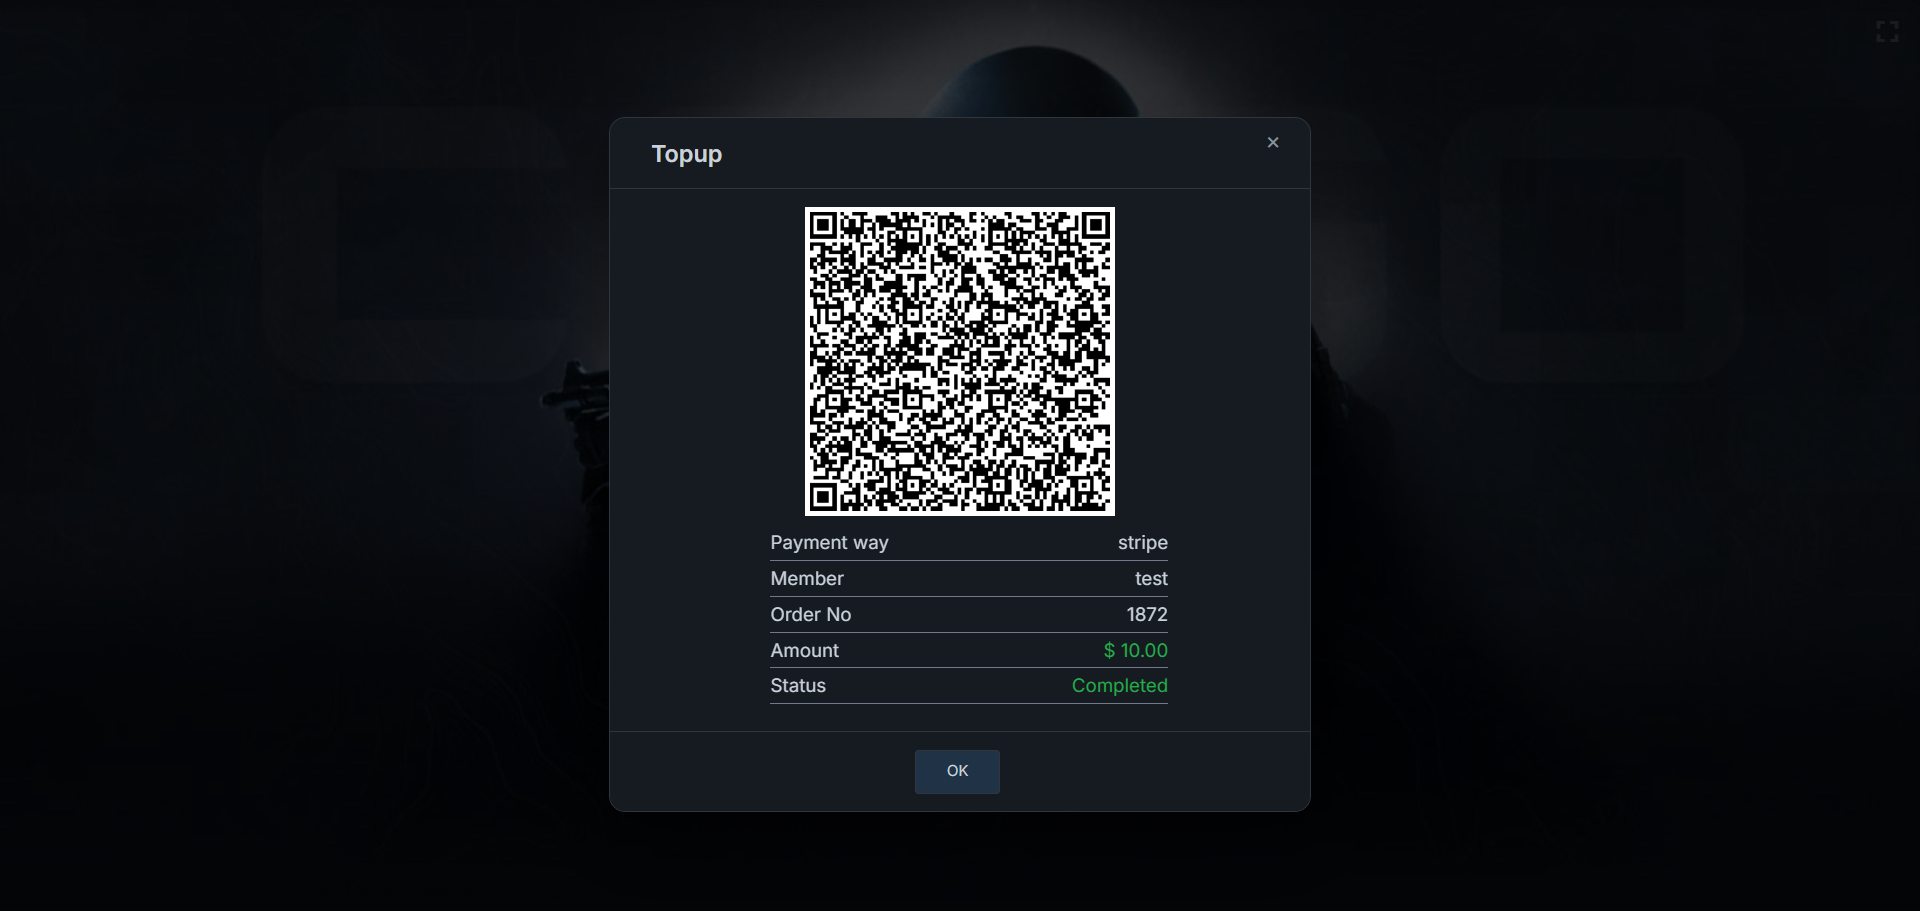
Figure 4
- If the payment is not completed within a few minutes, the Status will show “Timeout,” and you must generate a new QR code. (Figure 6)
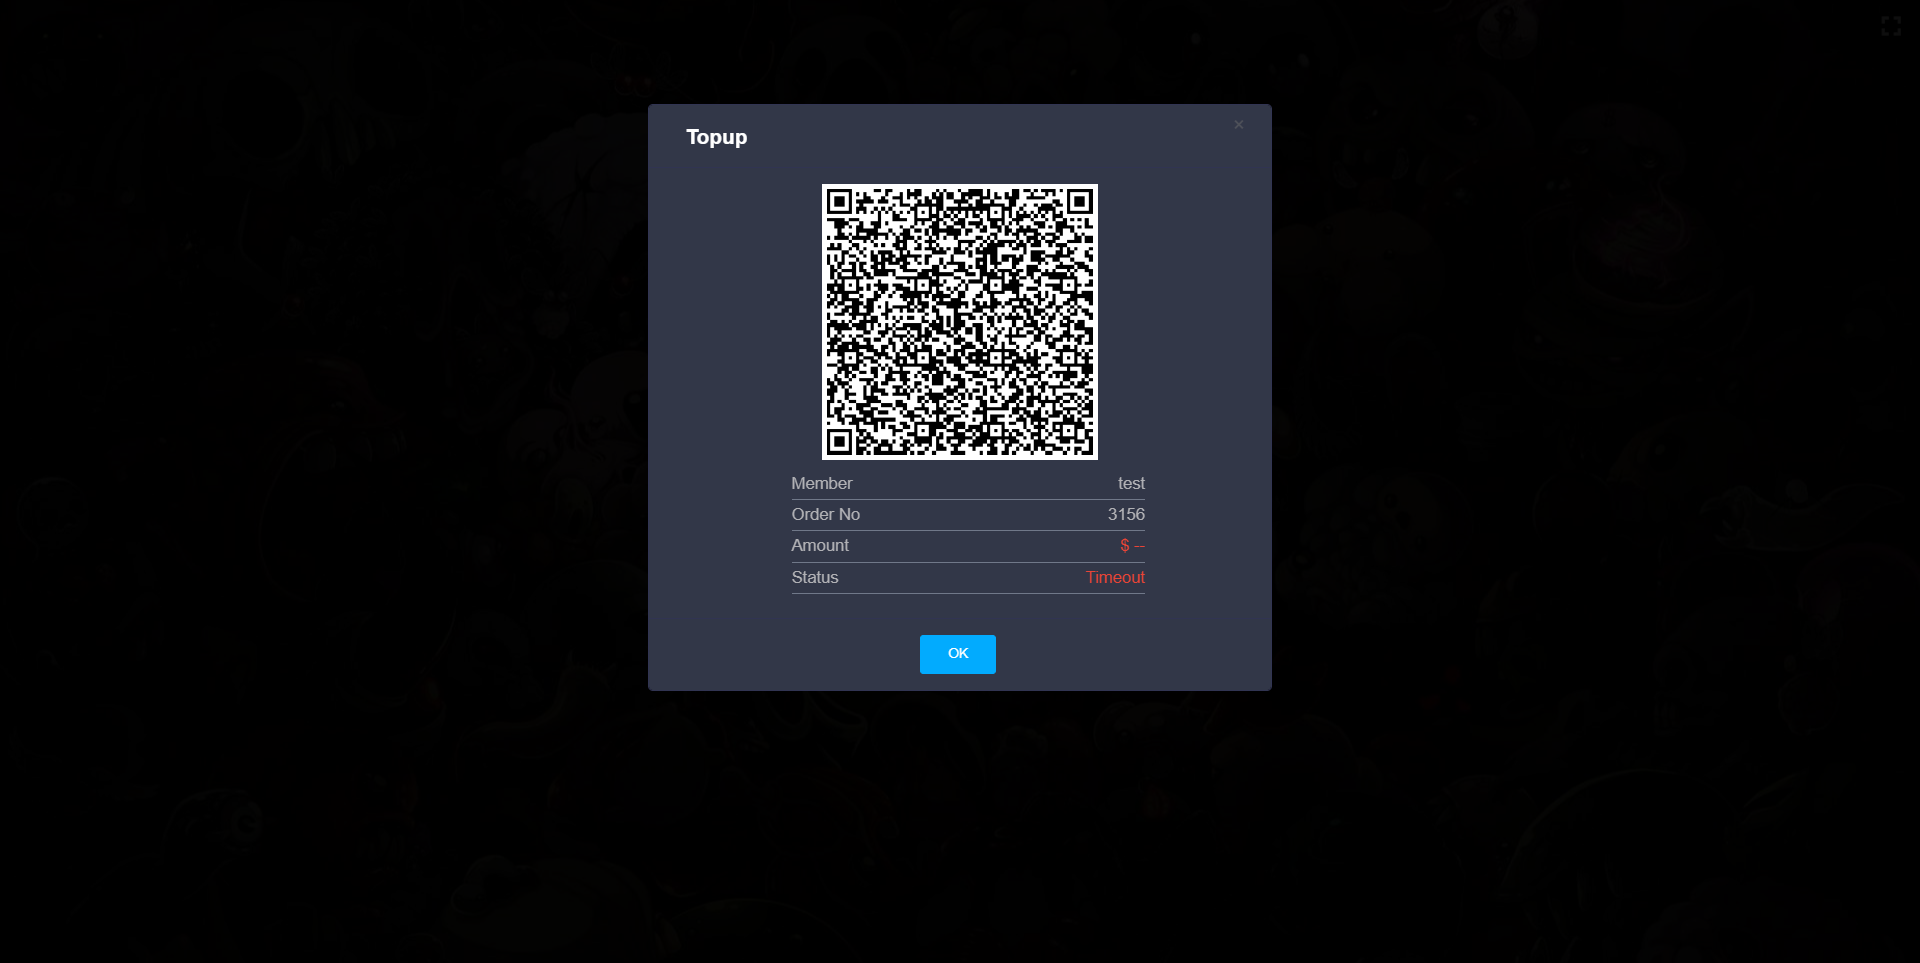
Figure 6
- Register: Allows new customers to create an account directly on the terminal. (Figure 7)
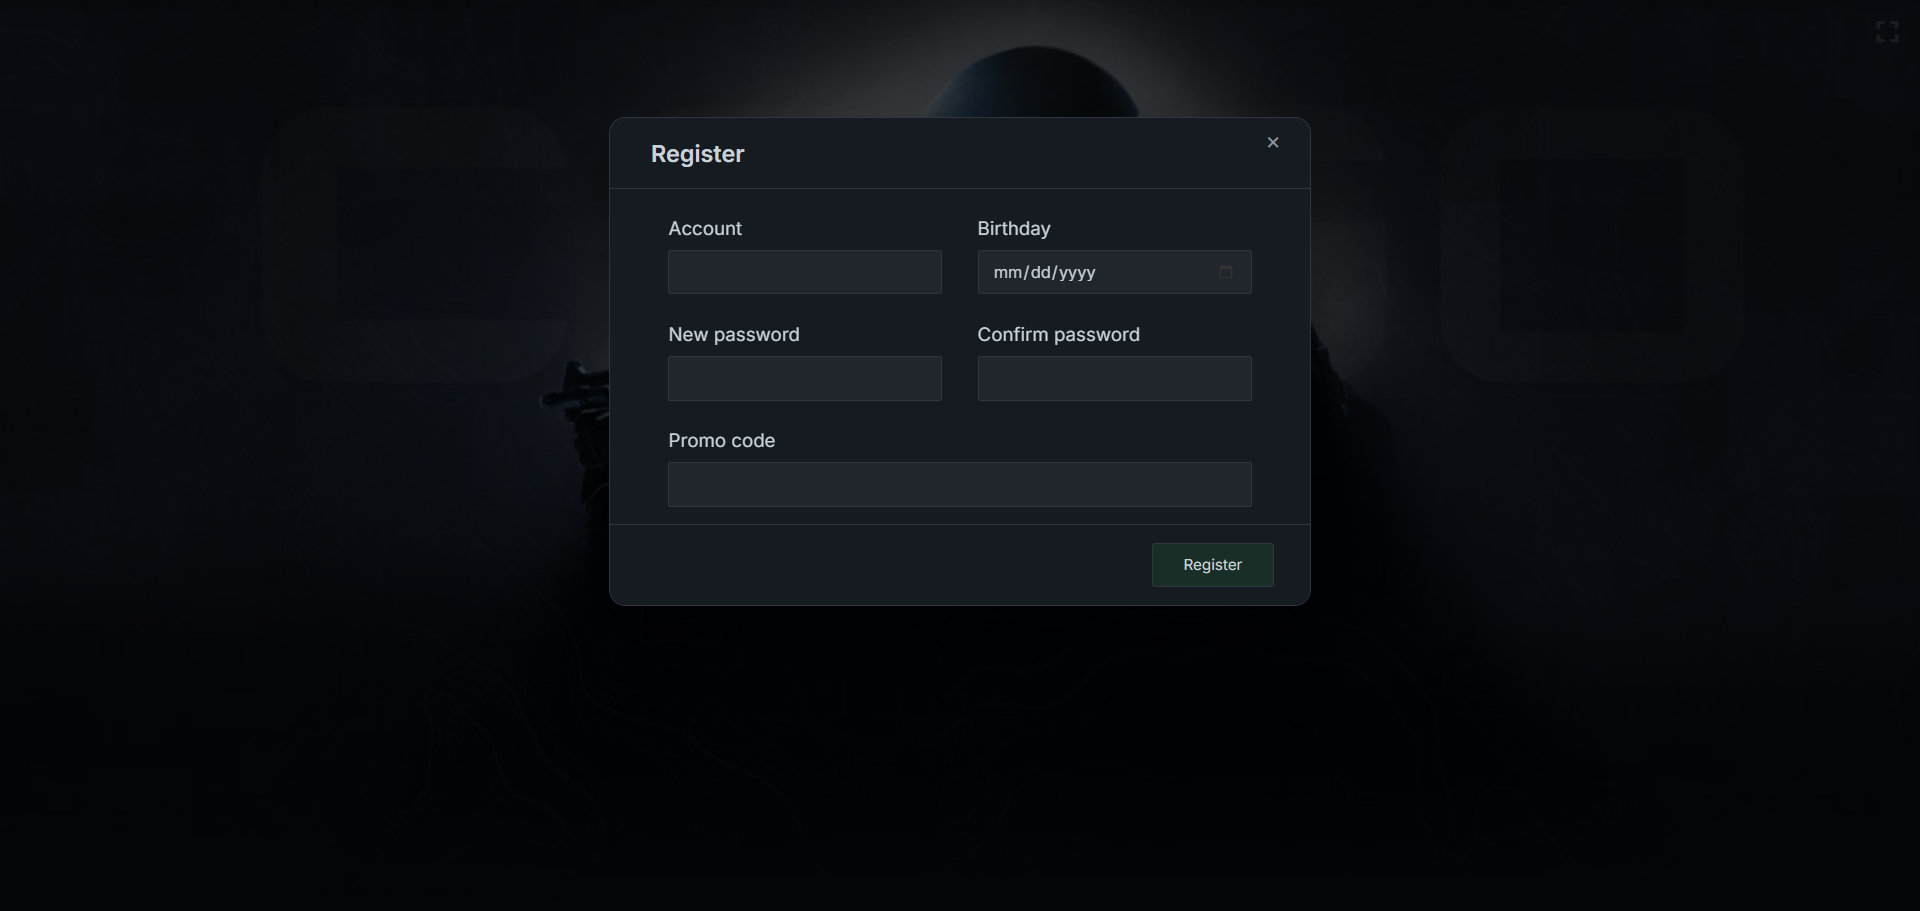
Figure 7
- The layout displays a central view showing PCs that are currently in use and those available. (Figure 8)
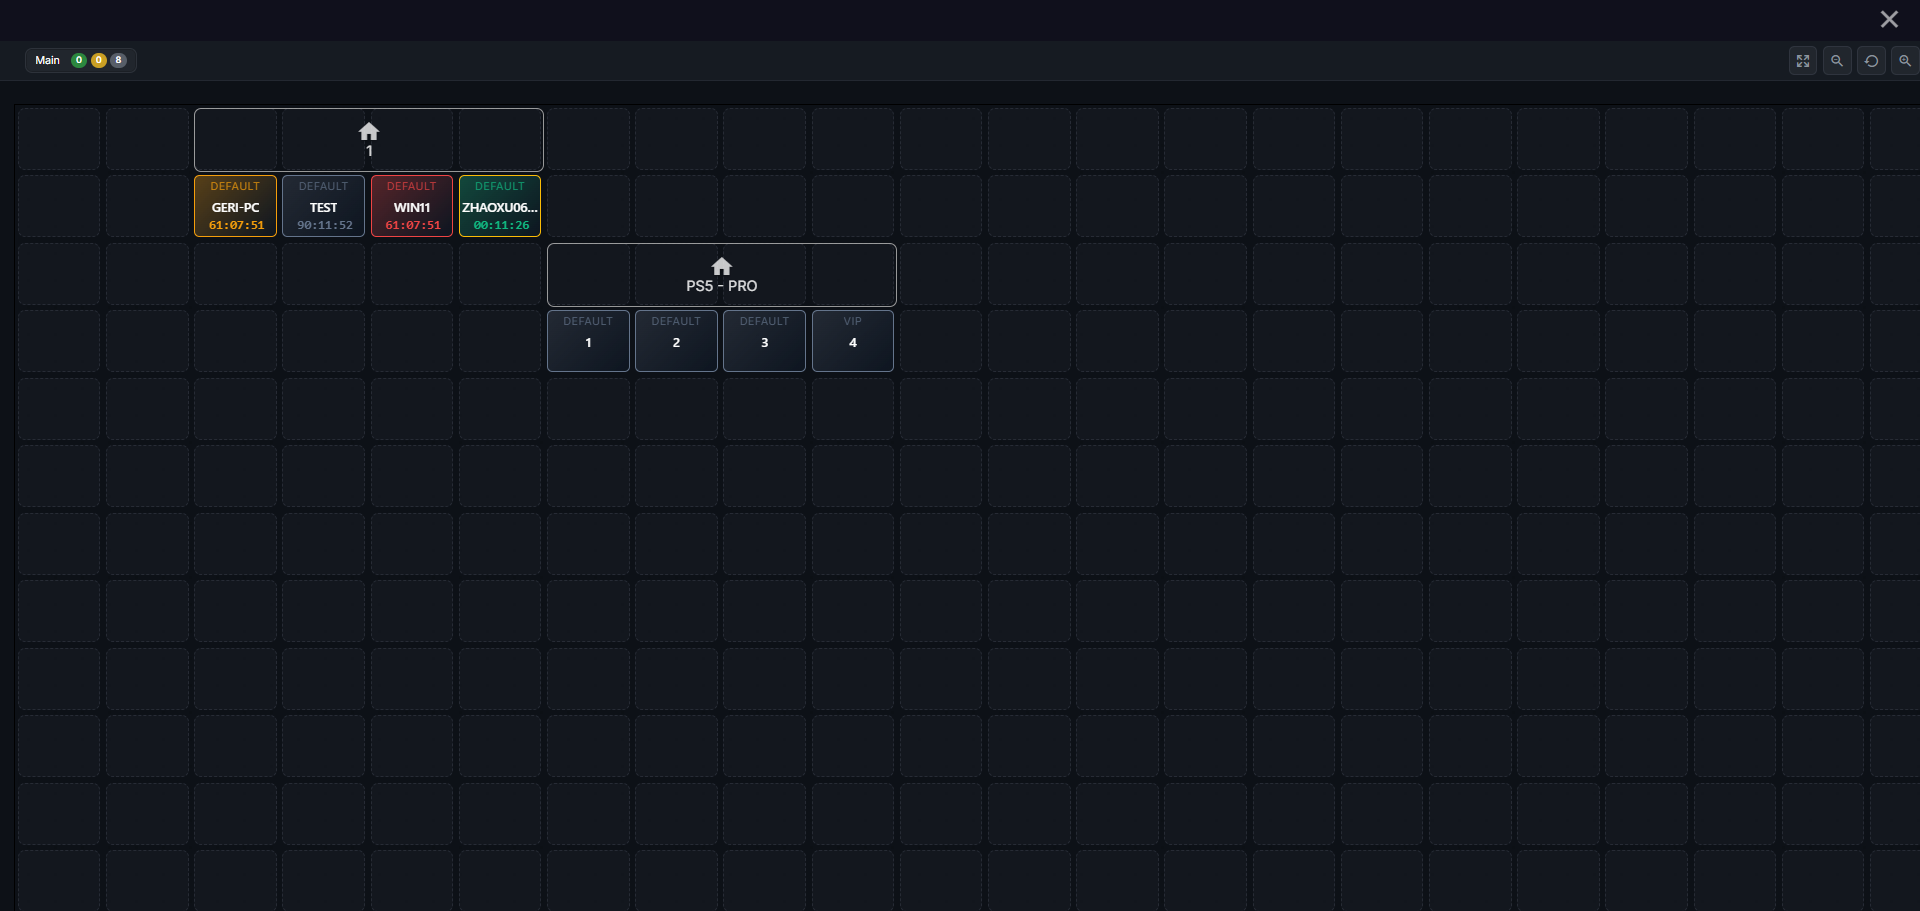
Figure 8
- In Settings → Client Settings, you can change the kiosk background image. (Figure 9)

Figure 9
- If you are using Finik QR payments with Goodo, a ticket will be automatically displayed after each payment, which you can print.(Figure 10)
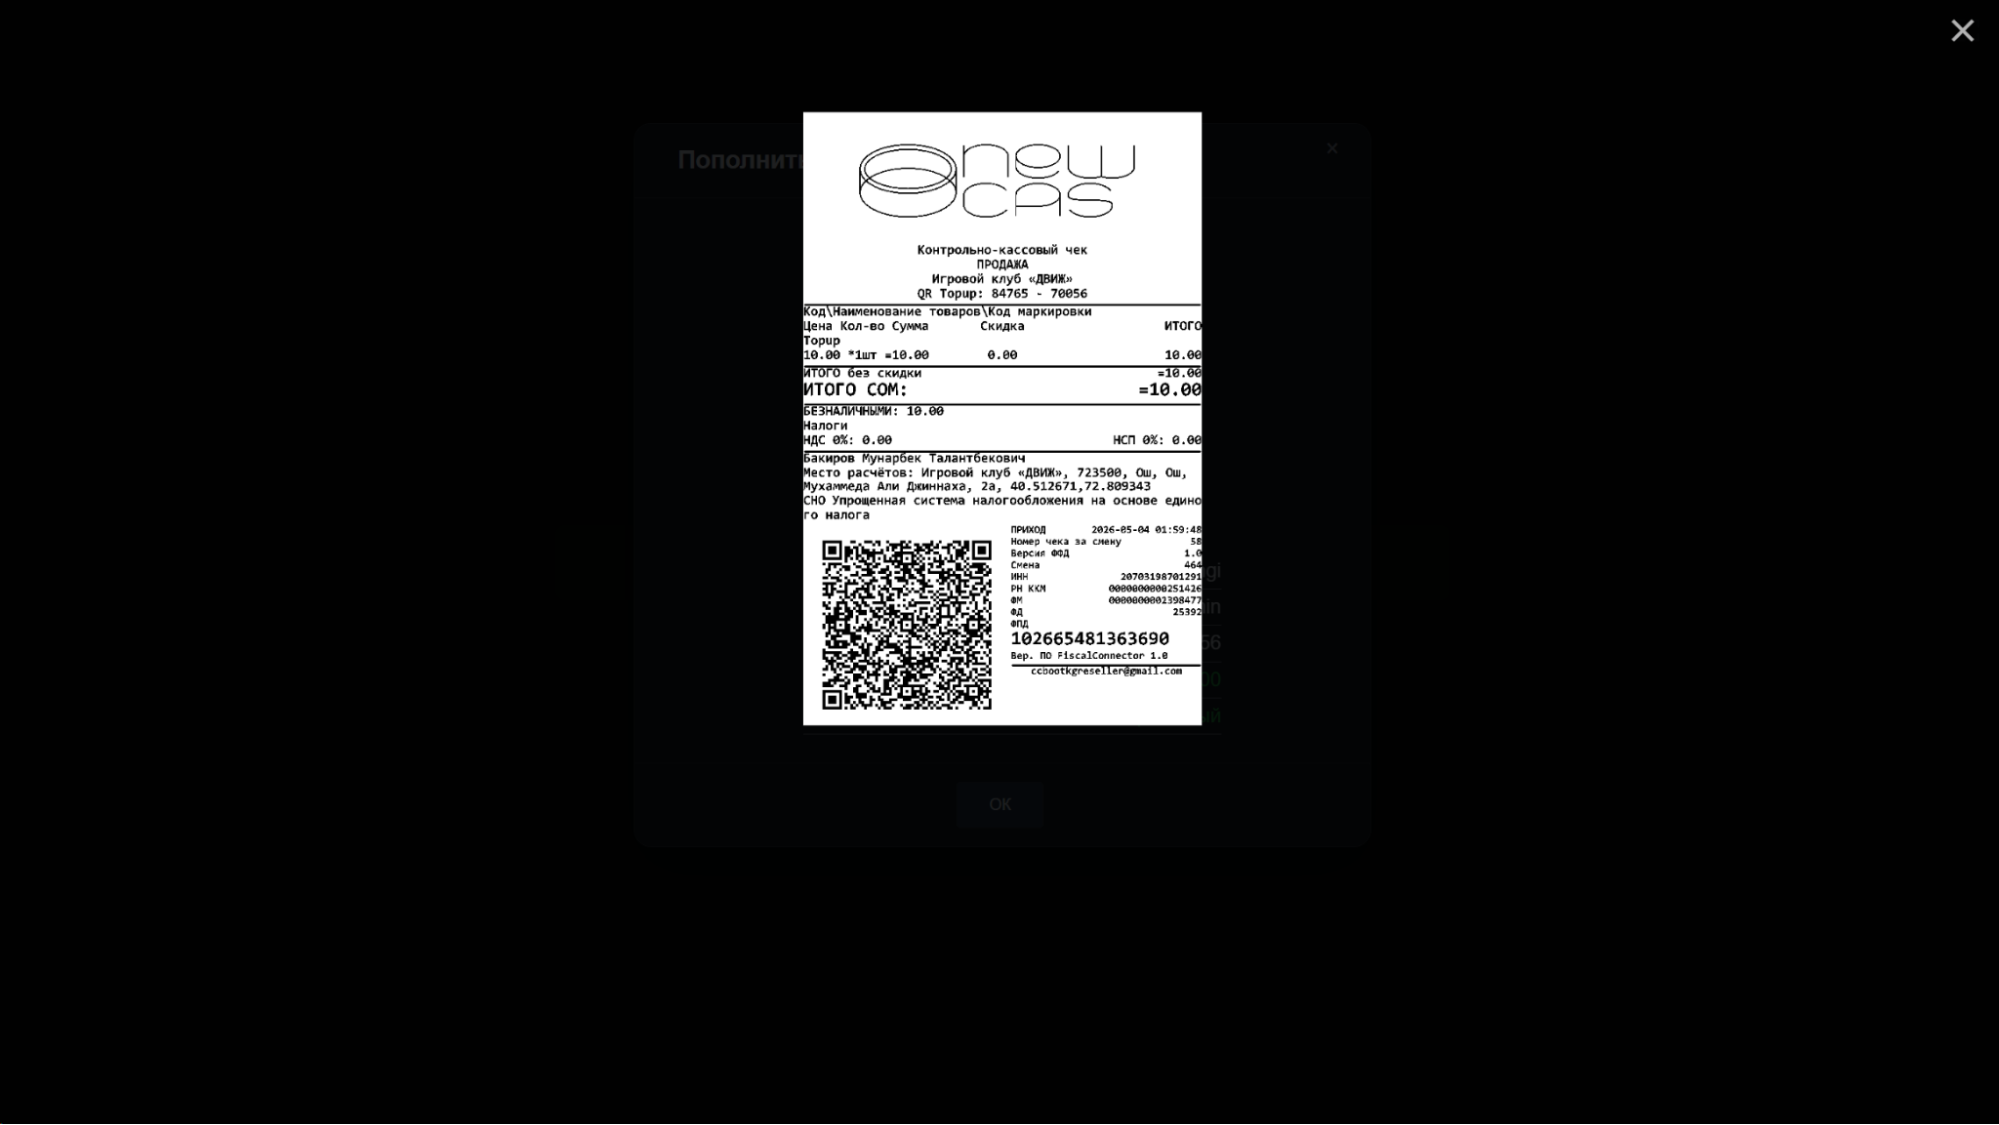
Figure 10