2026-06-24
transfer, postpaid, session
The following explains how to allow postpaid sessions to be transferred into member or prepaid sessions while automatically adjusting the session balance. Any amount already used in the postpaid session is deducted from the receiving session’s balance, ensuring accurate and consistent billing across session types.
- Navigate to POS → Settings and locate Allow Transfer Postpaid Session. Set this option to Yes to enable the function. (Figure 1)
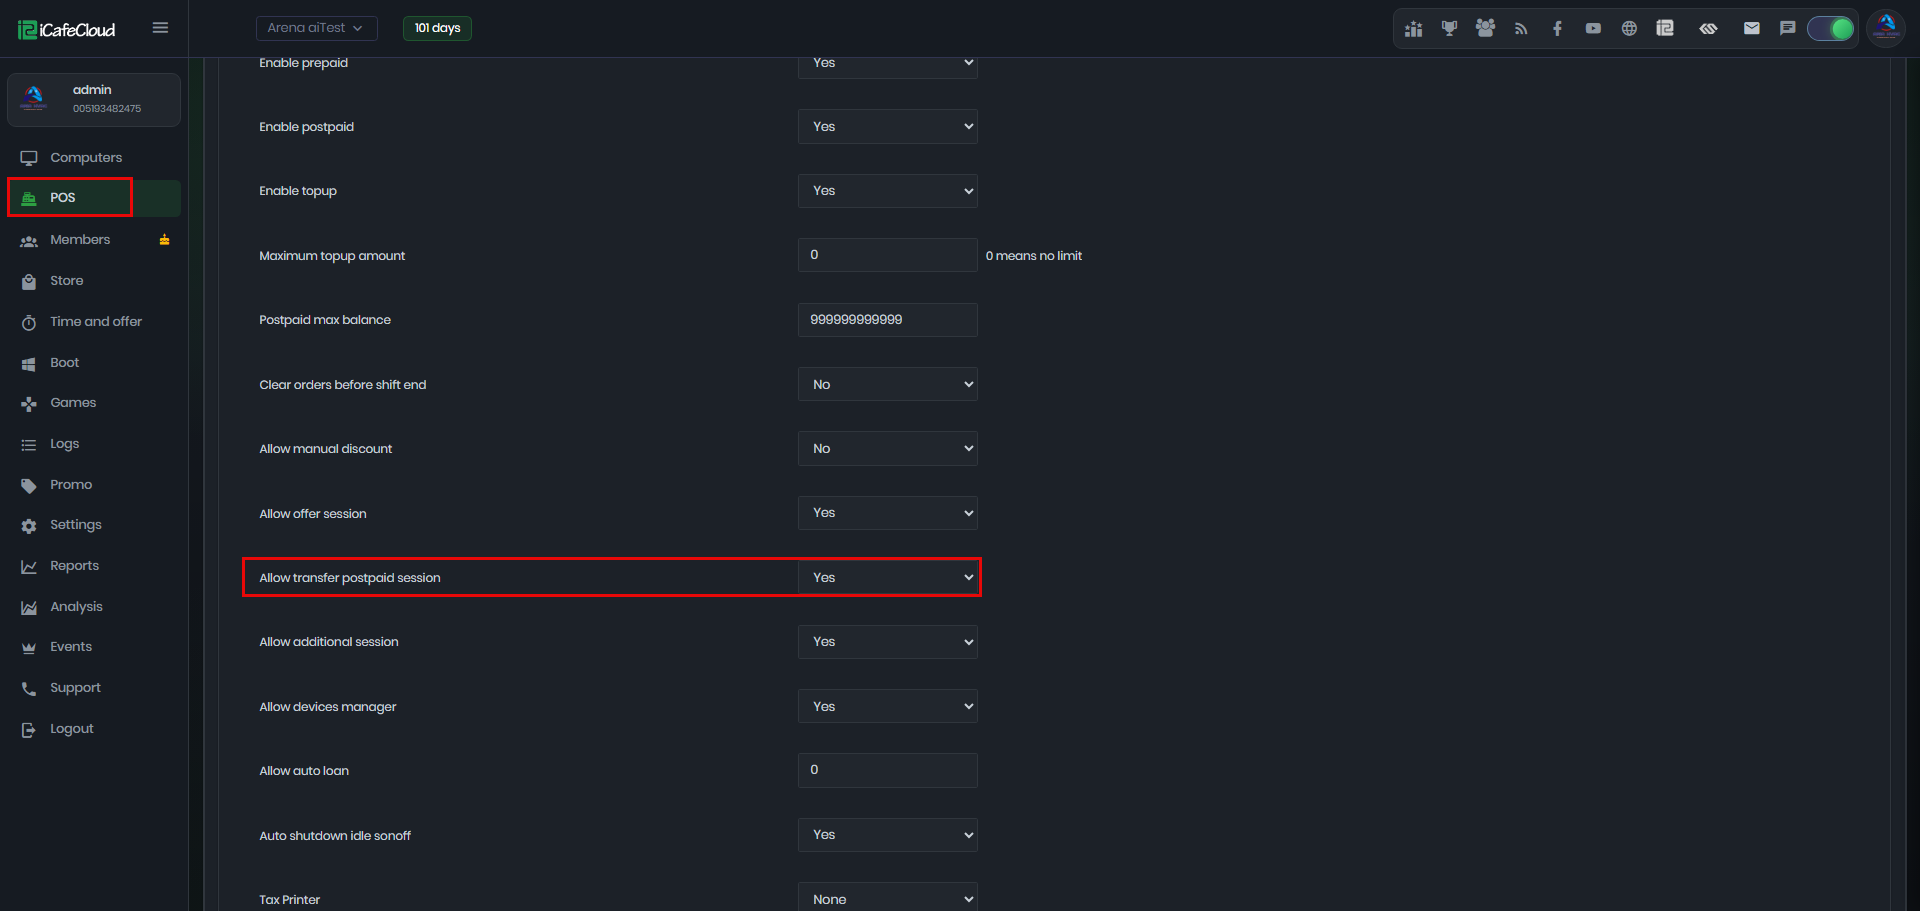
Figure 1
- On the Computers page, start a postpaid session. Once the session is active, click on the active session menu and you will notice the Transfer Session option.(Figure 2)
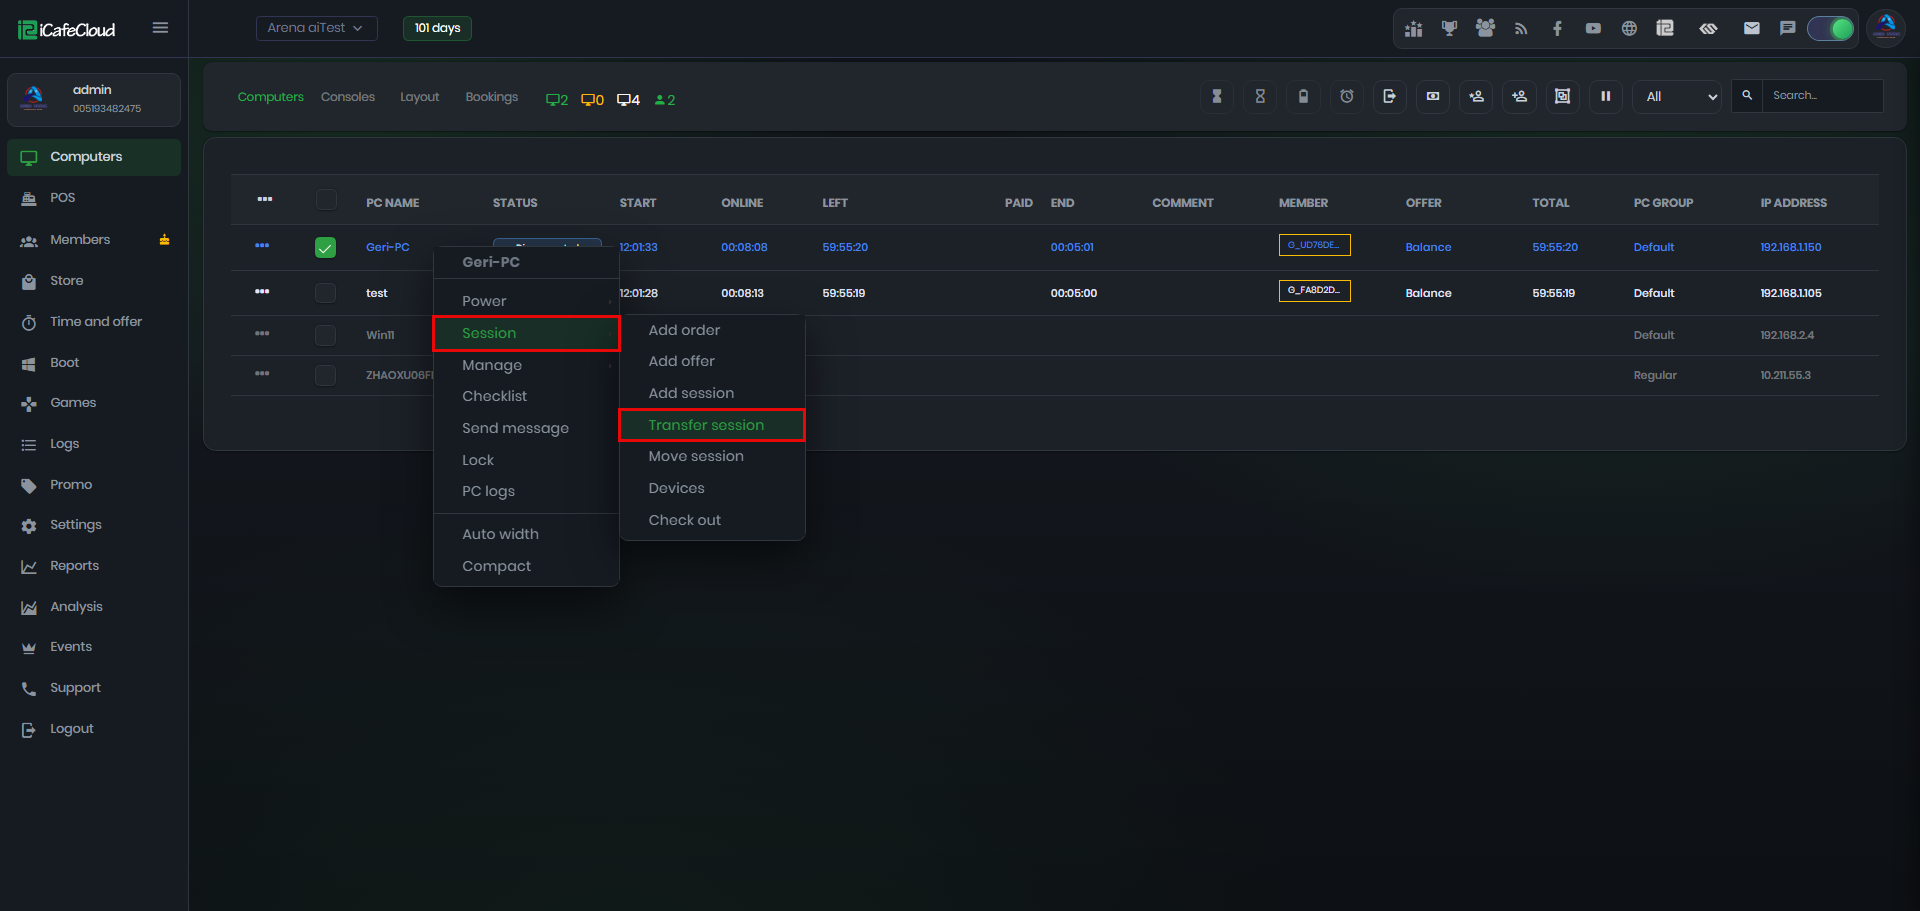
Figure 2
- The system will prompt you to select the destination PC to which the session will be transferred. After selecting the target PC, click Confirm to complete the transfer. (Figure 3)
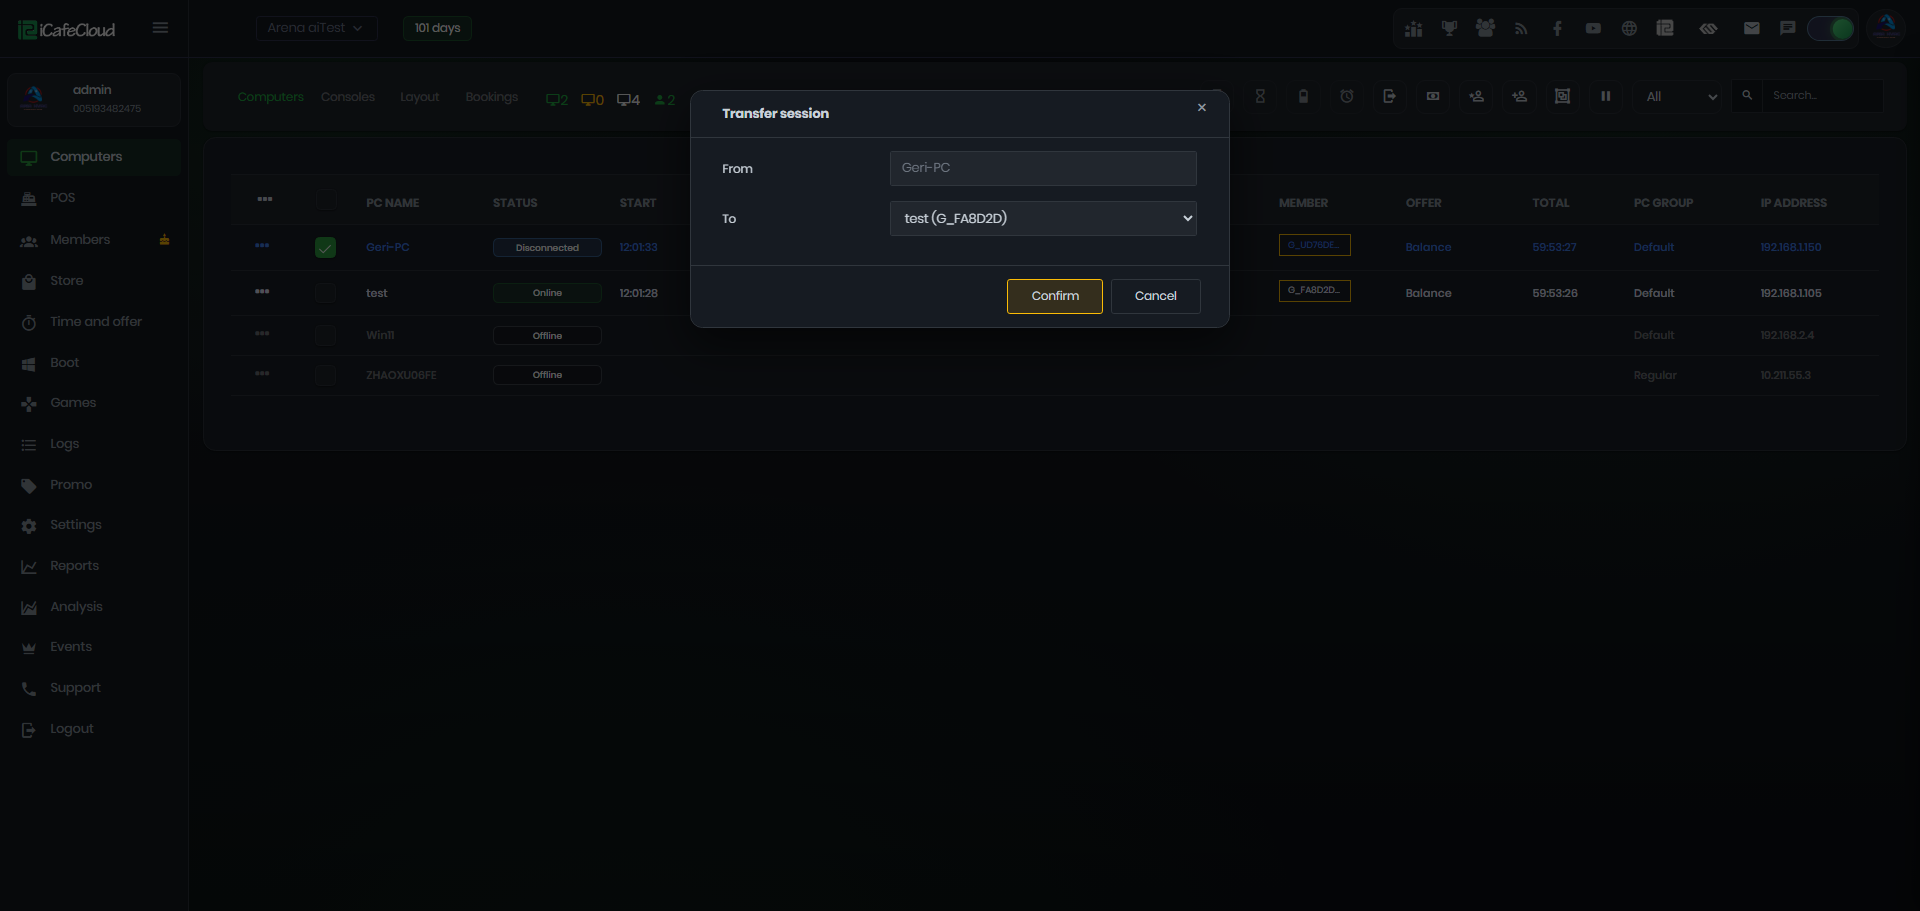
Figure 3
- The original PC will be automatically checked out, and the remaining amount due from the postpaid session will be transferred to the selected target PC. A confirmation notification will be displayed to verify that the transfer was completed successfully. (Figure 4)
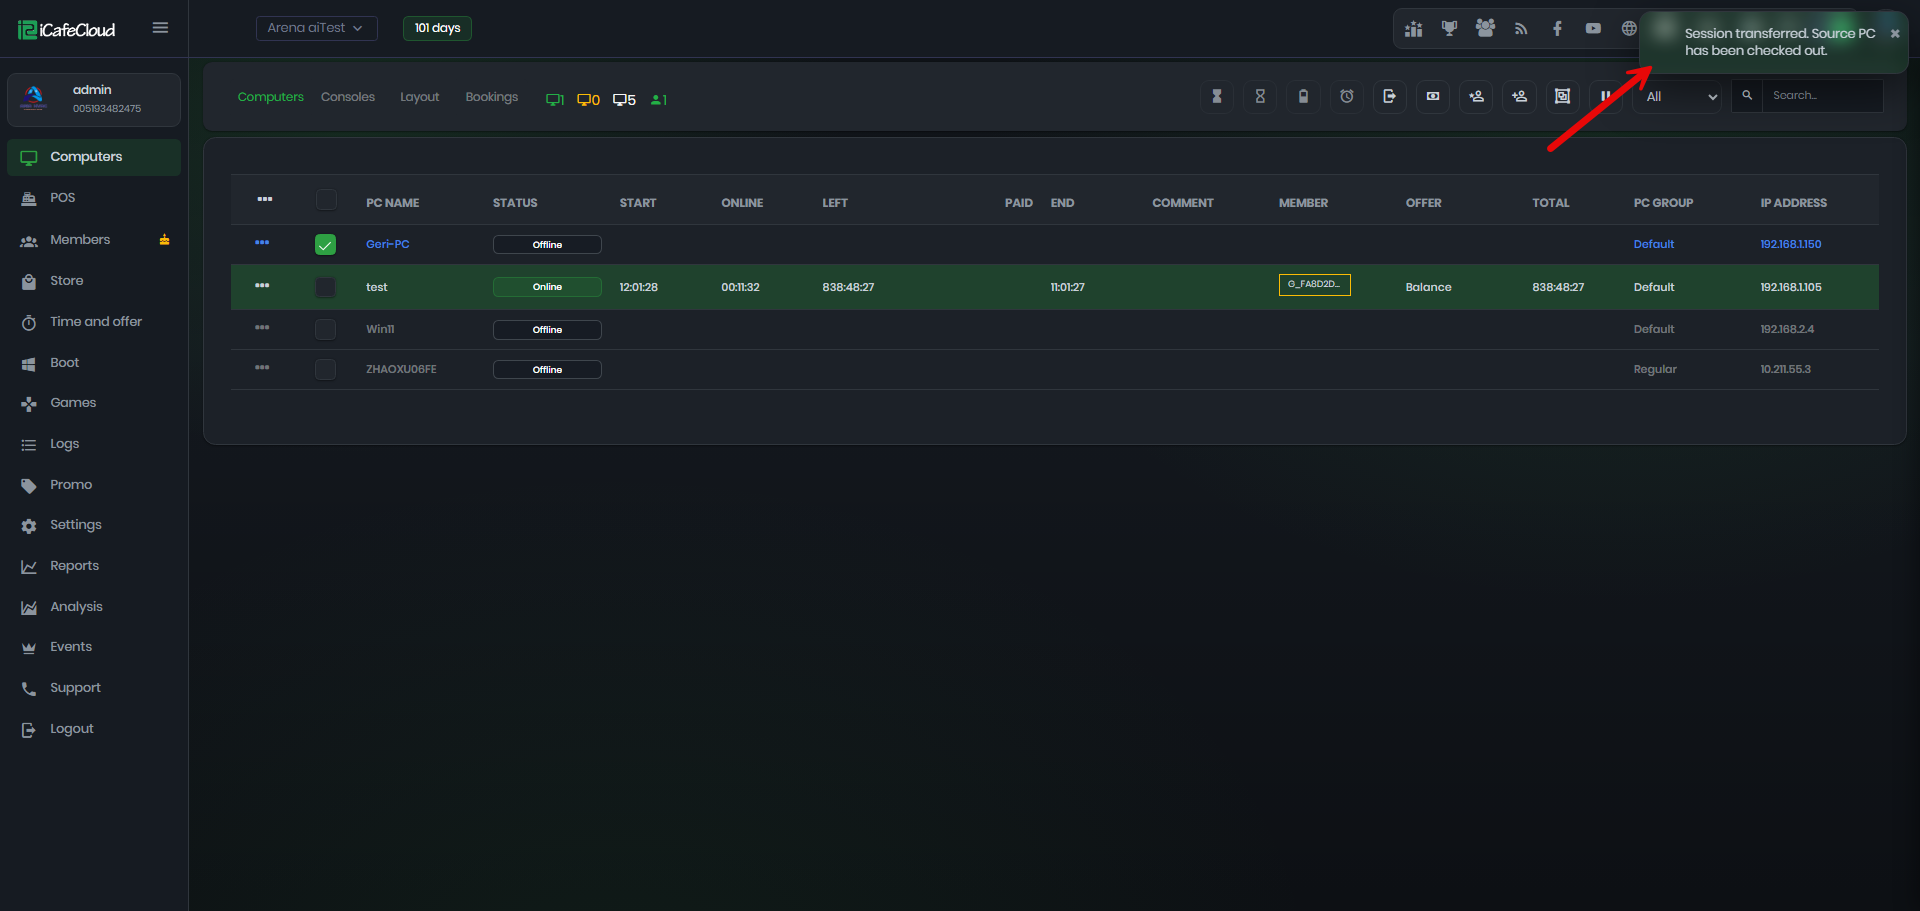
Figure 4
- During checkout, the Transfer Amount will be displayed and automatically included in the Total Amount Due, ensuring the transferred balance is charged on the target PC.(Figure 5)
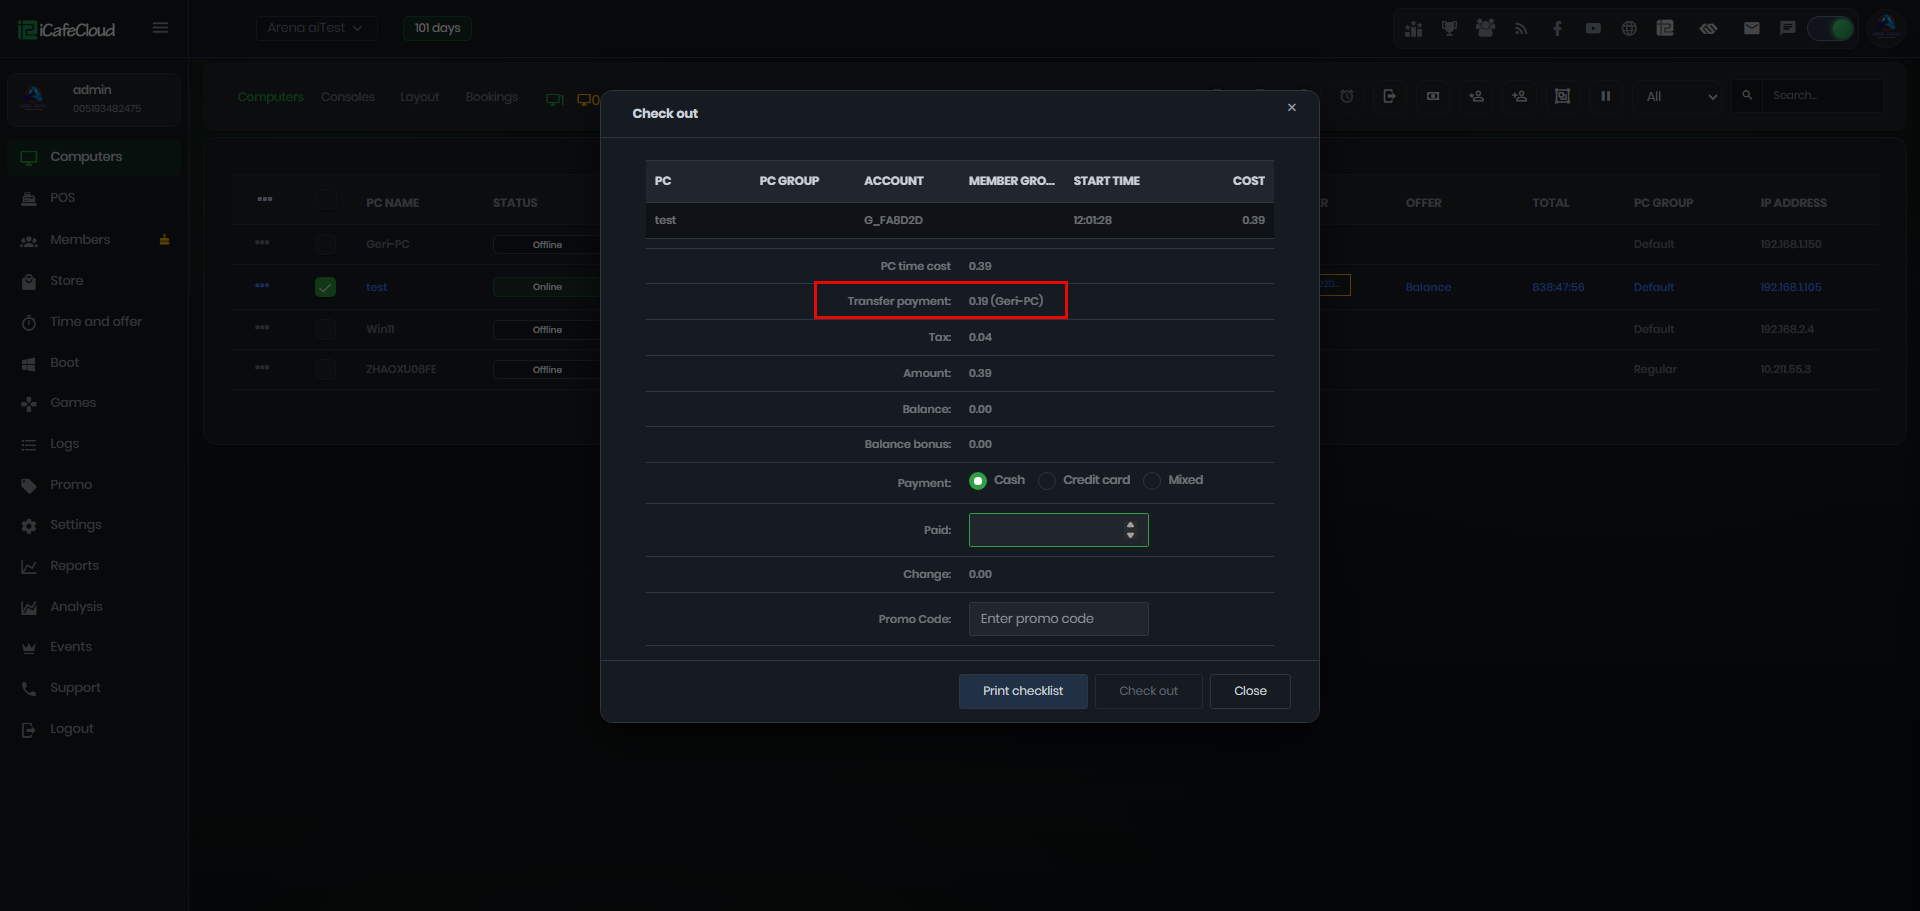
Figure 5
- The Logs page will also record the transfer details, showing the session movement and related payment changes for tracking and verification purposes. (Figure 6)
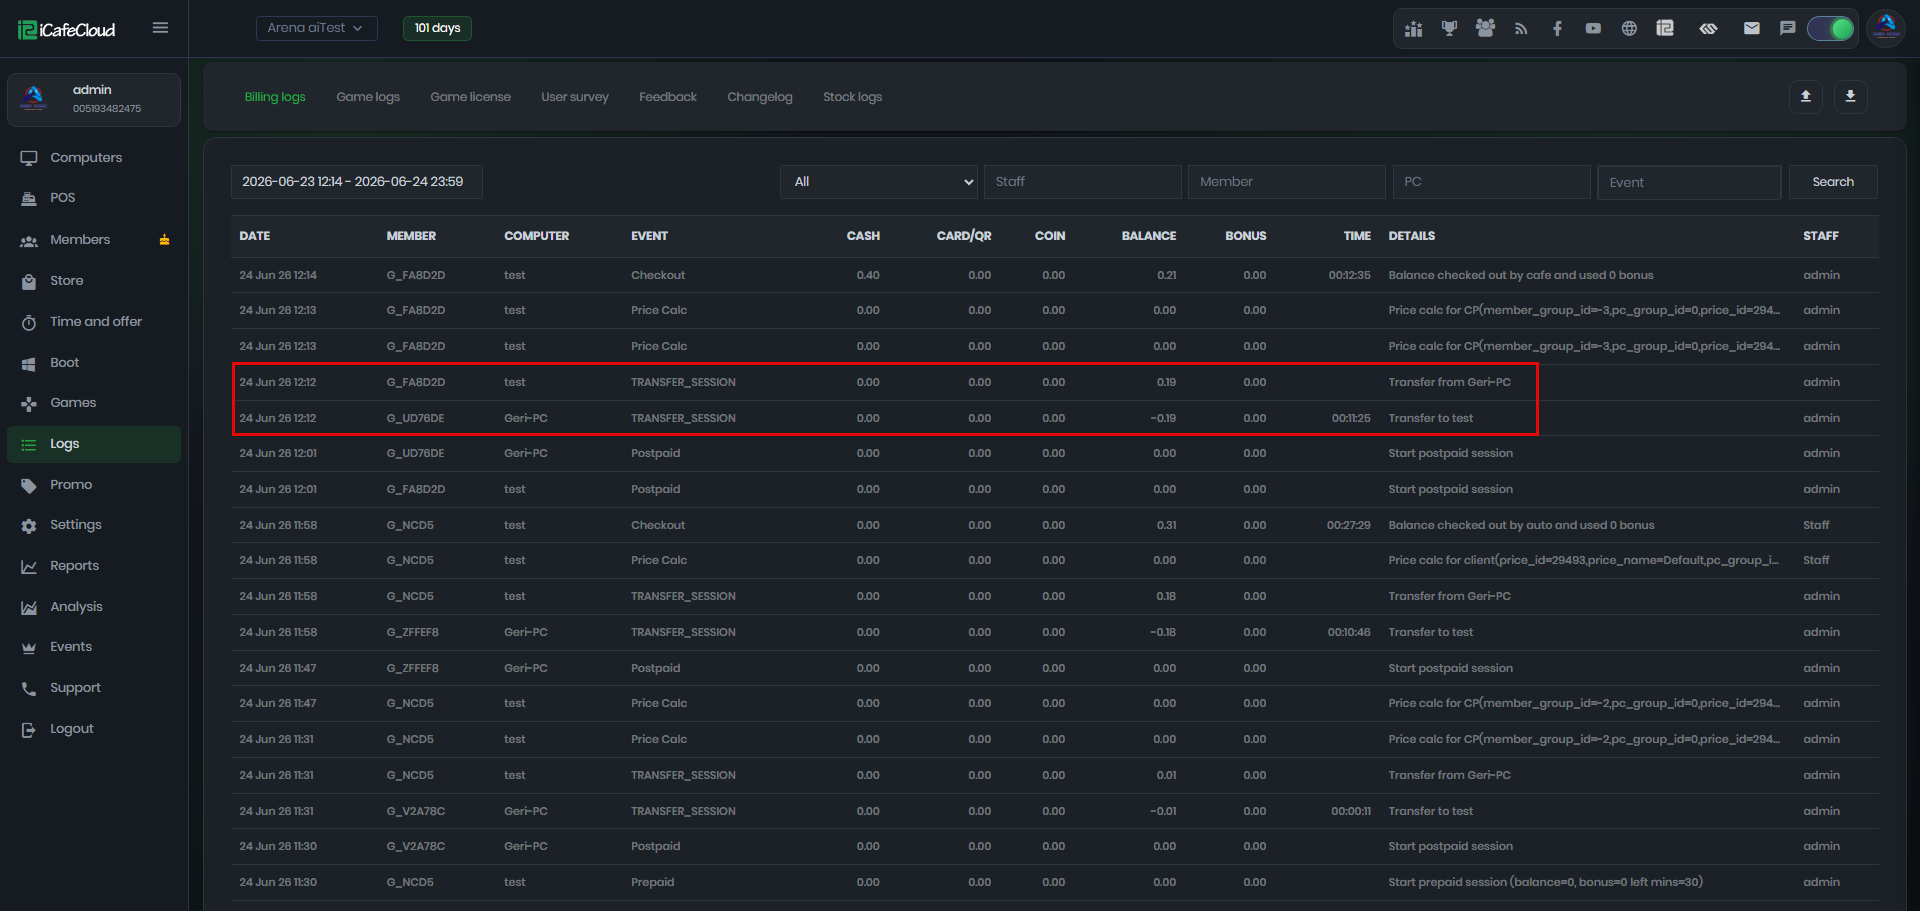
Figure 6
- If a postpaid session is transferred to a member or prepaid session, the system will deduct the amount already used from the transferred postpaid balance and update the remaining session balance accordingly.
For example, if a member has a $10 balance and $1 has been used from a transferred postpaid session, the remaining balance will be $9.