2025-12-28
postpaid, pay, later, checklist
The following explains how to start a postpaid session with pay later at checkout, enable the checklist, and view the order list and total price on the client side.
- To use this function, you must first enable the checklist feature in Settings → Client Settings ( Figure 1).
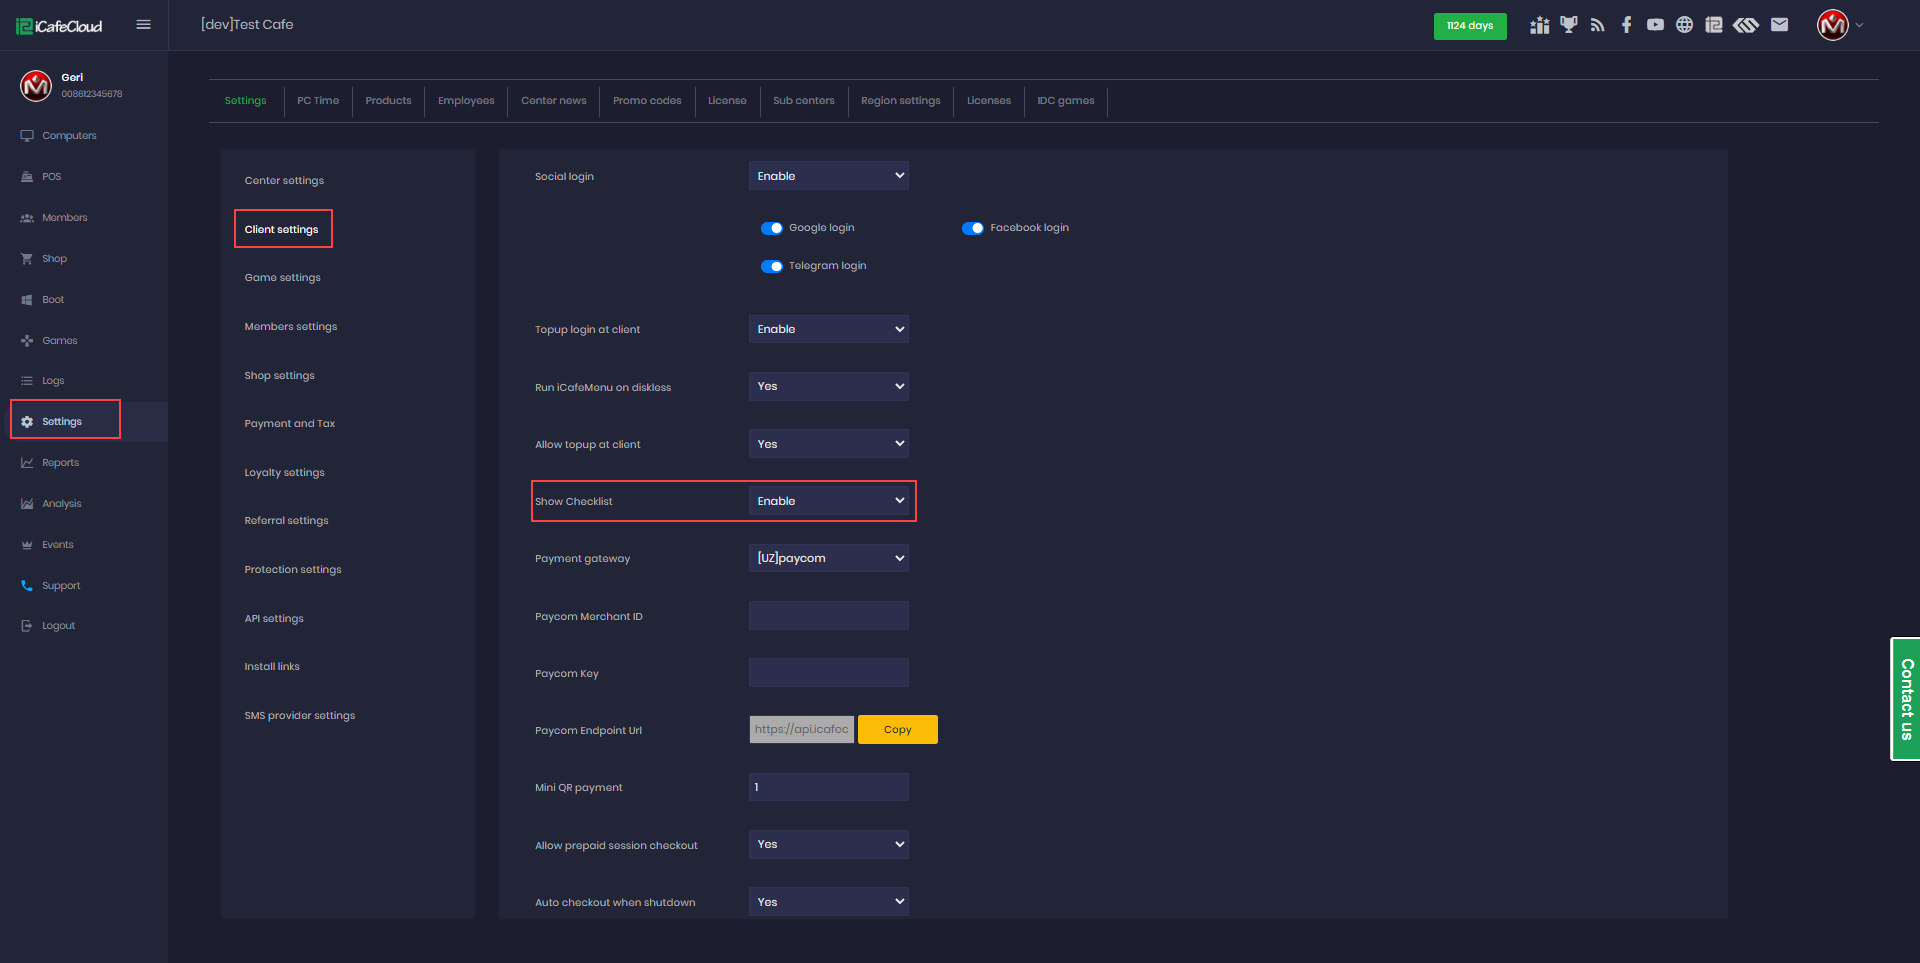
(Figure 1)
- Select a PC and click Start Postpaid Session.(Figure 2)
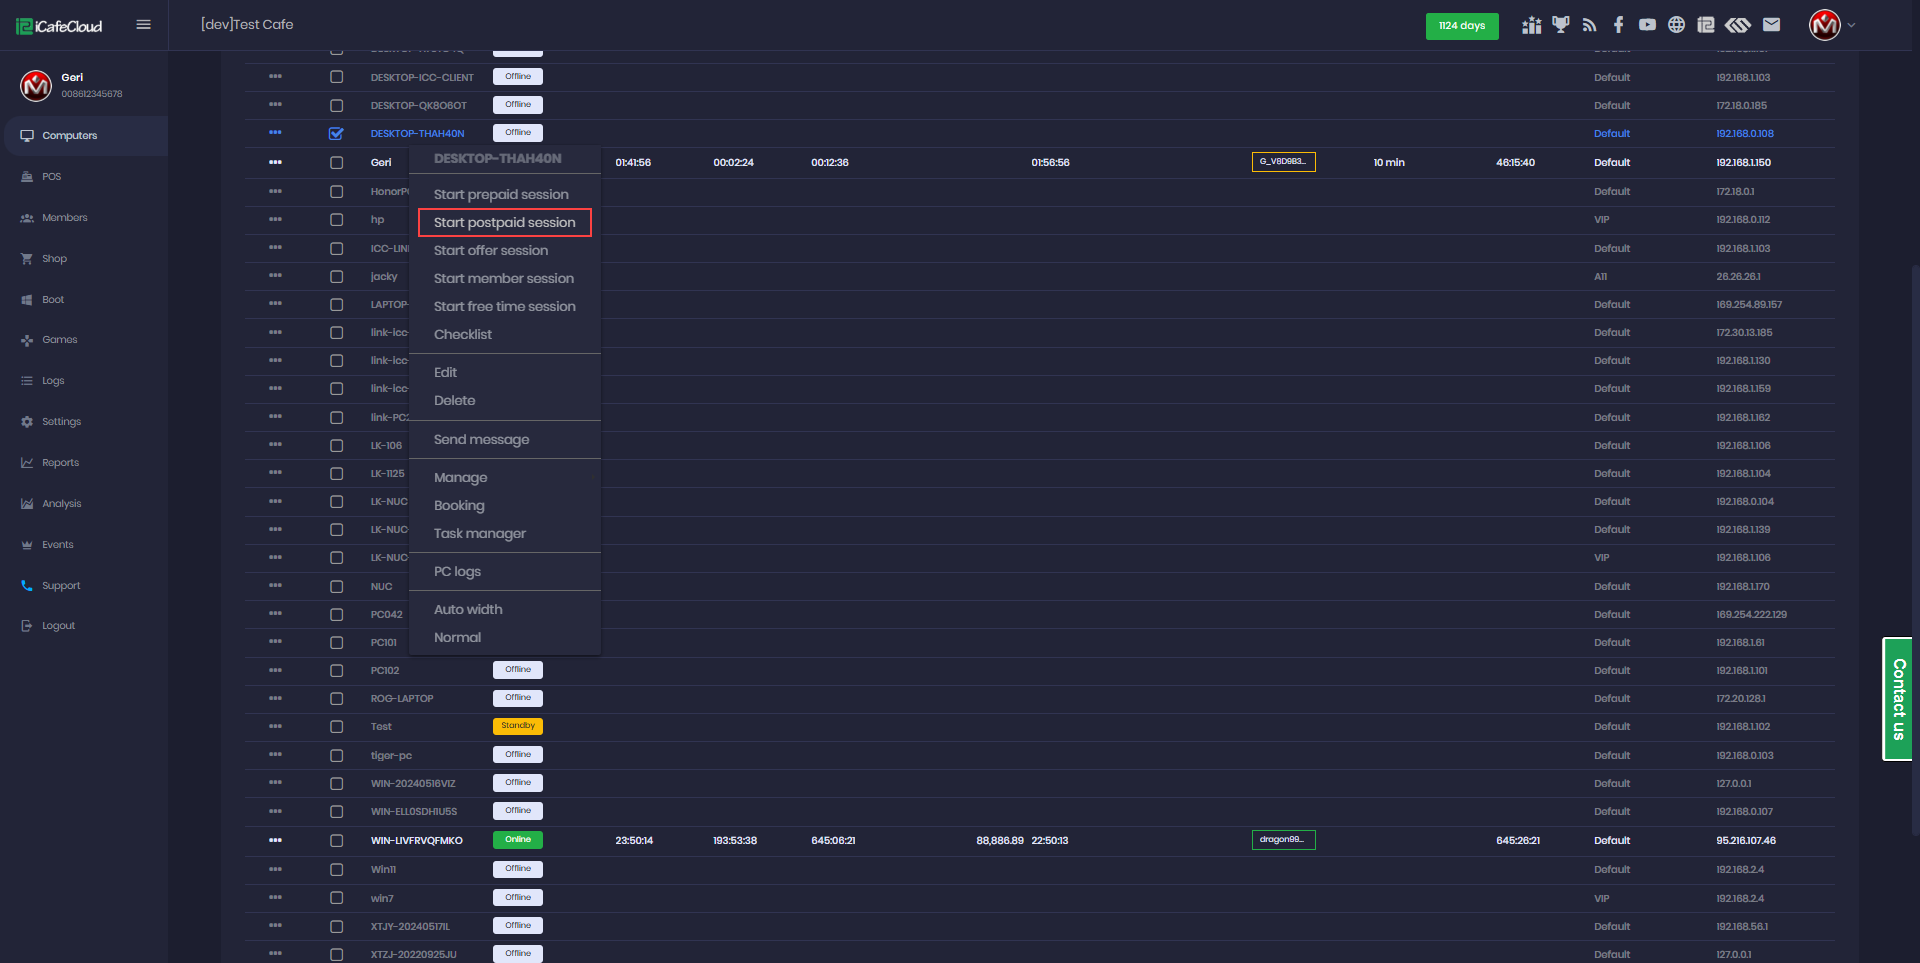
Figure 2
- On the client side, the customer can see the hourly price and their total spend so far.(Figure 3)
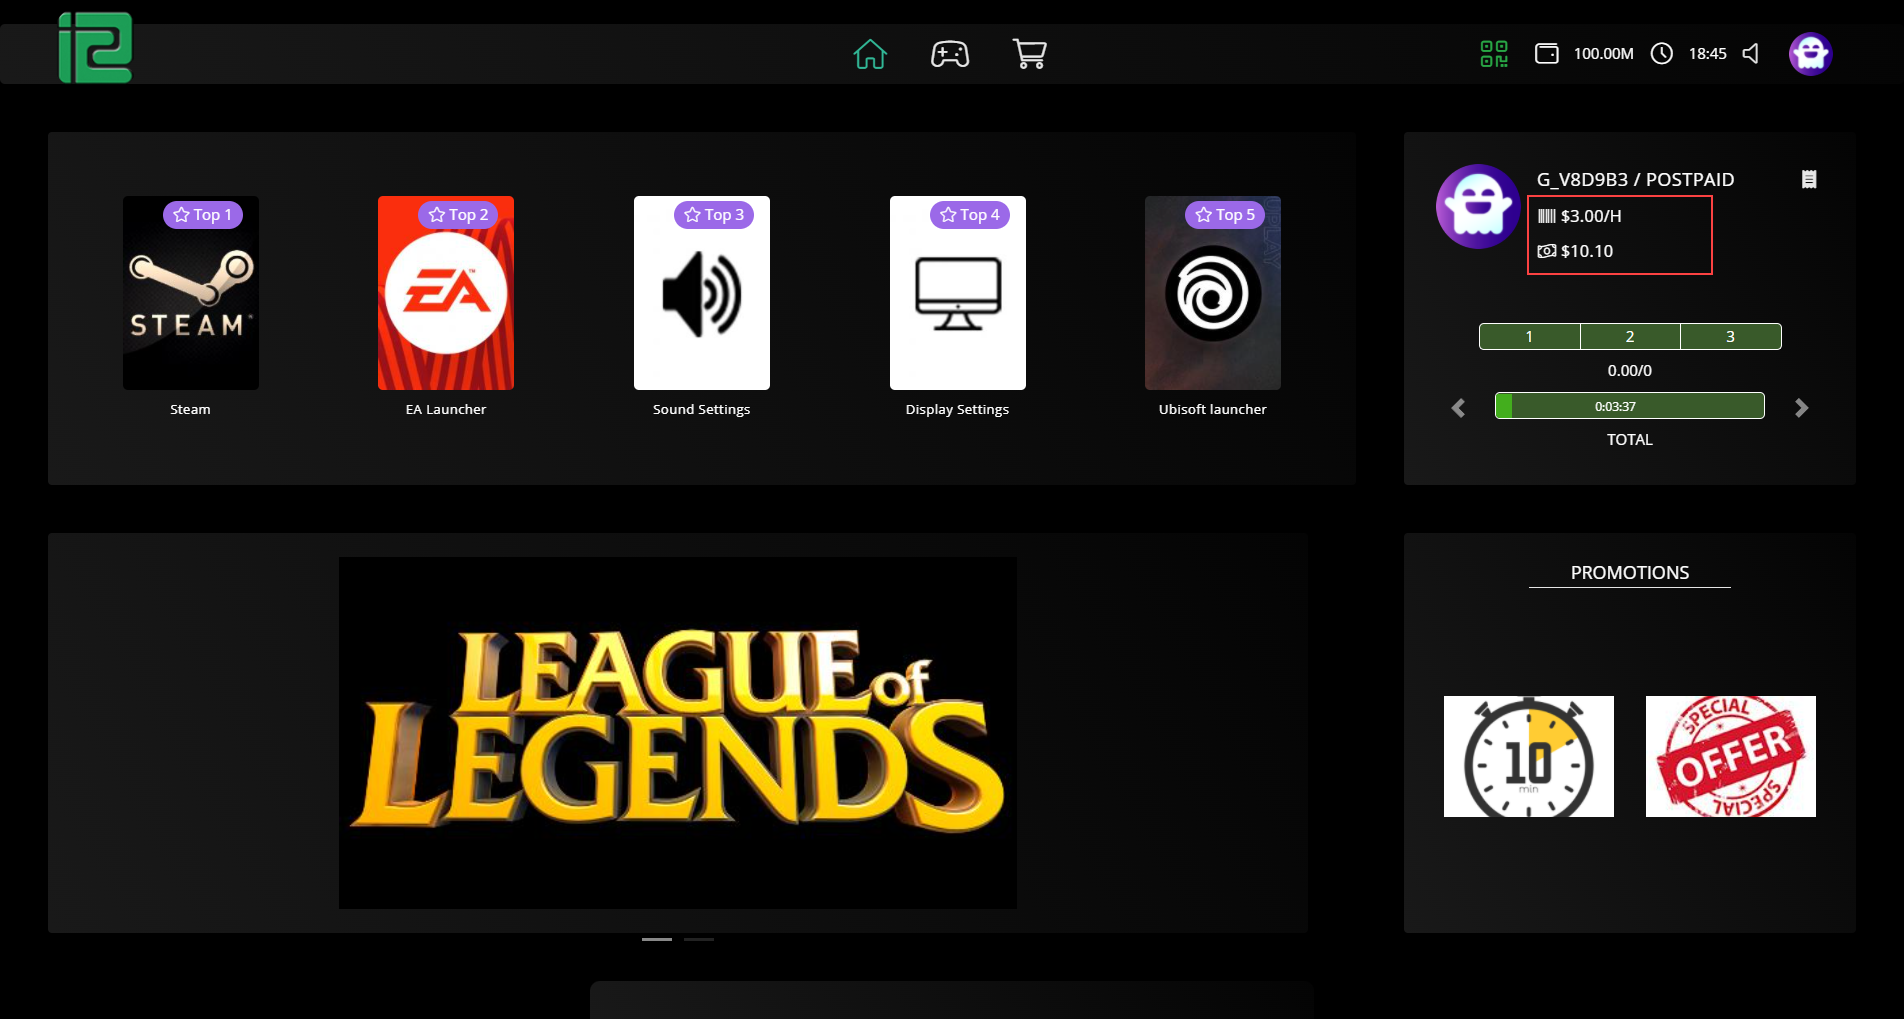
Figure 3
- In the client Shop, the customer can place an order and choose Pay Later. The amount will then be added to their total spend (Figure 4).
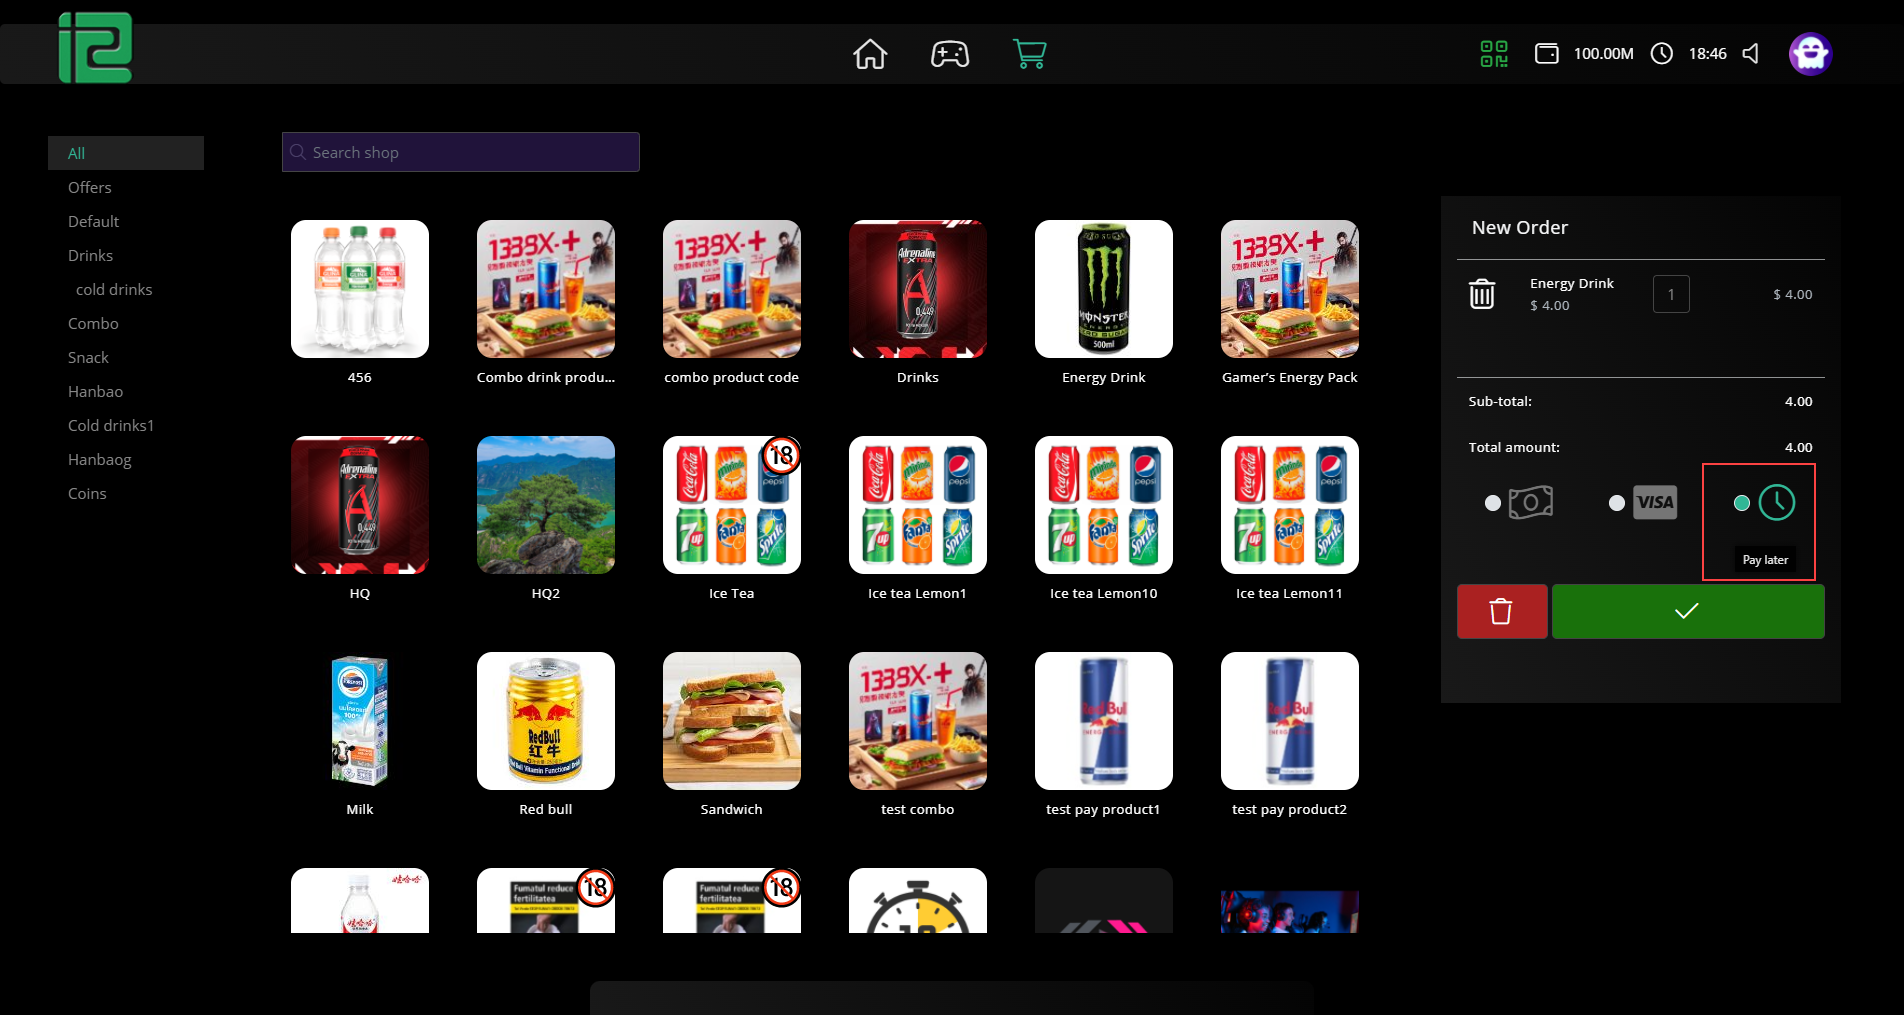
Figure 4
- Once finished playing and ready to leave, the customer can check out directly from the client side by clicking the Checklist button (Figure 5).

Figure 5
- The checkout screen displays all purchased orders, the PC time price, the total time spent for the session, and the final total amount to be paid (Figure 6).
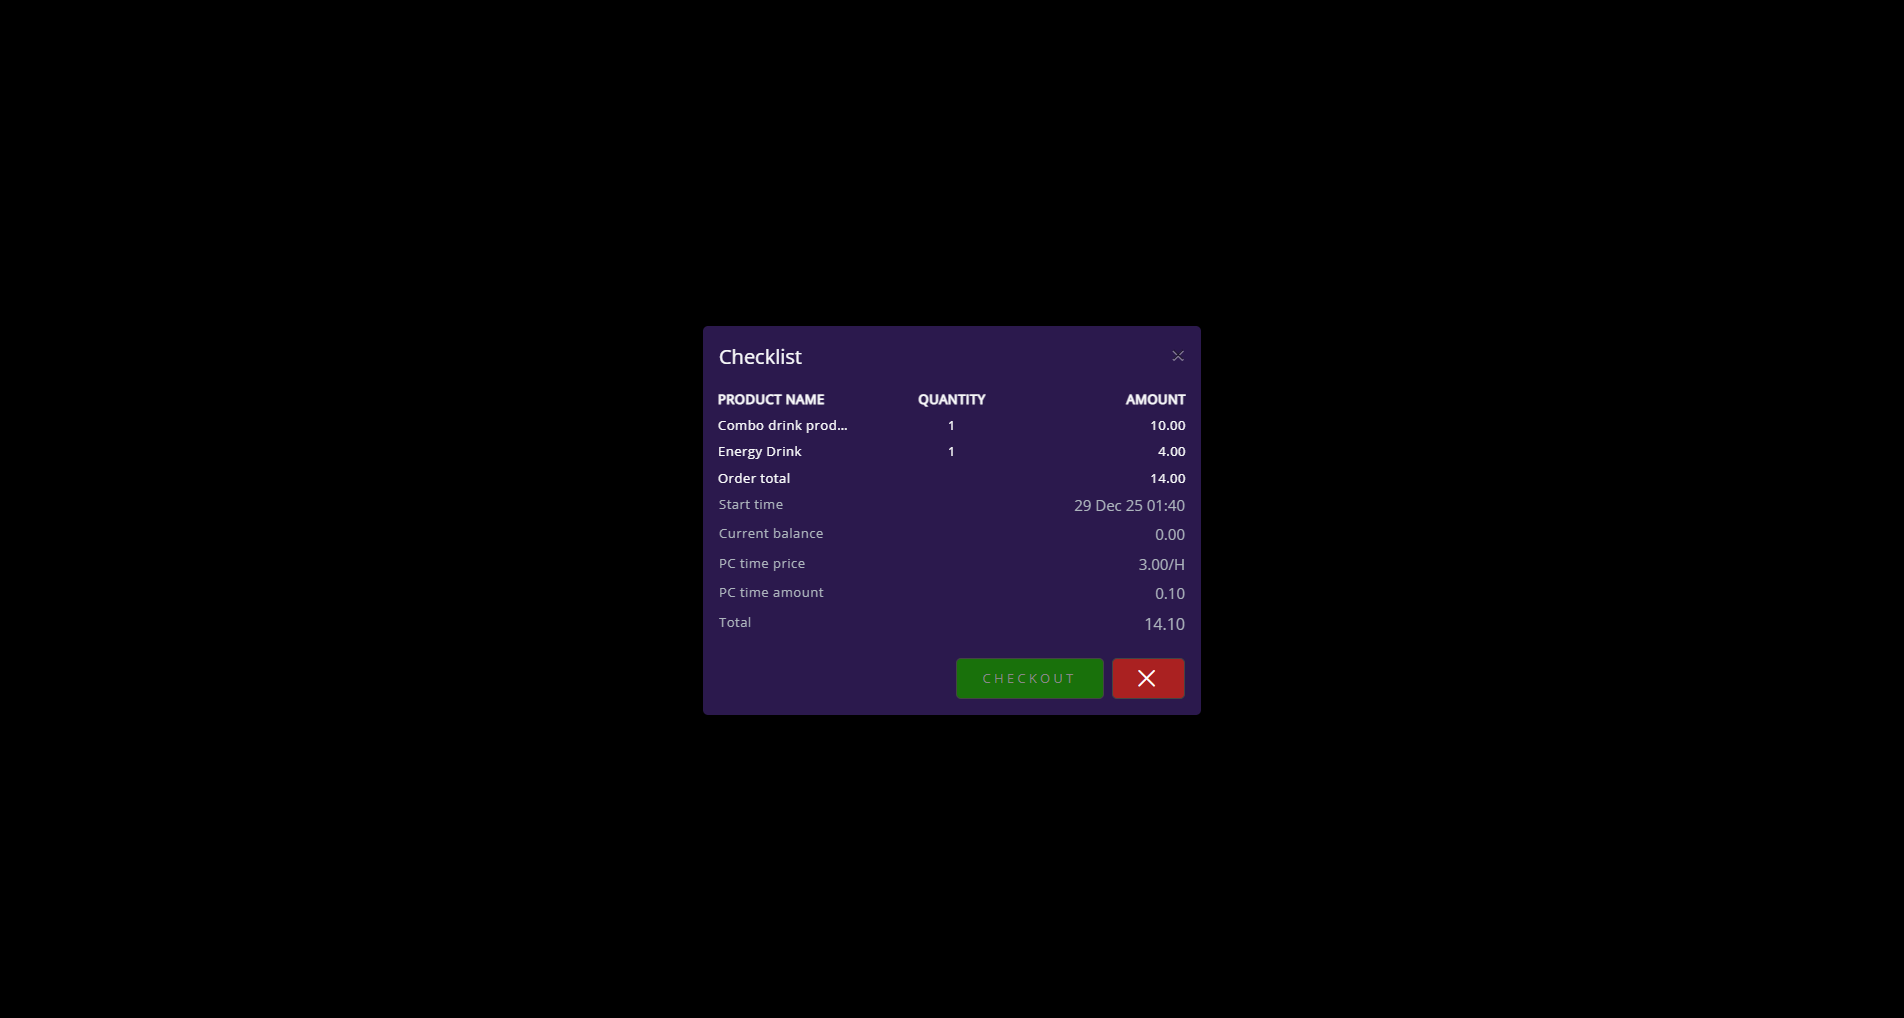
Figure 6
- A postpaid session cannot be checked out from the client side, the customer must ask an employee at the cash desk to complete the checkout.
- Once checkout is done, the employee can click "Checklist" from the cashier PC to view the session details (Figure 7).
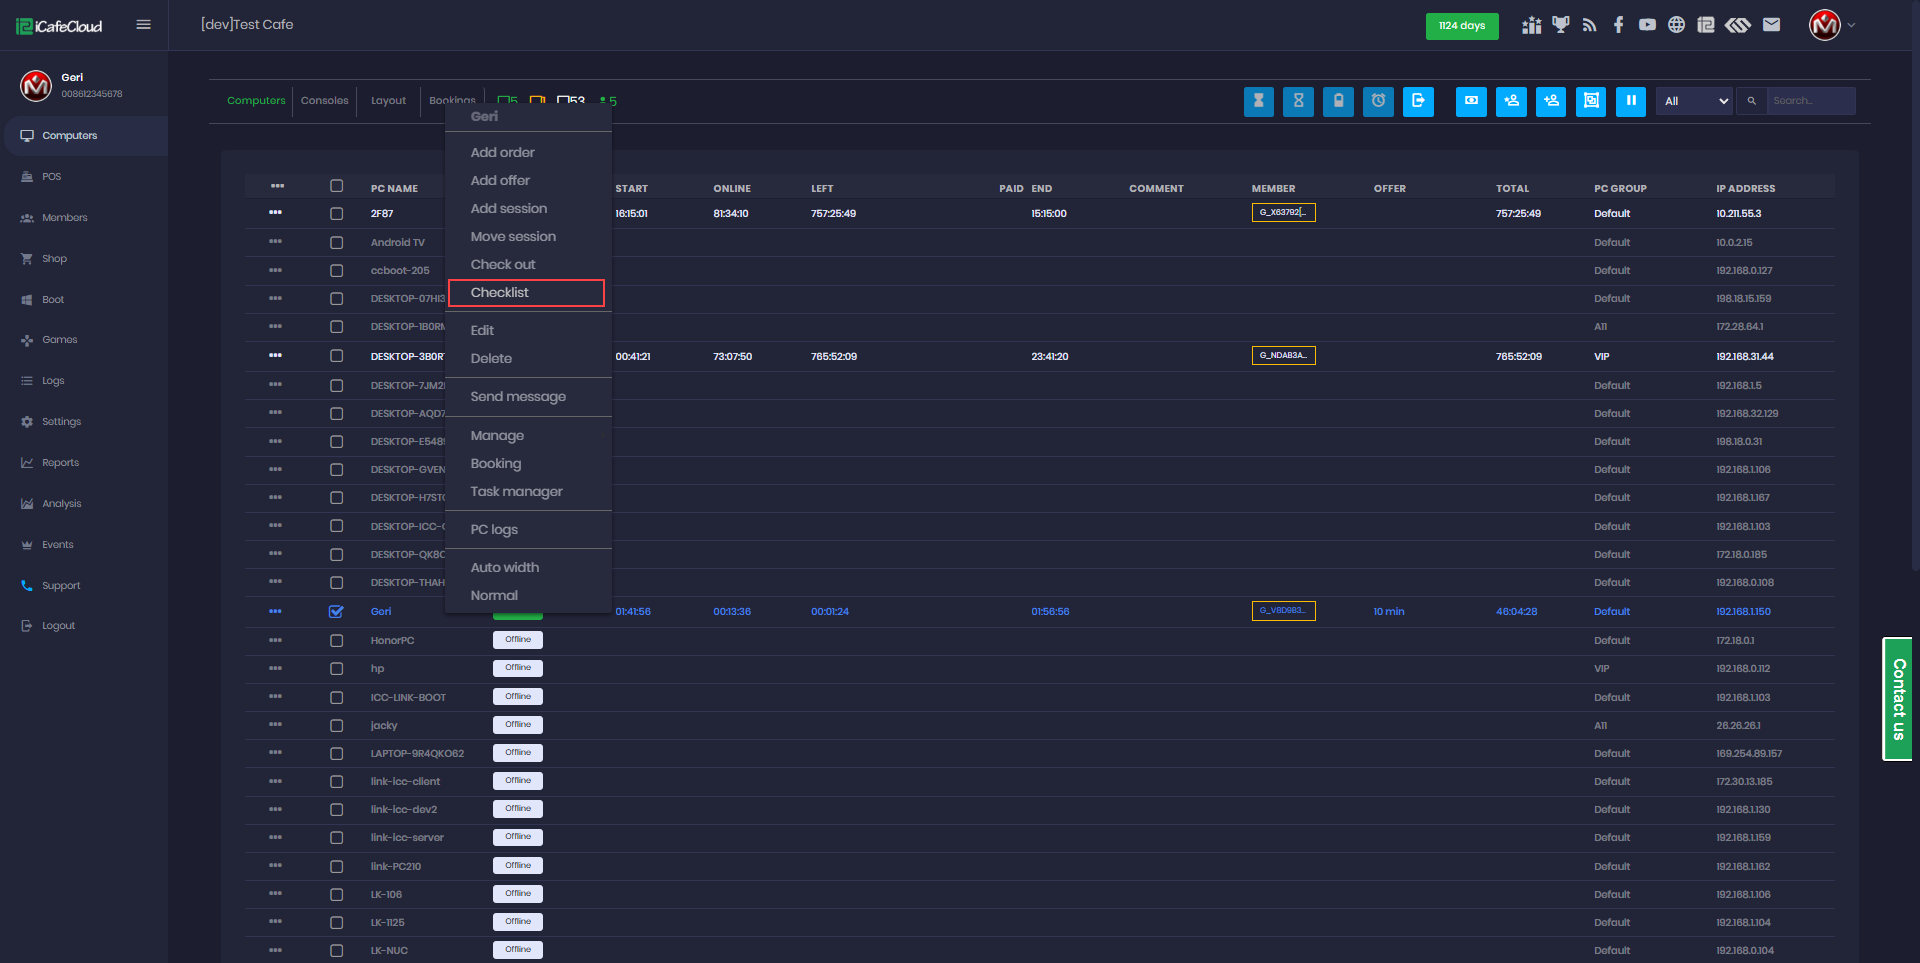
Figure 7
- The checklist displays sessions from the last 24 hours. Locate the most recent session, then click Print to view the itemized list and total price. (Figure 8)
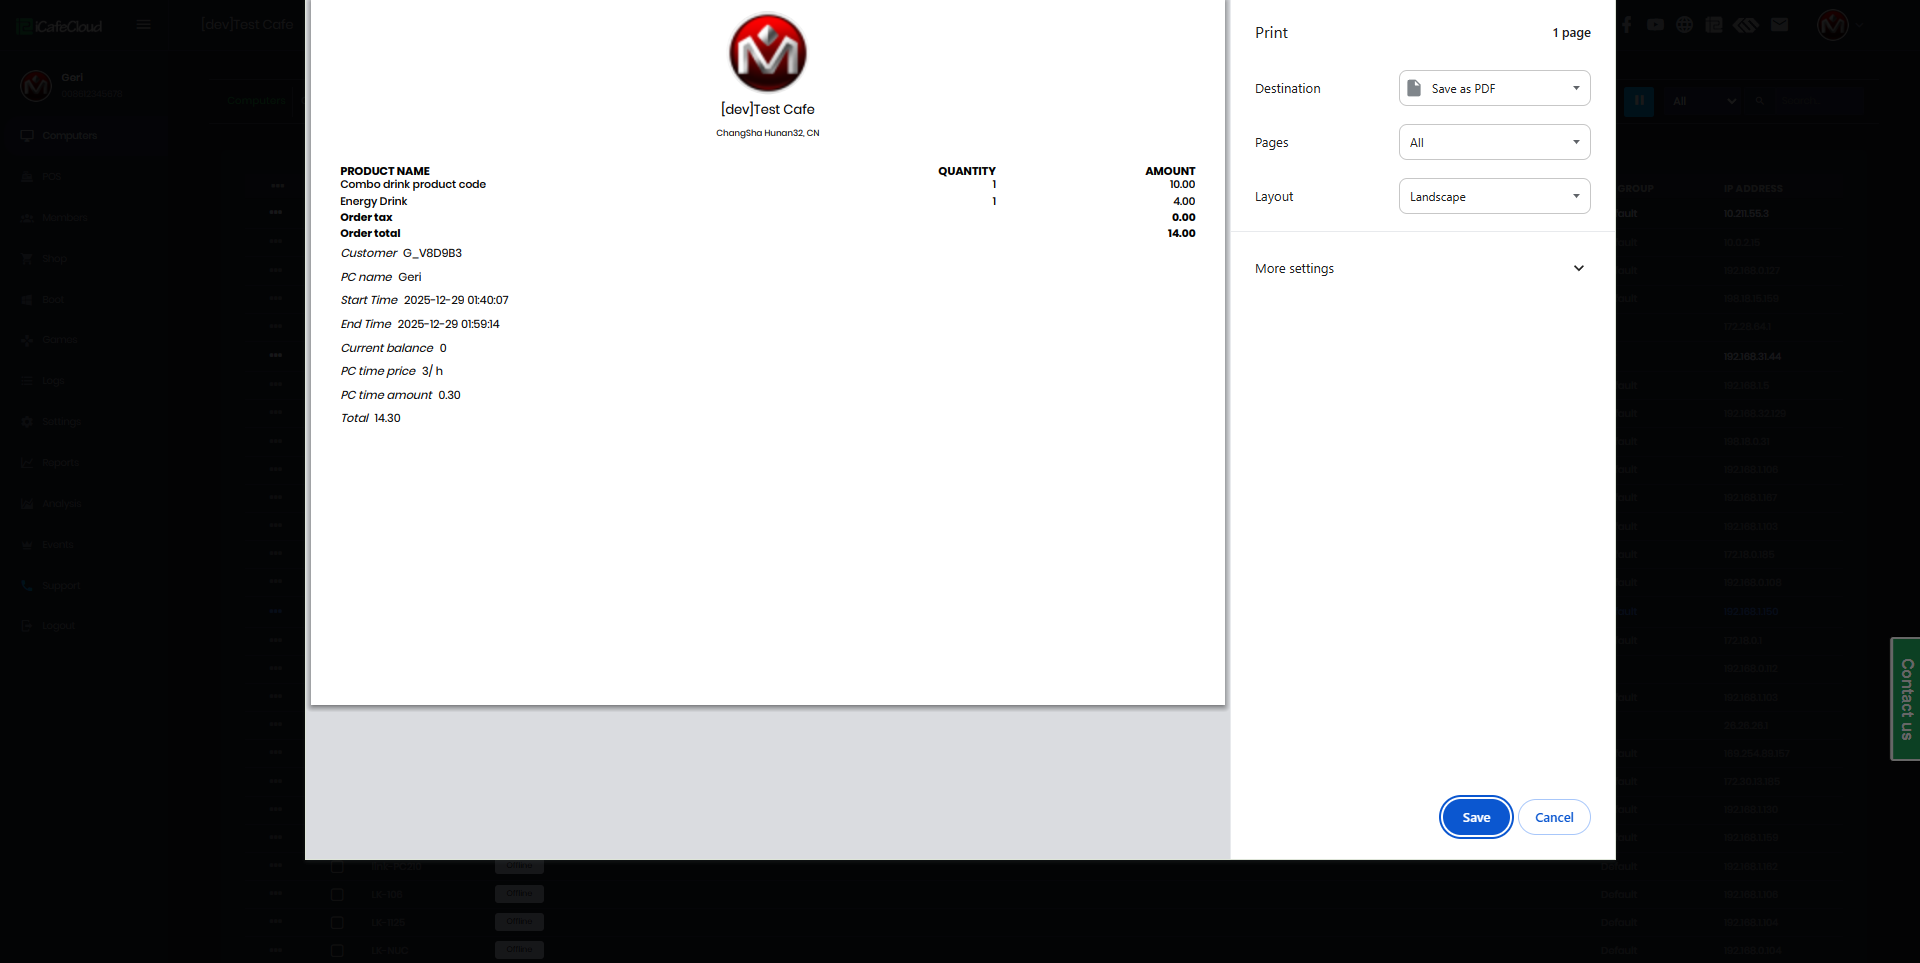
Figure 8