2026-01-13
icafemenu, desktop, shell
The following explains how to disable iCafeMenu from running before the desktop by removing it from the Shell and Userinit registry entries.
Disable by mount
- In the Boot section, select the image and click Mount Image. (Figure 1)
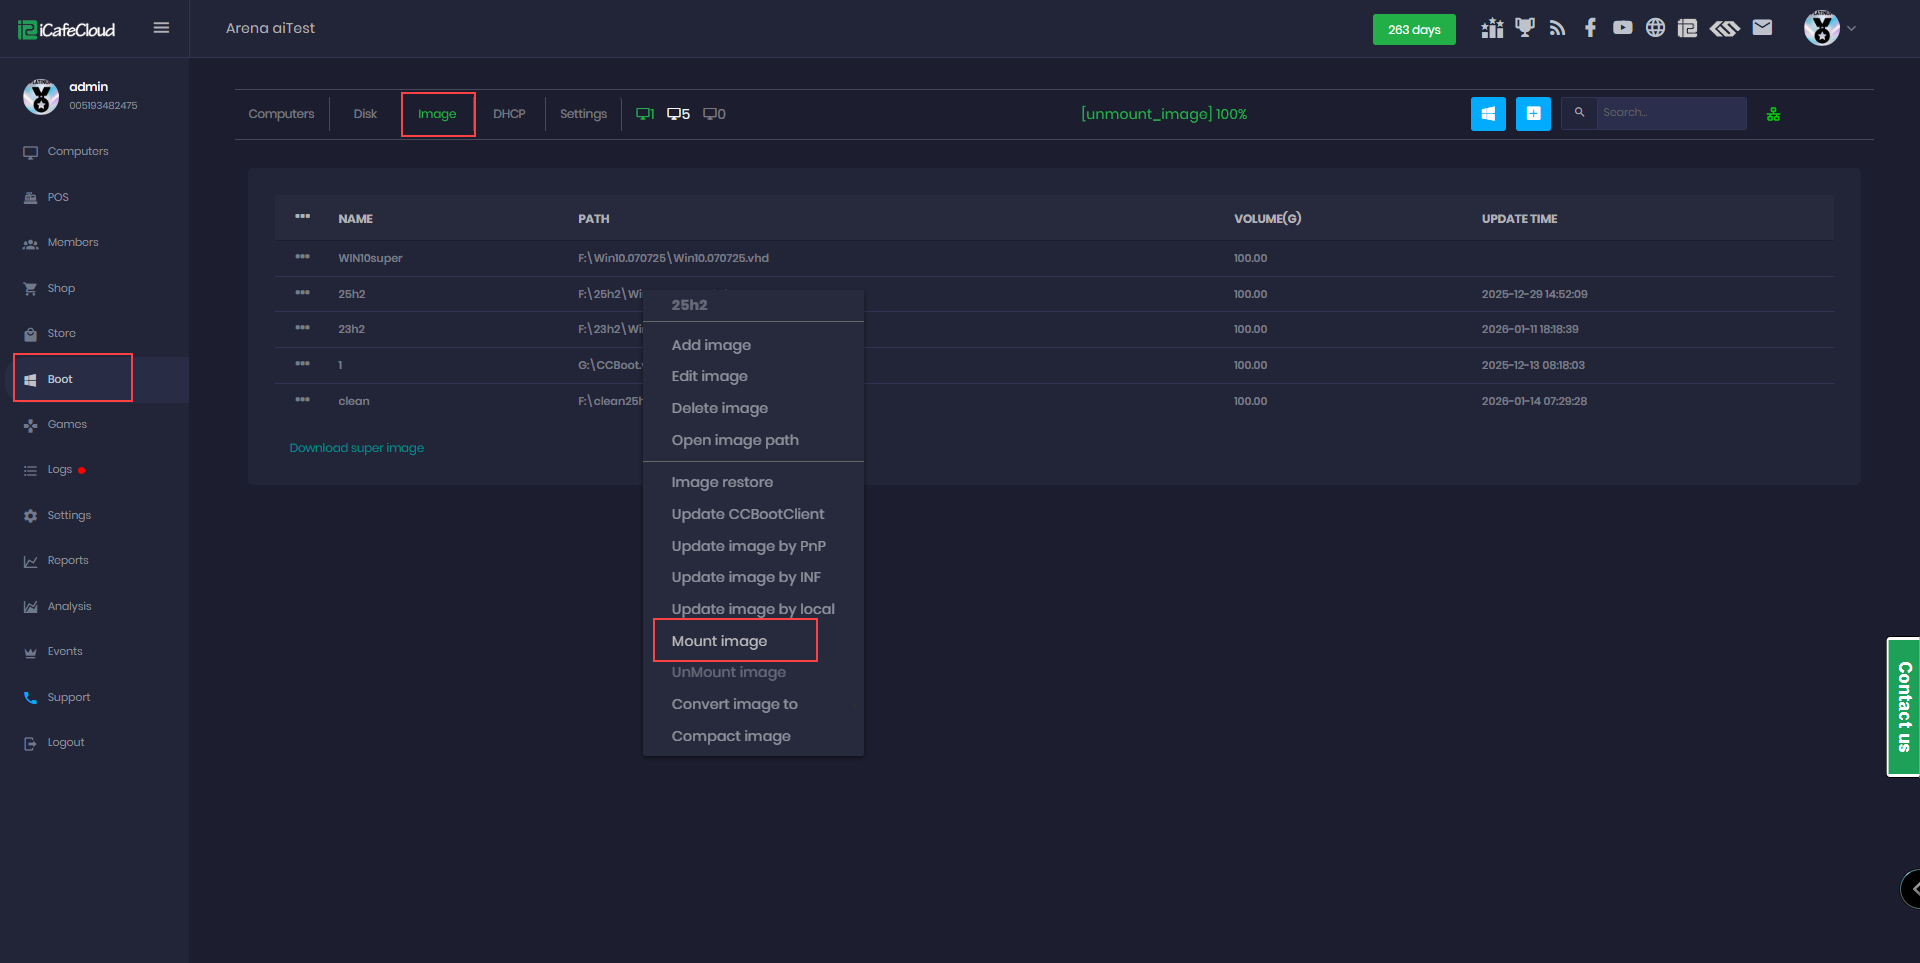
Figure 1
- To verify that the image is mounted successfully, check Disk Management. Images mounted from CCBoot usually appear as A: or B: drives.(Figure 2)
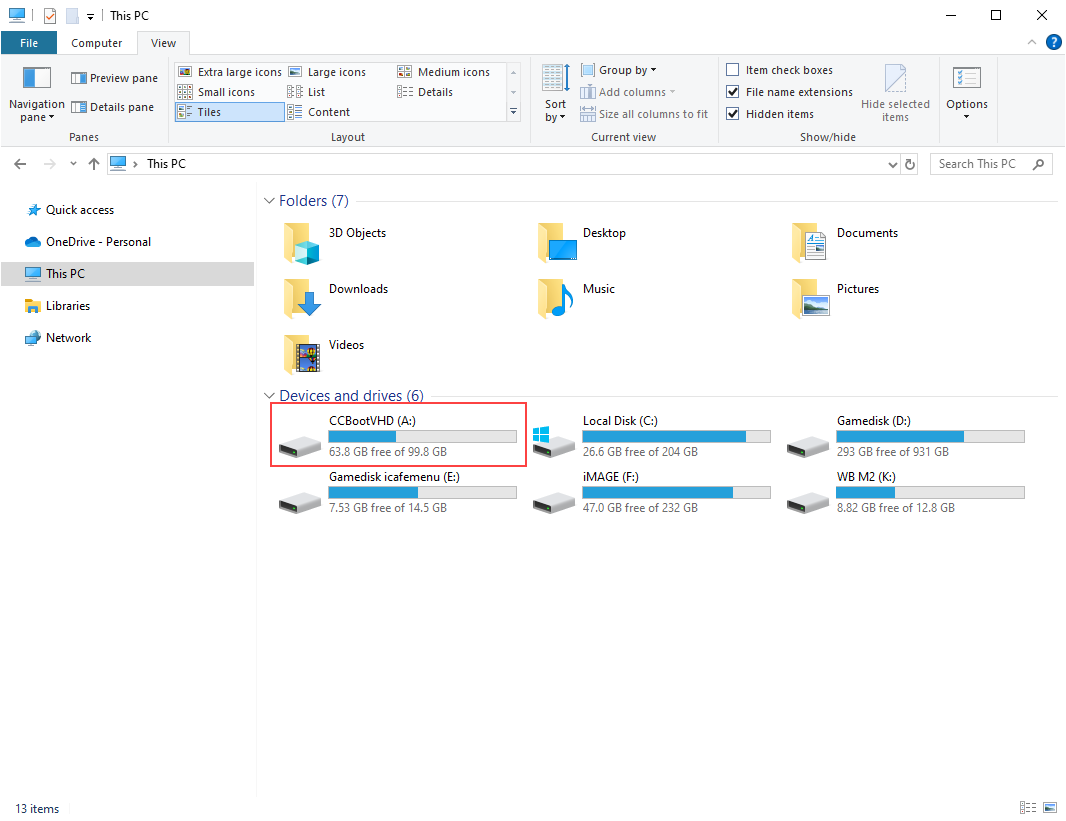
Figure 2
- On the Server PC press Windows + R to open the Run dialog box and type regedit and press Enter or click OK.
- When the image is mounted, the registry is automatically loaded from the mounted disk, meaning you are modifying the image registry directly from the server PC.
- Search for and open
HKEY_LOCAL_MACHINE\X_SOFTWARE\Microsoft\Windows NT\CurrentVersion\Winlogon
Alternatively, you can paste the path using the mounted disk (for example, X_SOFTWARE, which may appear as A_SOFTWARE or B_SOFTWARE, depending on the mounted disk letter). directly into the Registry Editor address bar. (Figure 3)
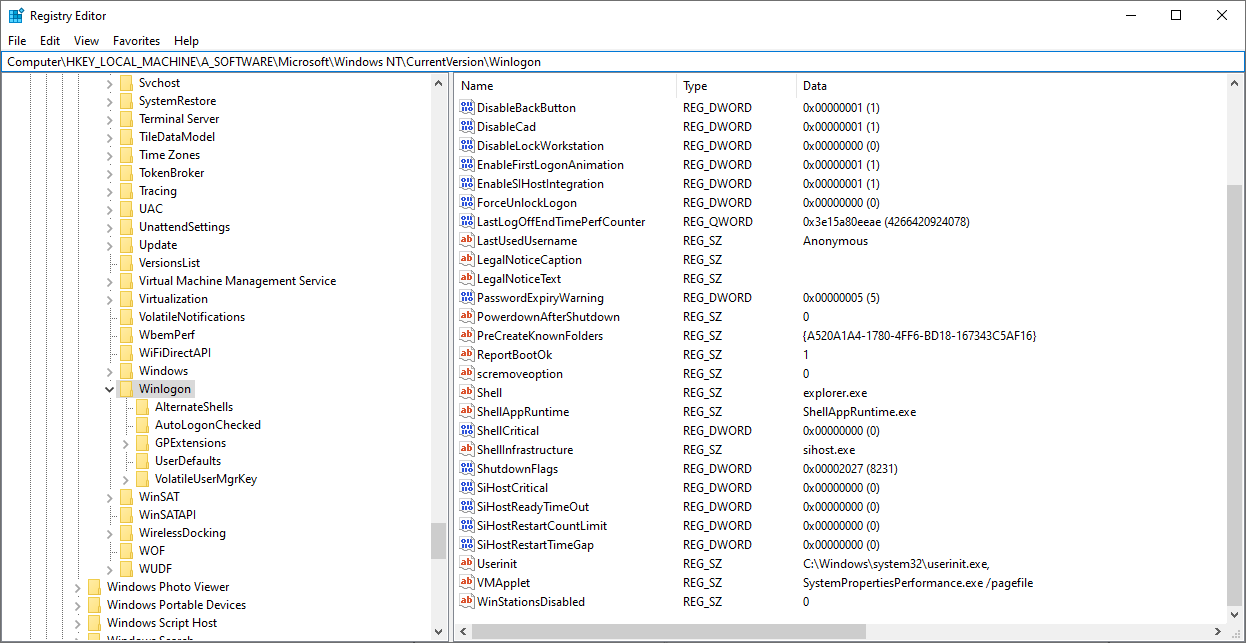
Figure 3
- Edit the registry and set the following values:
Shell → explorer.exe
Userinit → C:\Windows\system32\userinit.exe(Figure 4)
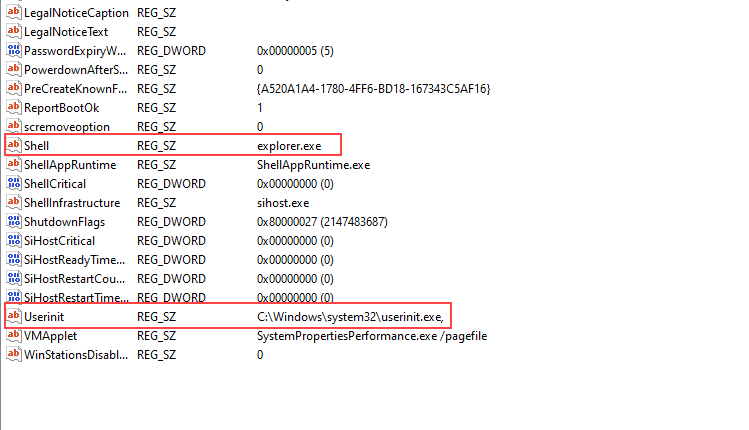
Figure 4
- After finishing the registry modifications, you must close the Registry Editor to save the changes otherwise, the changes will not be applied.
- Then go to the Boot section → Images and unmount the image (Figure 5).
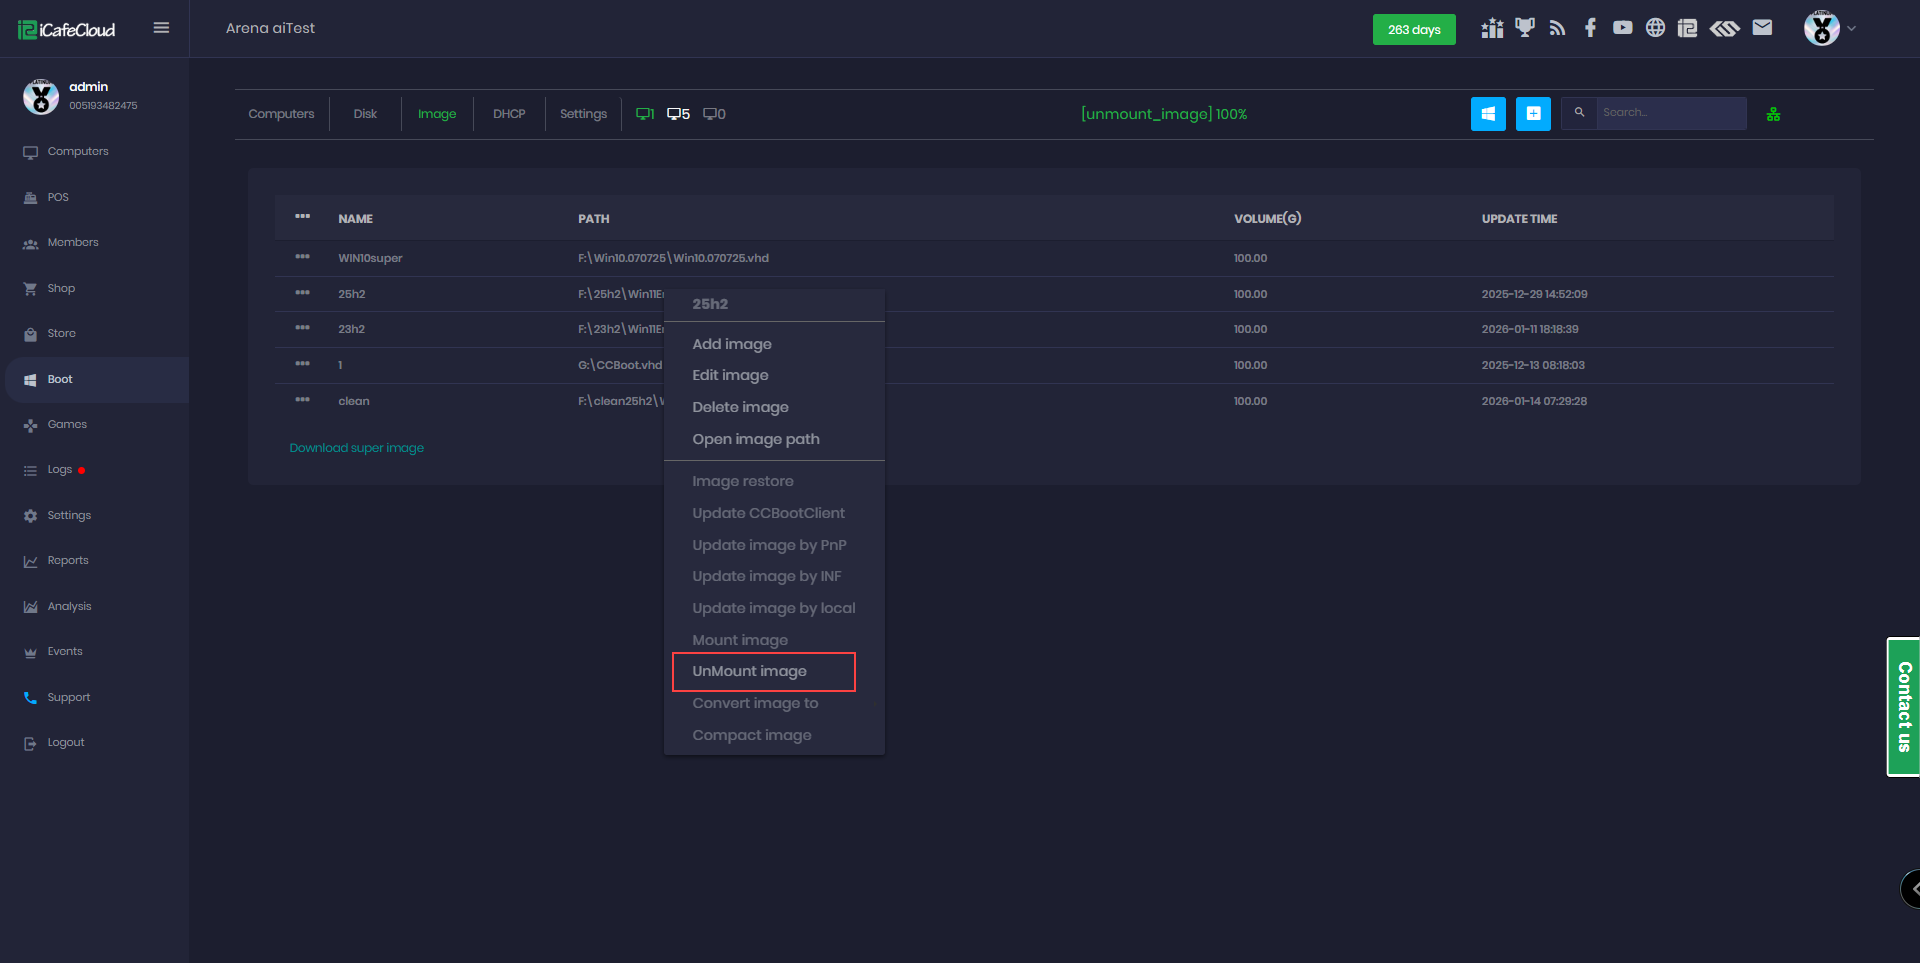
Figure 5
- You will be prompted to save the changes. Select Yes, add a preferred description, and then click Unmount.(Figure 6)
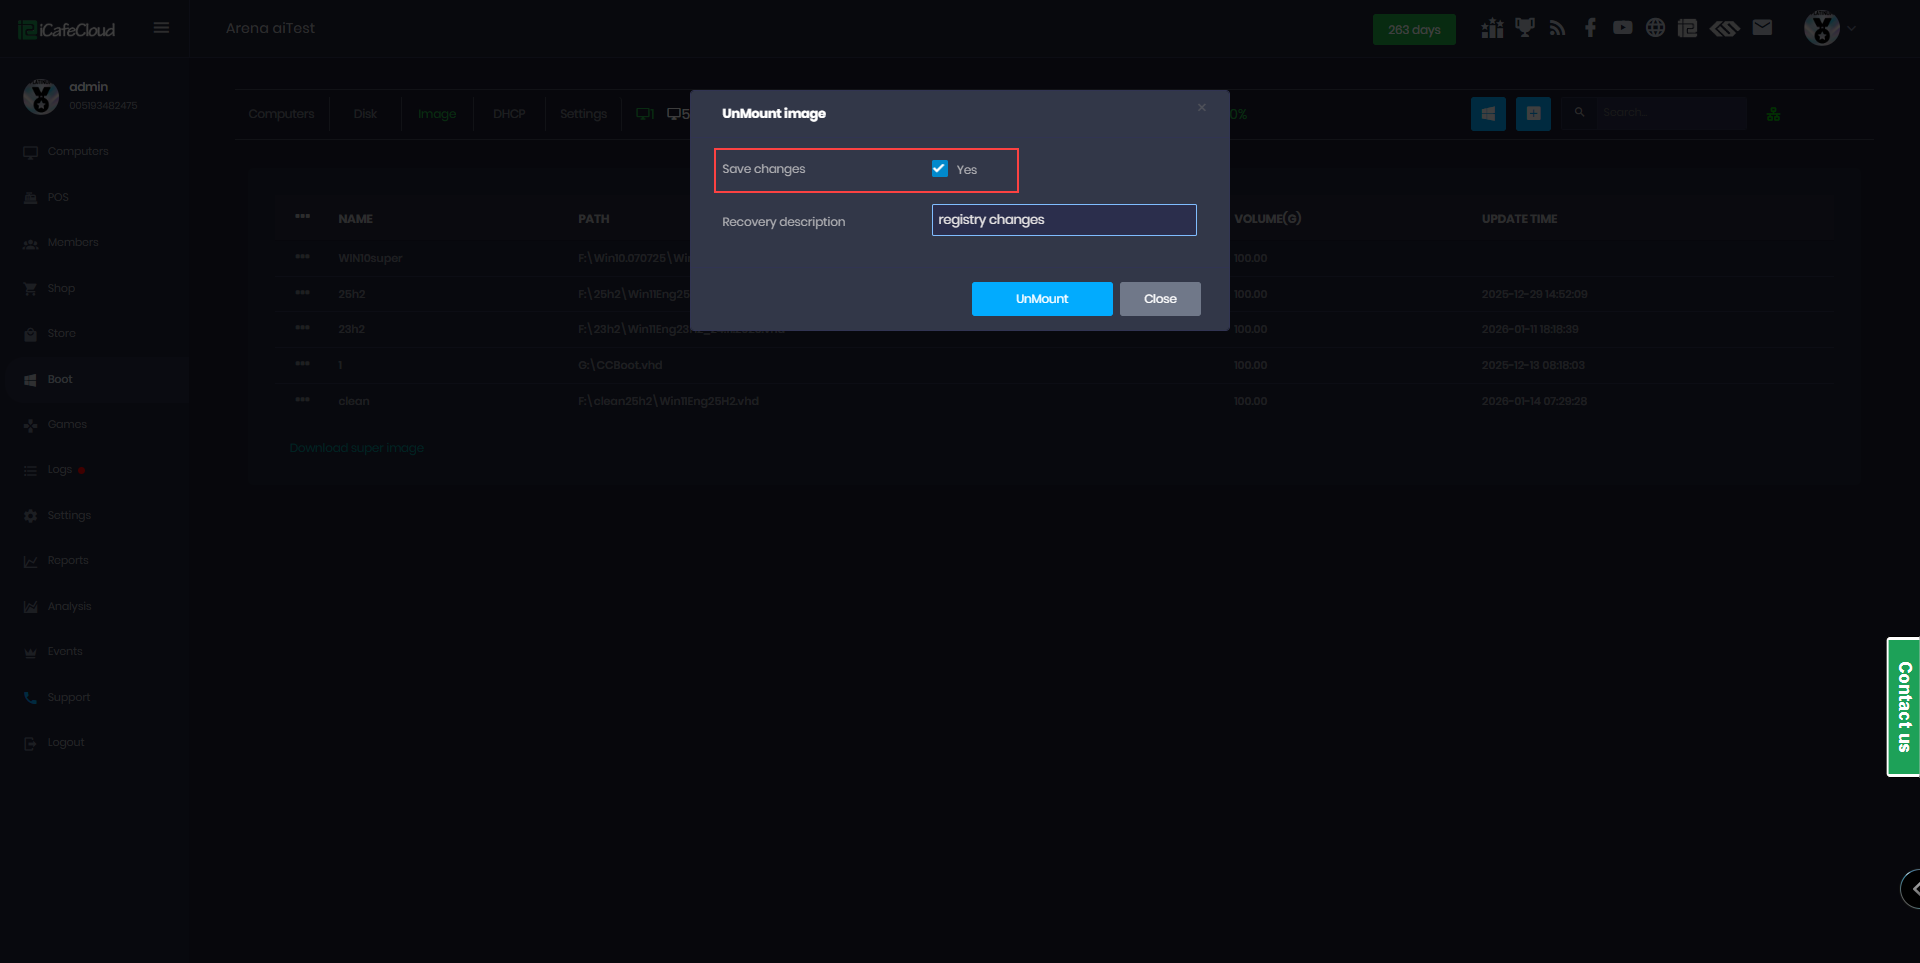
Figure 6
Disable by Super client
- Open Client PC in Super Client Mode.
- Open Registry Editor
- Press Windows key + R
- Type regedit and press Enter
- Click Yes if User Account Control appears
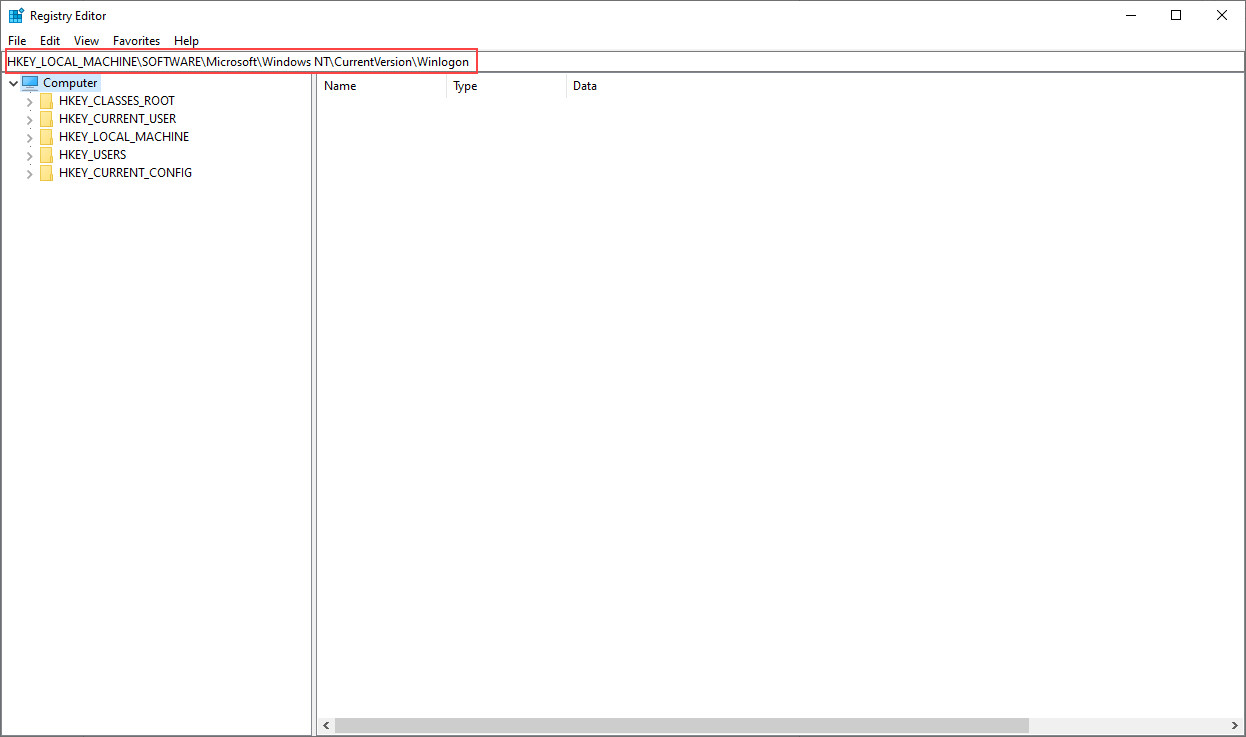
Figure 1
- Locate the HKEY_LOCAL_MACHINE\SOFTWARE\Microsoft\Windows NT\CurrentVersion\Winlogon
- In the right pane, find the entry named Userinit
- Double-click Userinit Set the Value data to: C:\Windows\system32\userinit.exe
- Click OK
- In the right pane, find the entry named Shell
- Double-click Shell Set the Value data to: explorer.exe
- Click OK
Figure 2
- After reboot, turn off the PC completely
- Disable Super Client Mode
- Save changes
- You can download the registry file and run it directly on the Super Client, allowing you to skip Steps 2 through 12.