2025-12-18
console, smart, TV, control
The following explains how to control console sessions using automatic checkout directly from iCafeCloud without manual intervention, and how to install the iCafeTV application to block the TV screen when the session time ends.
- Confirm that your Smart TV supports installing Android applications, as some TVs use limited operating systems that do not allow app installation.
- Search icafetv in google play and Install it from Google Play on the TV, or download the iCafeTV APK directly on a PC and copy it to a USB drive:
https://update.youngzsoft.com/icafecloud/update/icafetv.zip - Insert the USB drive into the TV.
- Open the Safety Guard app on the TV and select App Manager.
- Go to Installation, locate the iCafeTV APK file on the USB drive, select it, and start the installation.

- After a few seconds will show iCafe TV is installed successfully. (Figure 2)
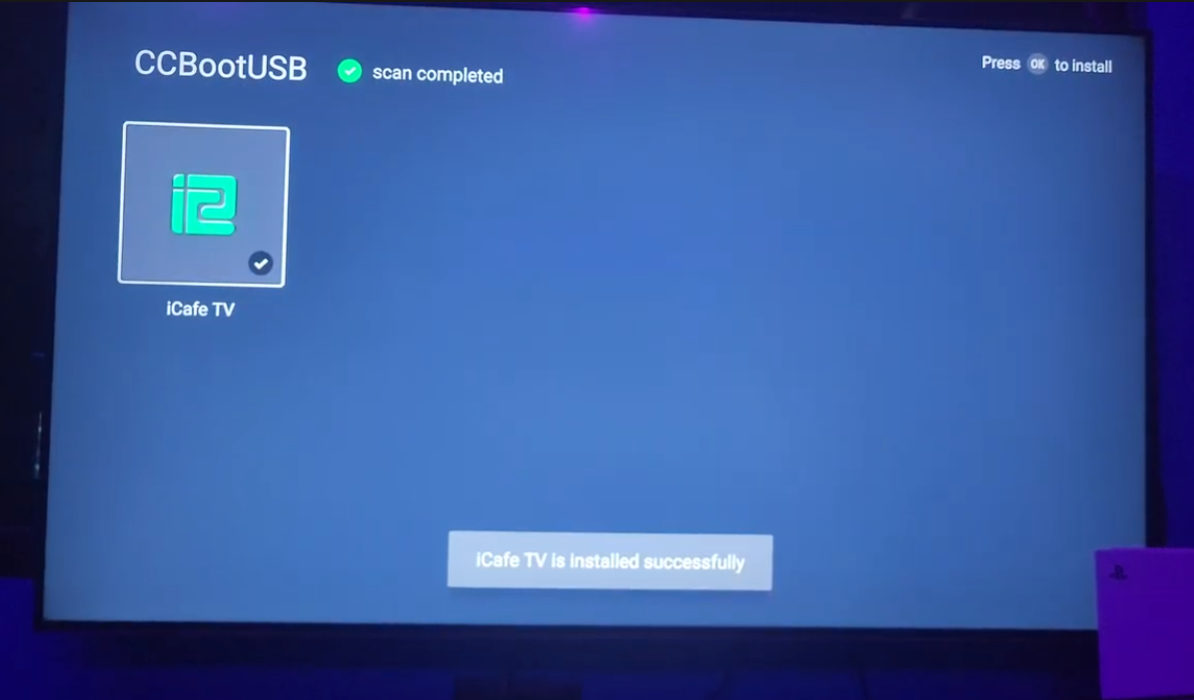
Figure 2
- Next click “continue” (Figure 3)
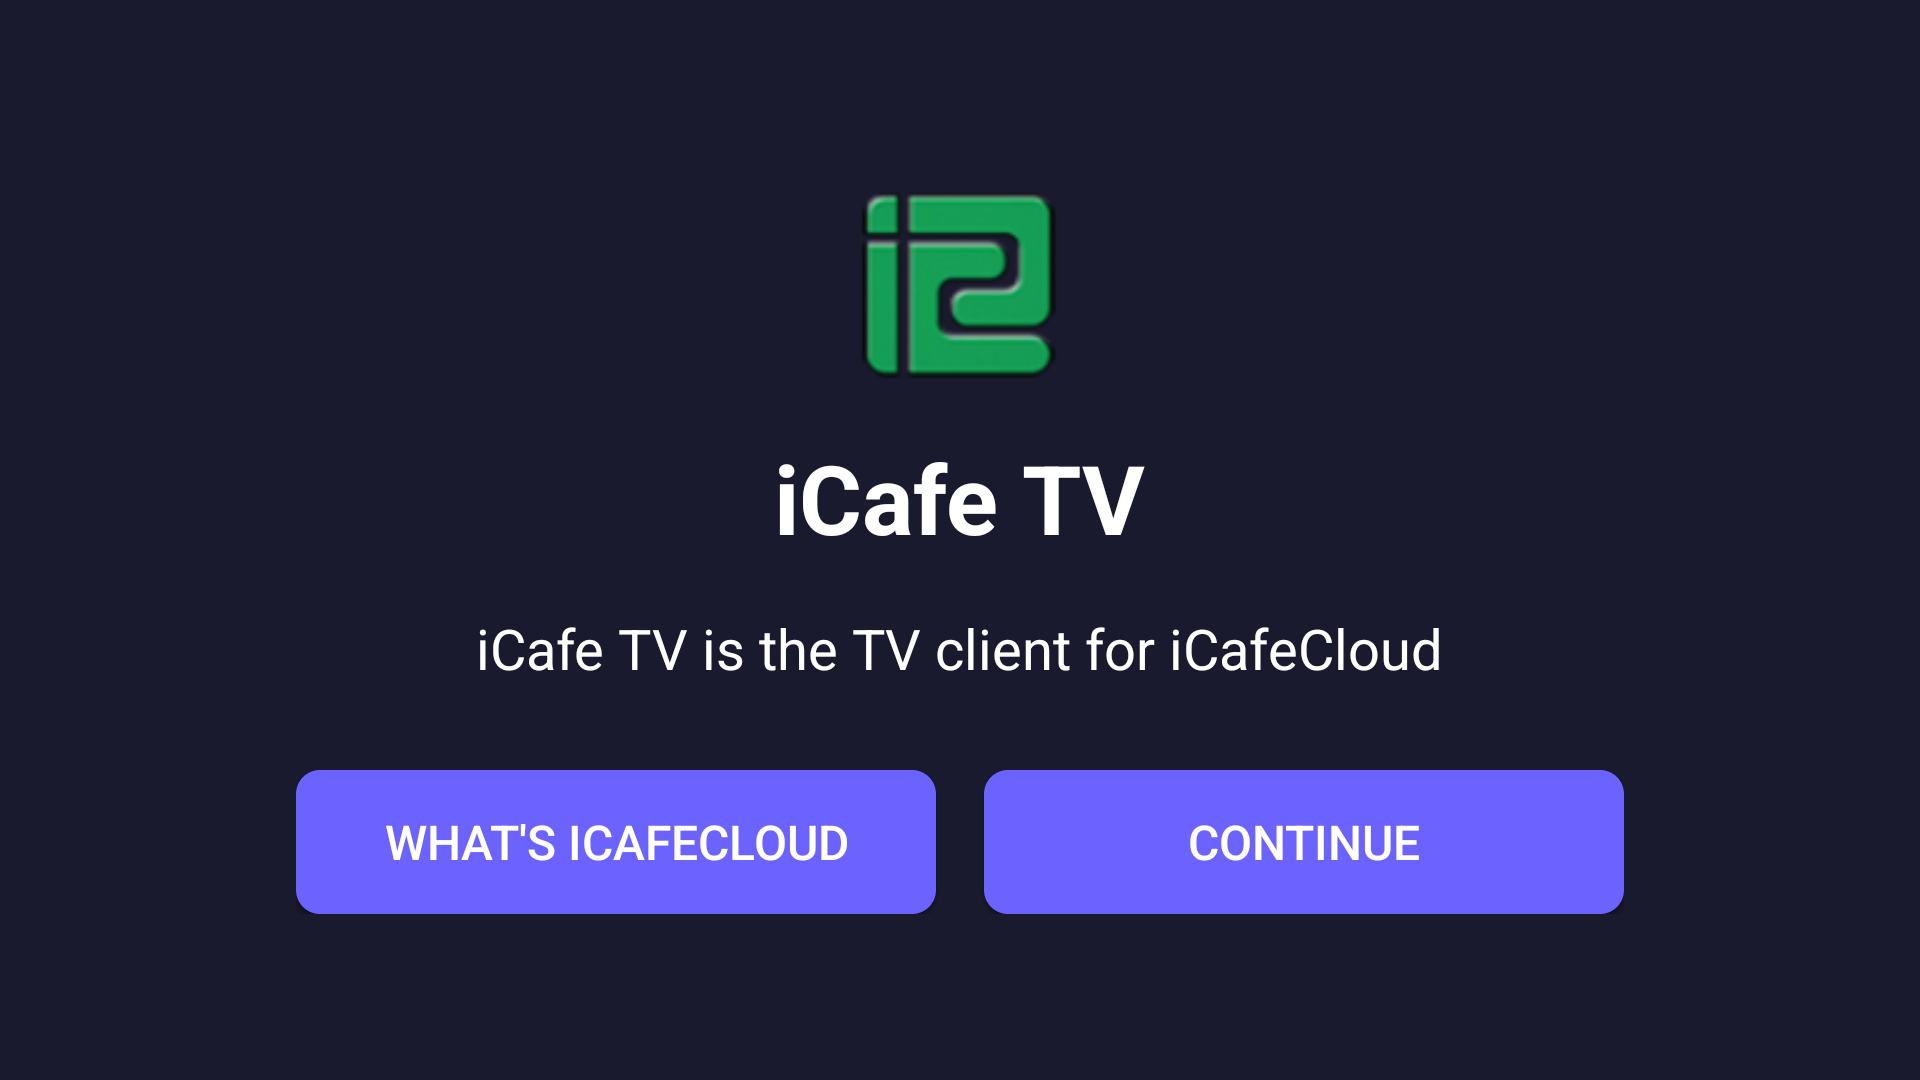
Figure 3
- When the screen prompts for overlay permissions, click “Go to settings” (Figure 4).

Figure 4
- Select the iCafeTV app and enable Allow an app to display on top of other apps.
- Next, it requests you to enter a 4-digit TV PIN (Figure 5).
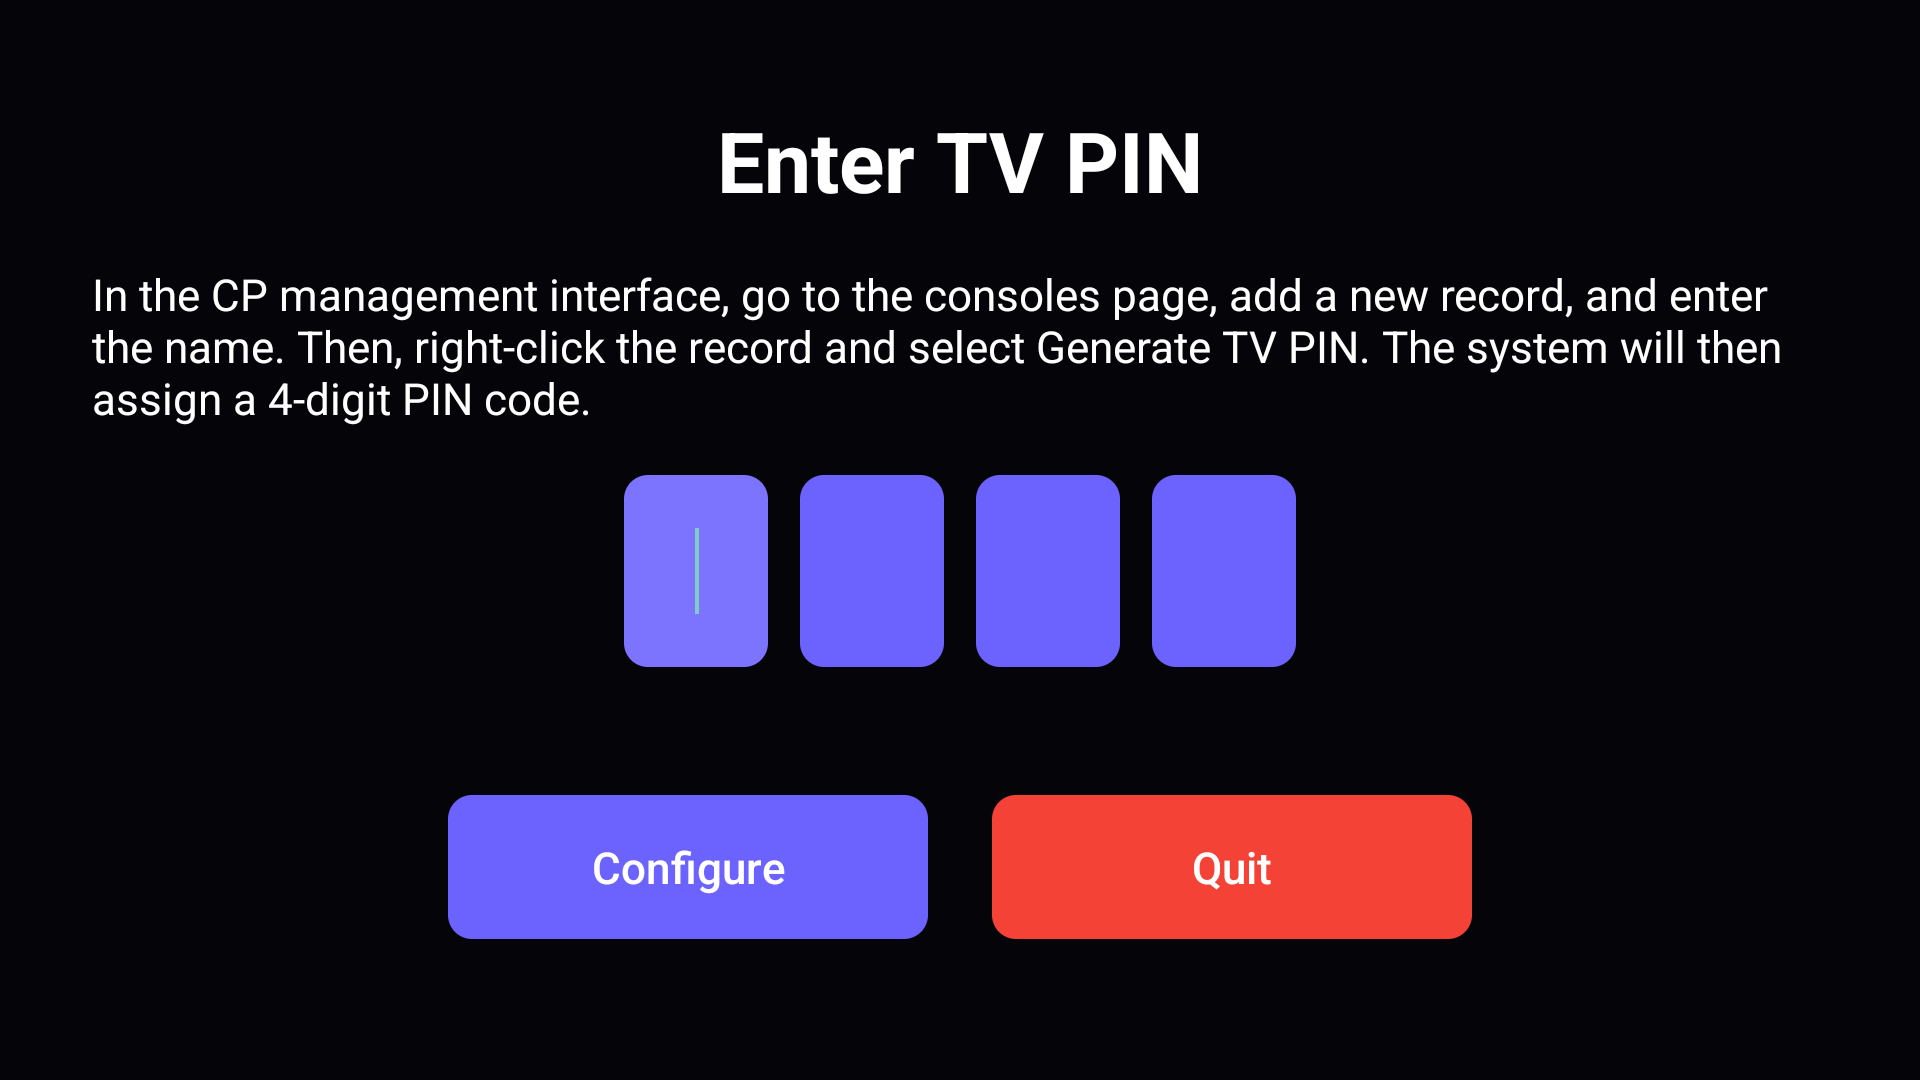
Figure 5
- Navigate to Computers, then Consoles add a console if you have not already done so, and click Generate TV PIN (Figure 6).
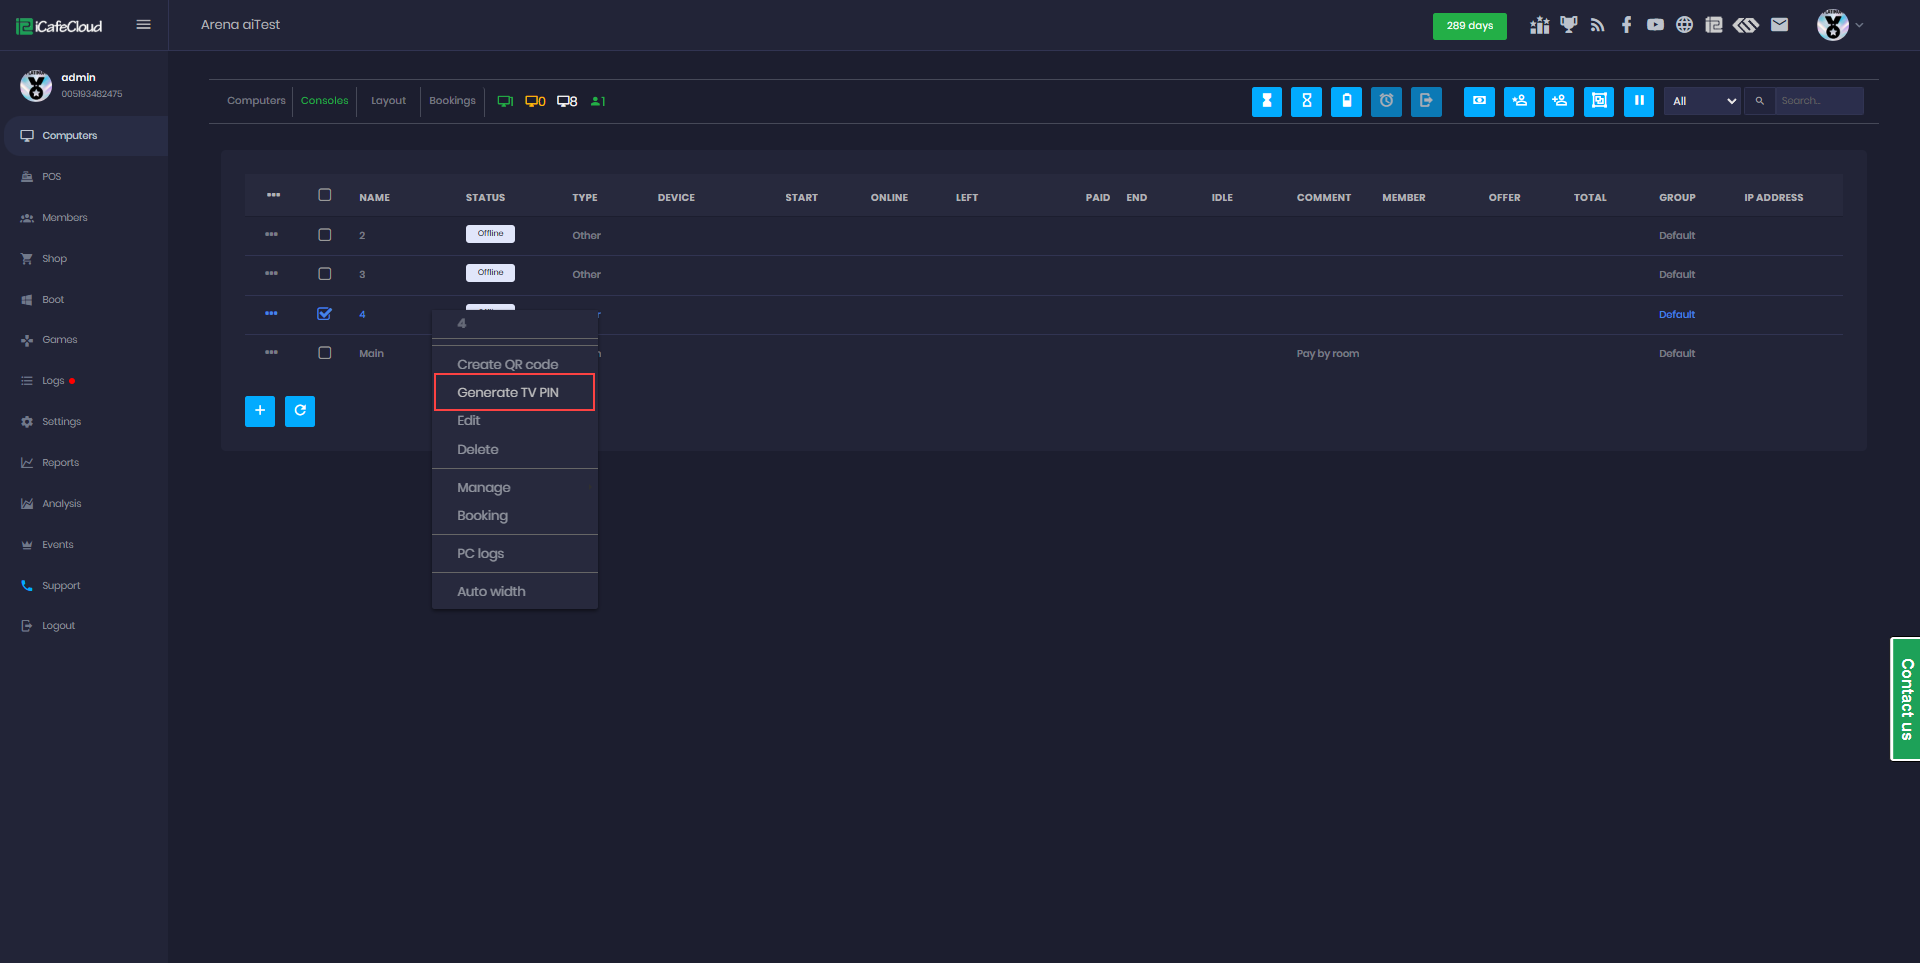
Figure 6
- It will automatically generate a 4-digit code and enter this code on the TV, and the iCafeTV app will show as connected (Figure 7).
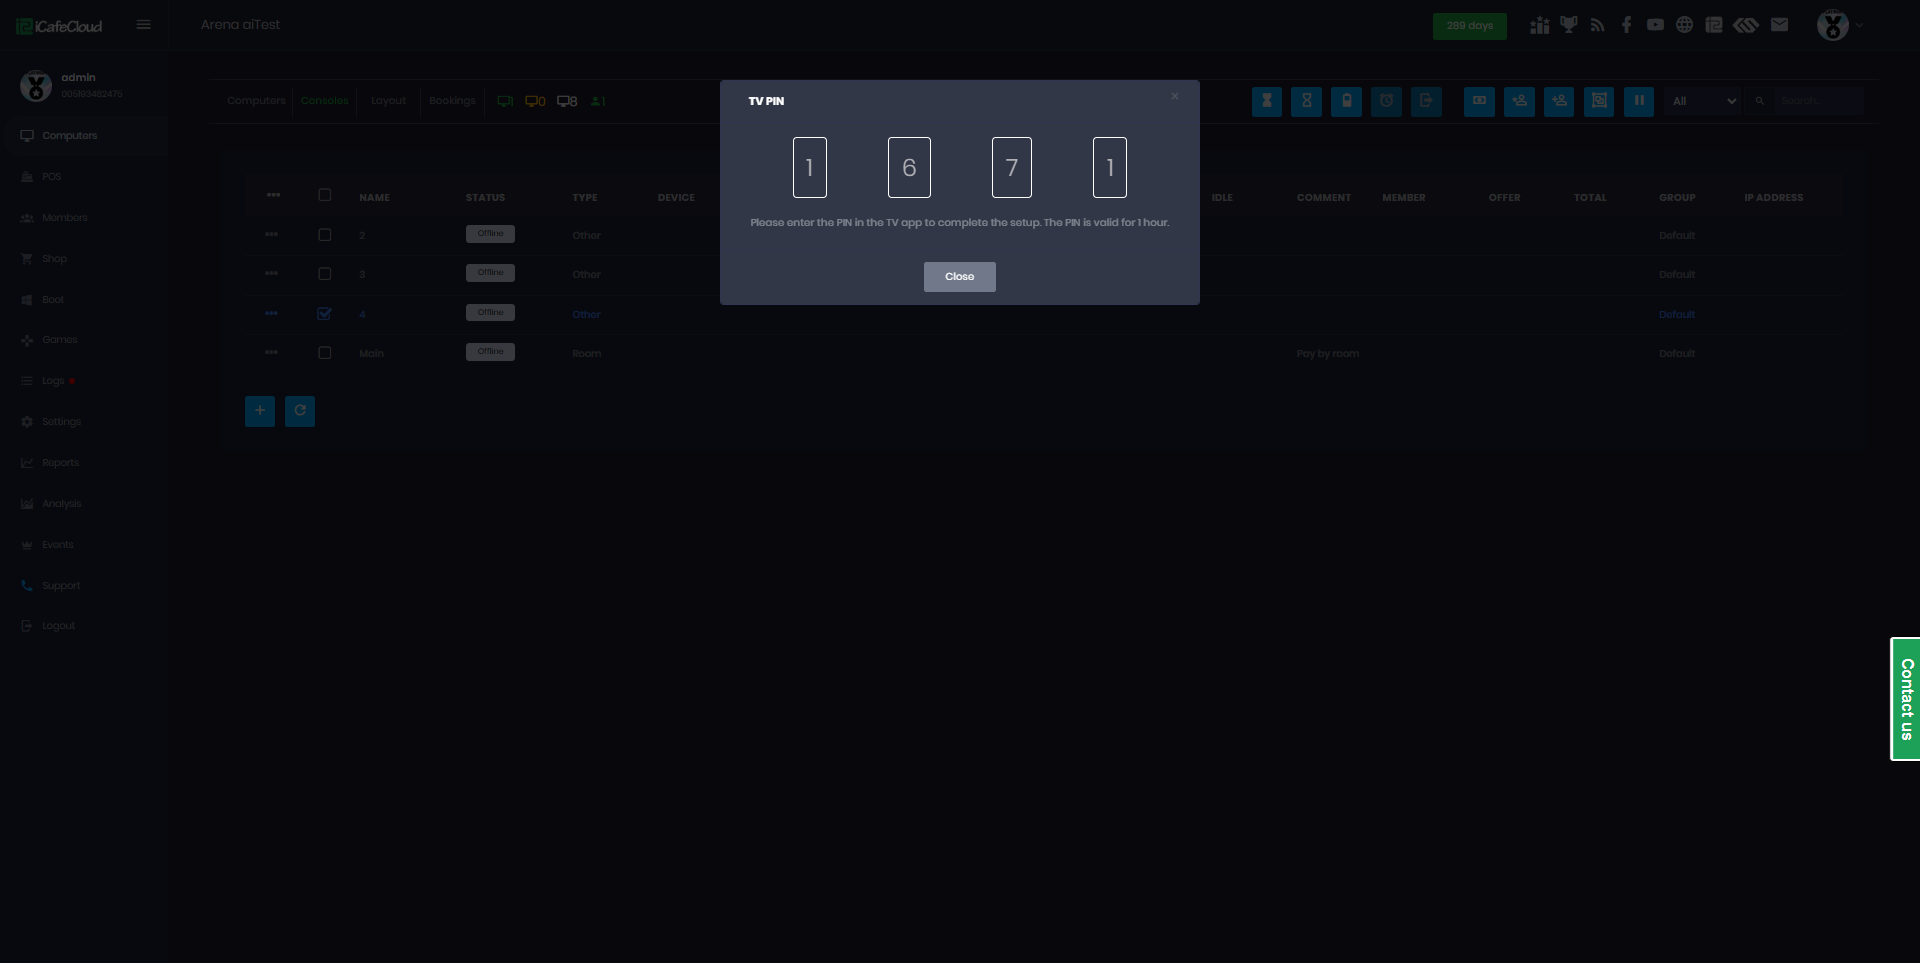
Figure 7
- On the iCafeTV app, enter the PIN and click Continue (Figure 8).
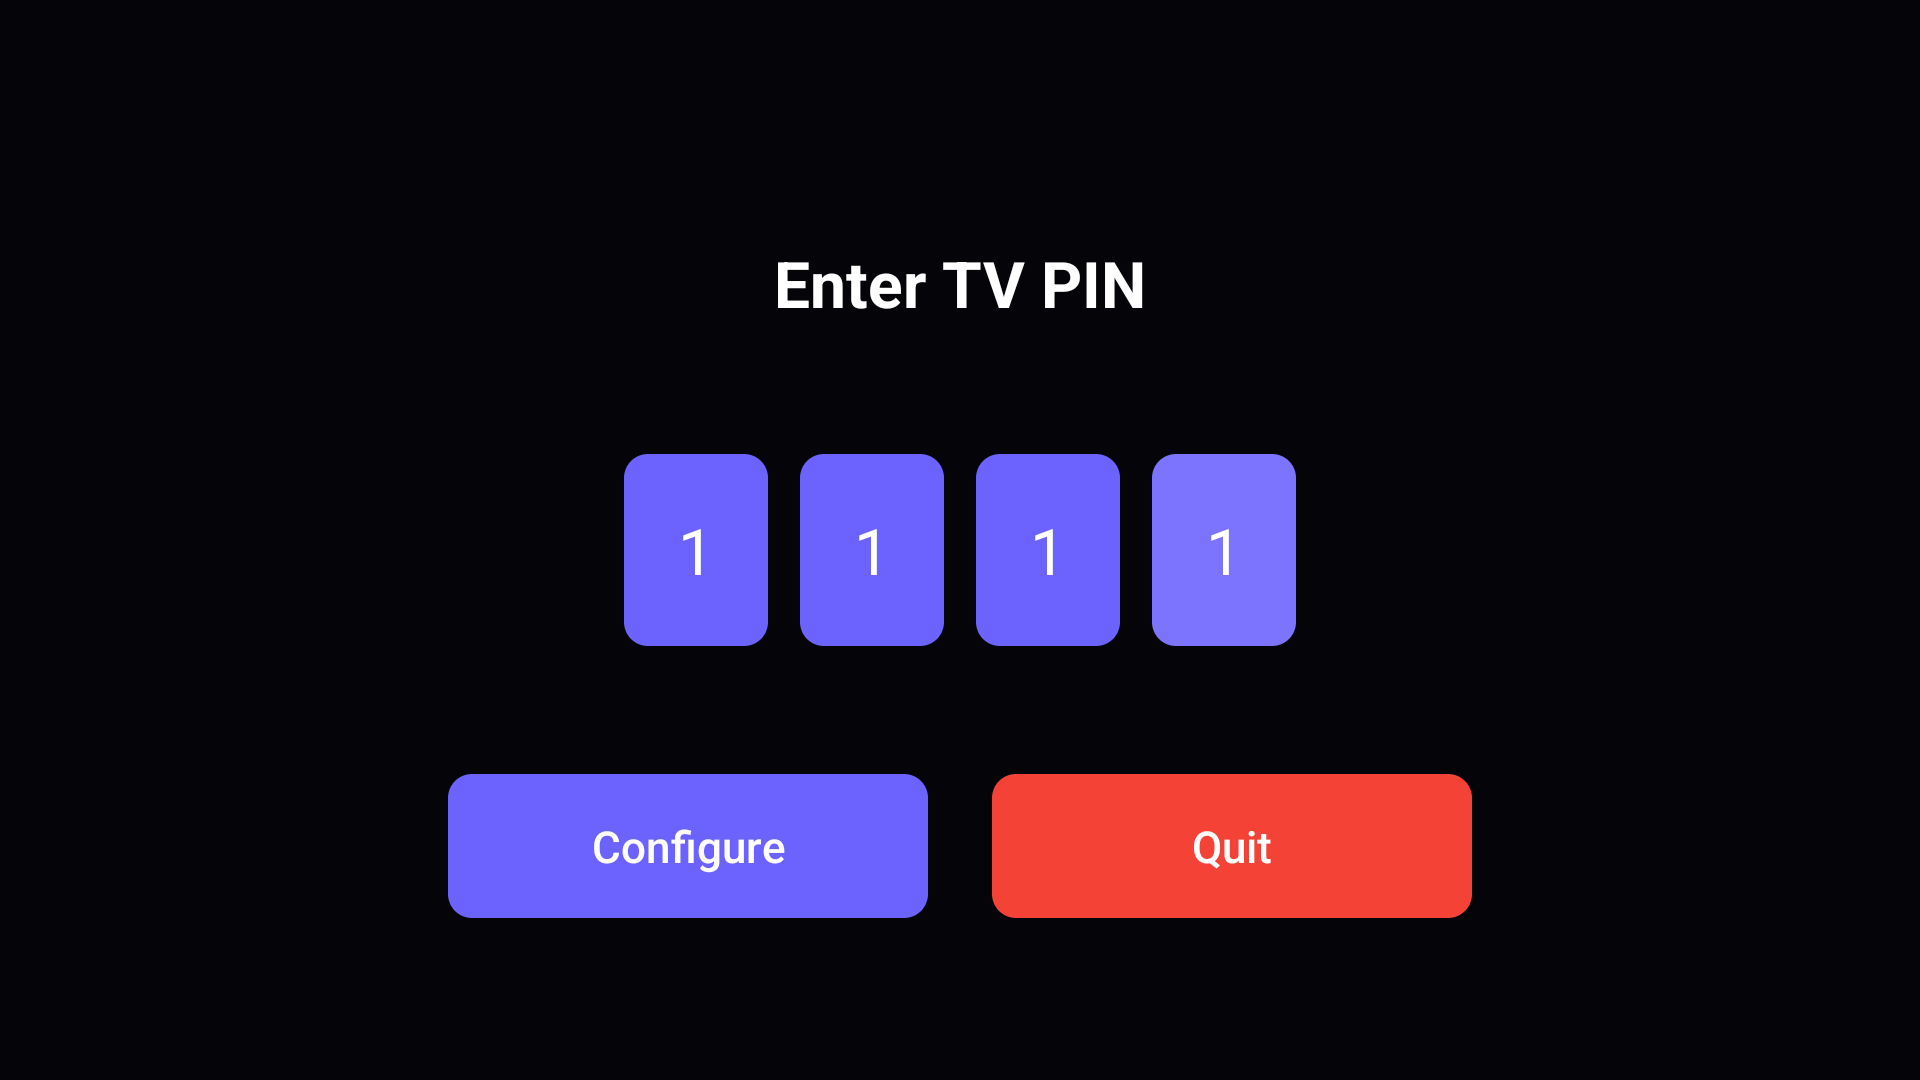
Figure 8
- The iCafeTV lock screen will appear at the top of the screen and prevent access to all apps until a session is started (Figure 9).
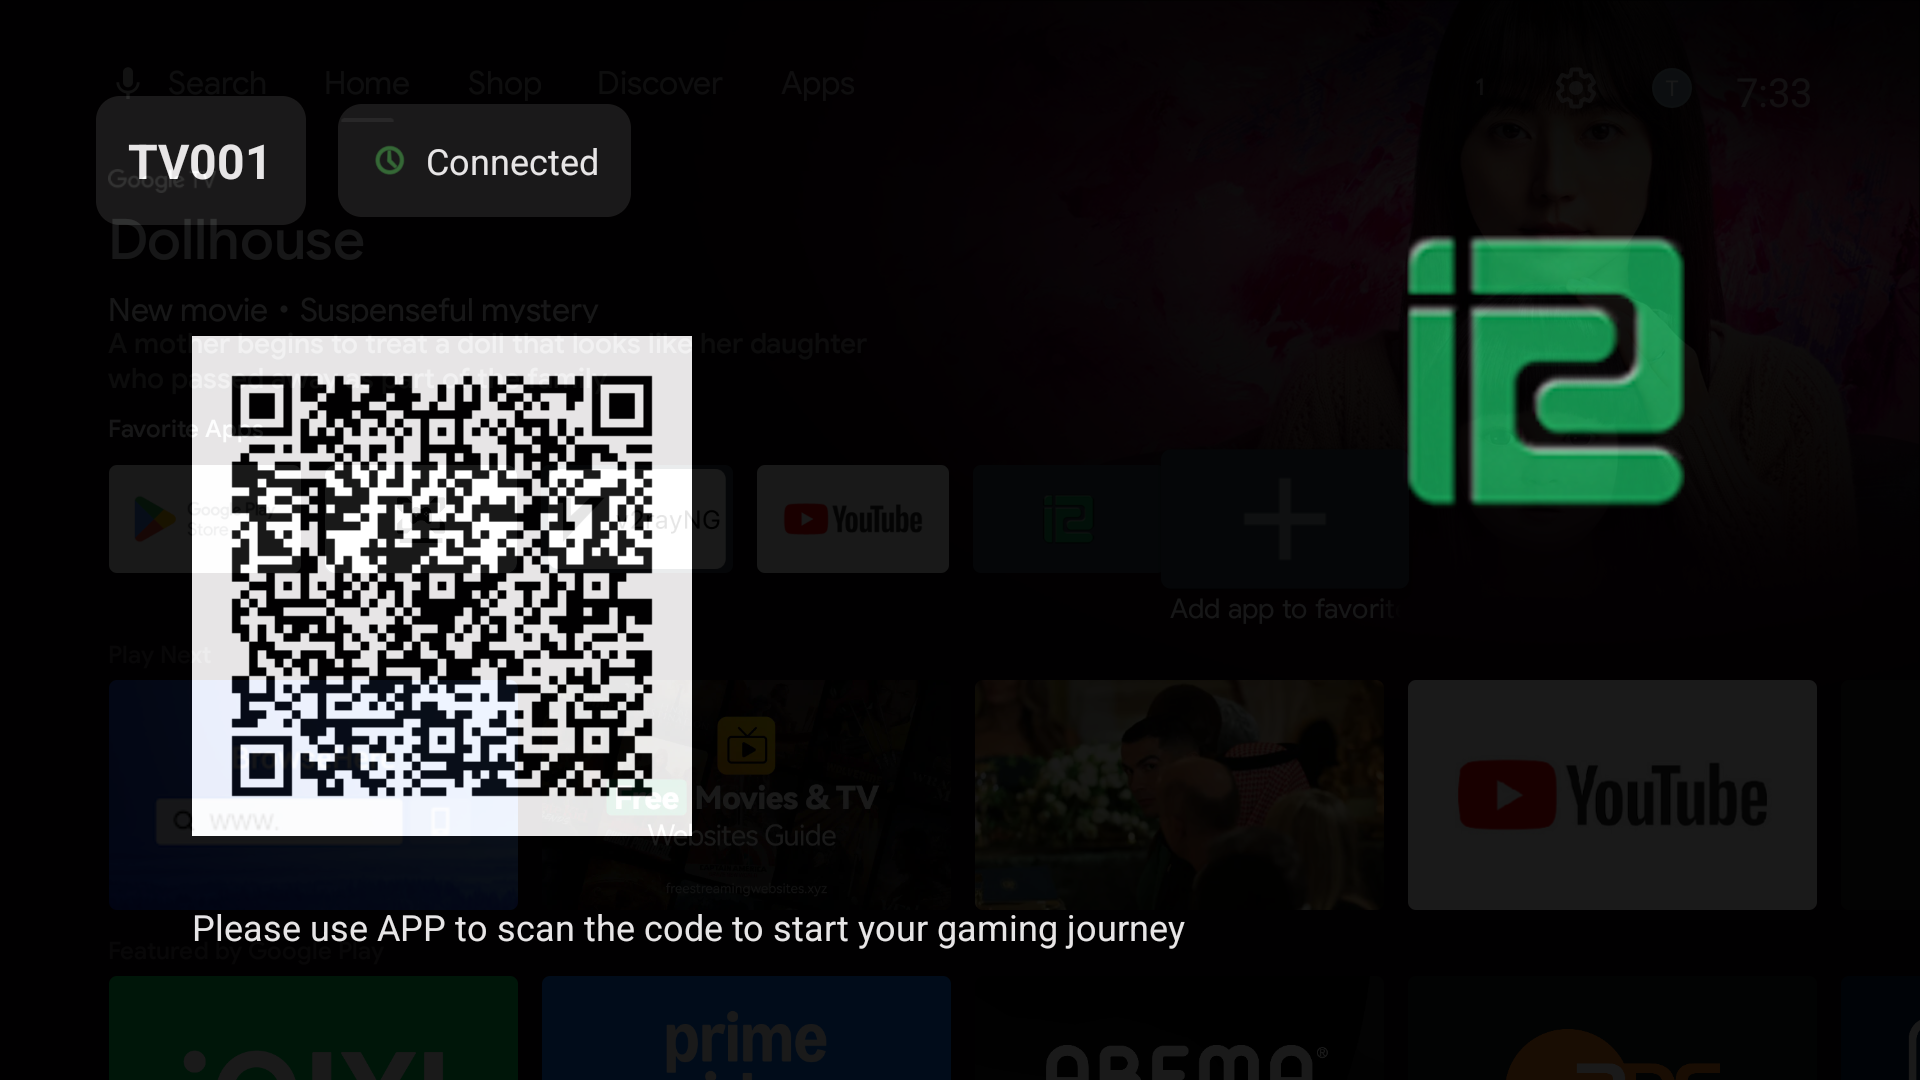
Figure 9
- Once a session is started from iCafeCloud, the lock screen will be unlocked and players can continue playing when the session time ends, the screen will automatically lock again and display the iCafeTV screen.
- https://youtu.be/HDQEgURFDLc