
2026-05-12
pc, computer, booking, console, settings
The following explains how to configure the booking system, including creation, availability, cancellation rules, and user conditions for bookings made through the iCafeCloud portal and client interface.
- Navigate to the Member page, then open Settings and change ‘Allow Booking’ to ‘Yes’ to enable booking.(Figure 1)
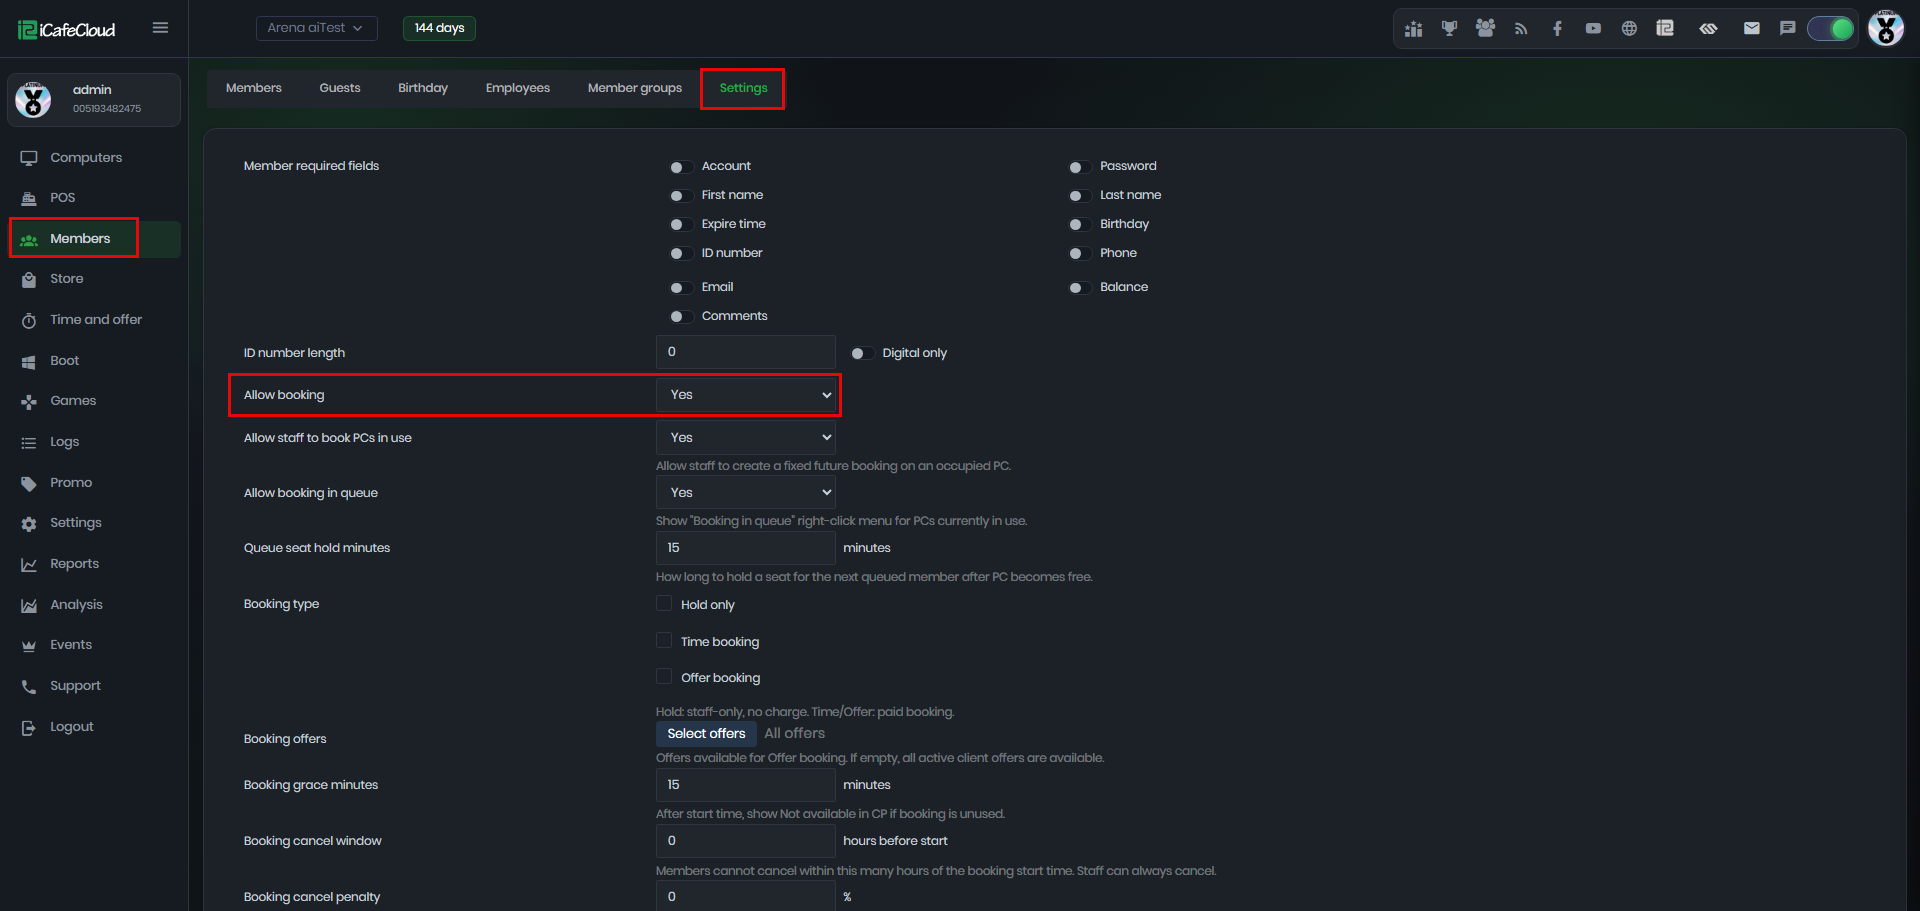
Figure 1
- If ‘Allow Staff to Book PCs in Use’ is enabled, employees will be able to book PCs that are already occupied with an active session. (Figure 2)
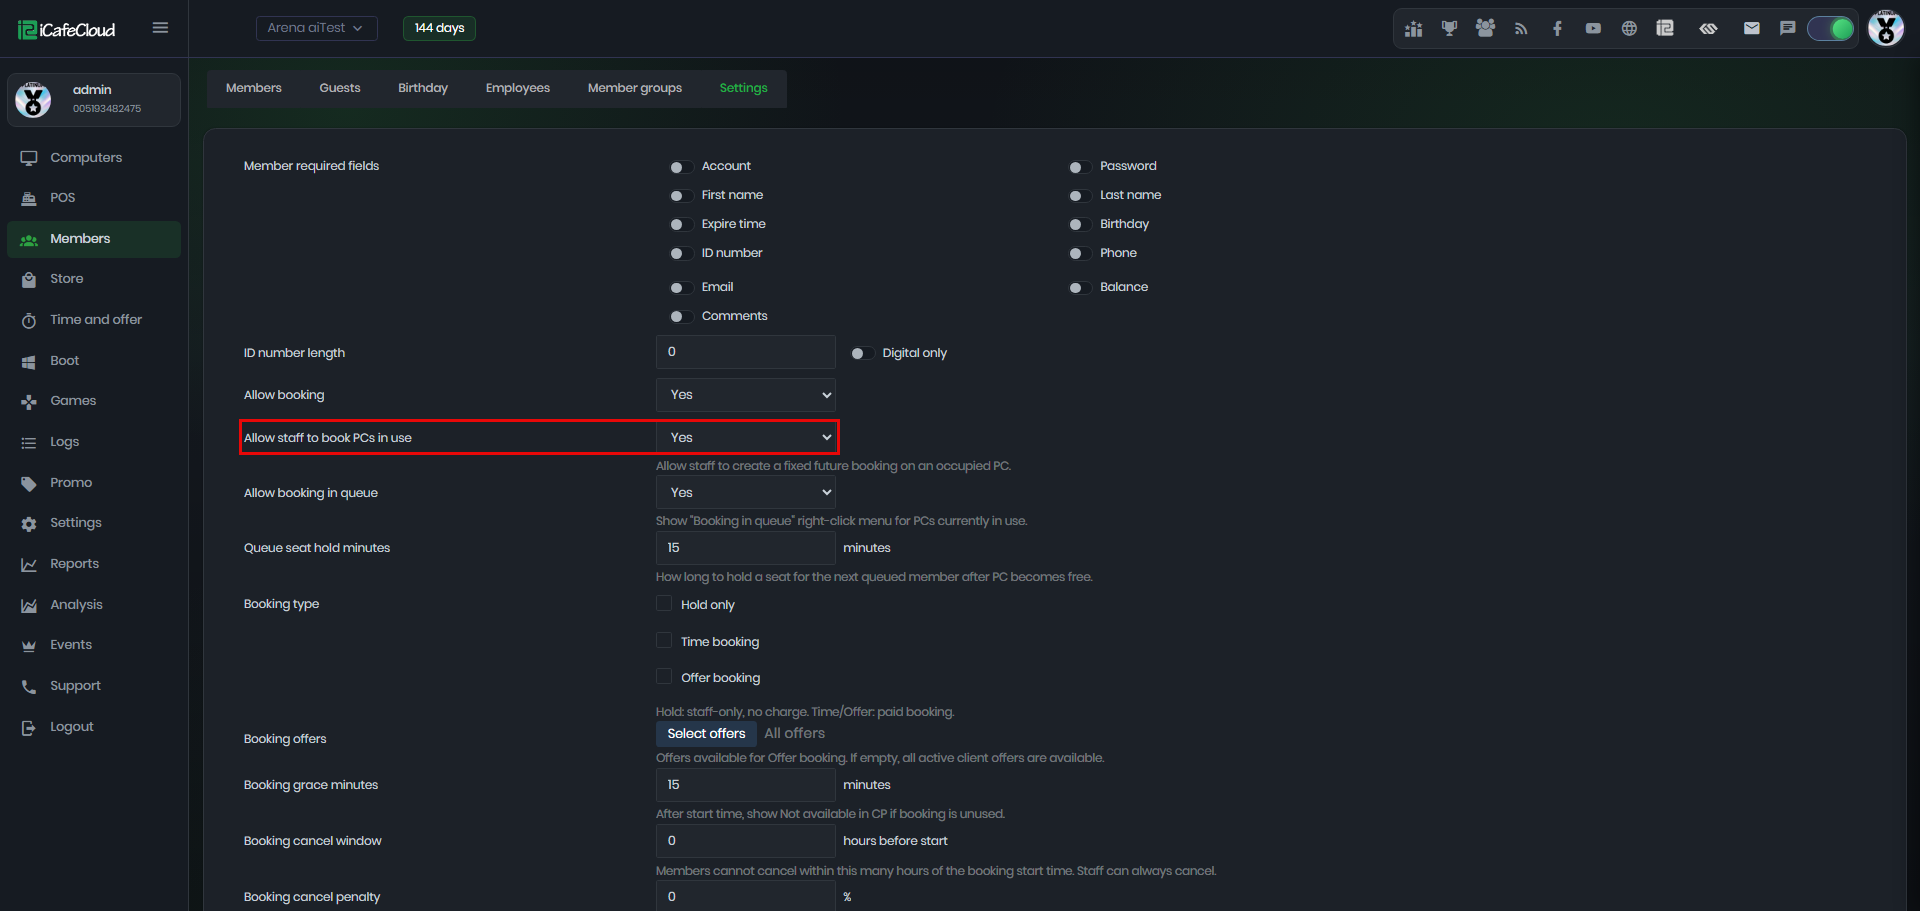
Figure 2
- Allow booking in queue - This option allows a PC to be booked even if it is already reserved, if the first booking is not used, the next booking in the queue will take over the PC. (Figure 3)
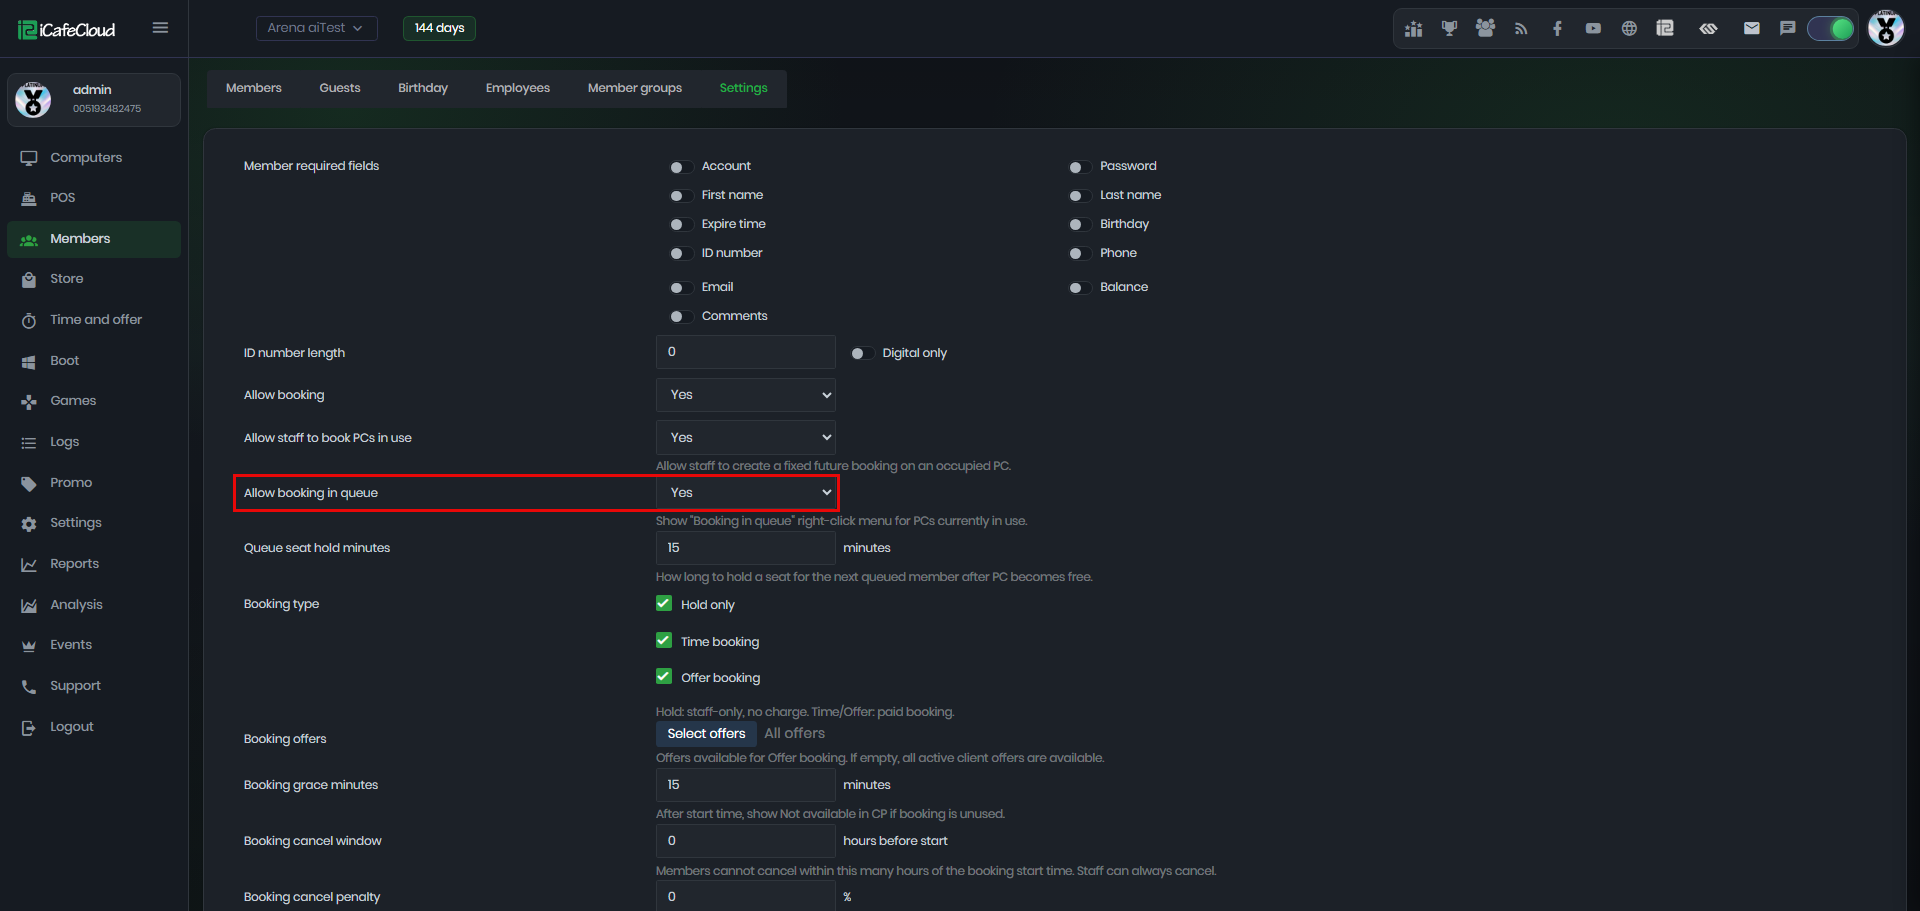
Figure 3
- Queue seat hold minutes - By enabling you can set how long a seat will be reserved, in minutes, for the next queued member after the PC becomes available. (Figure 4)
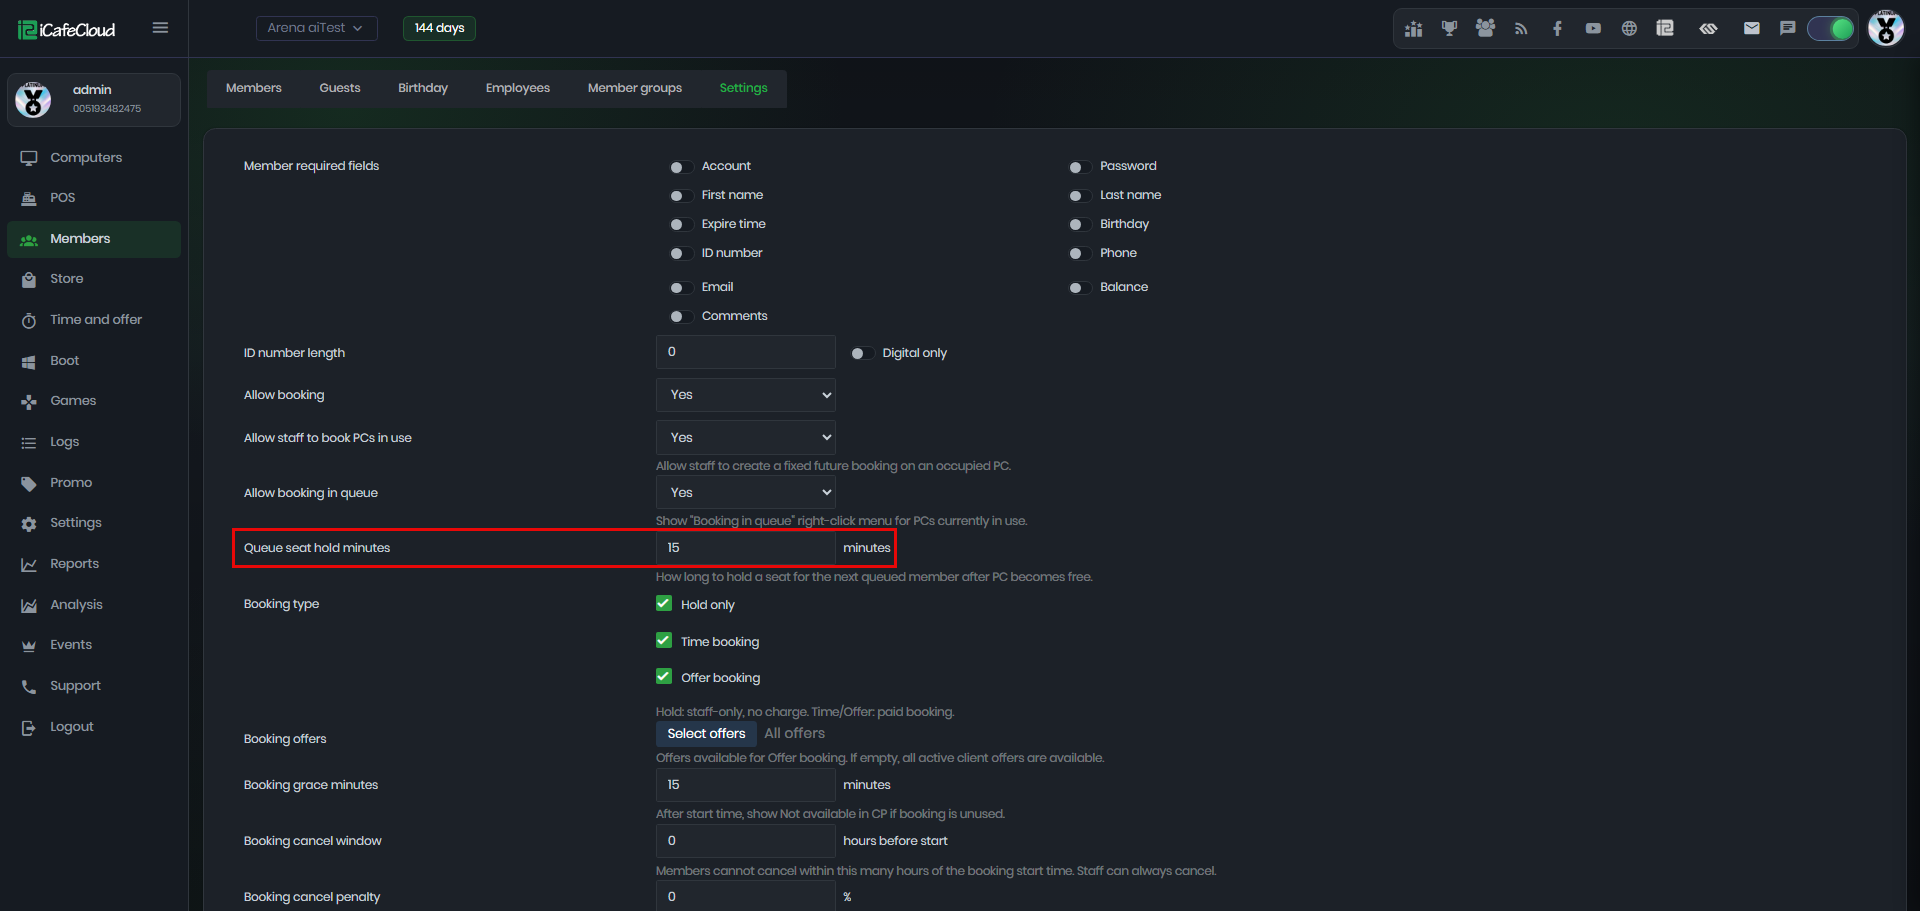
Figure 4
- Booking Type – You can choose which booking options are allowed. (Figure 5)
Hold Only – Reserves a PC only. This option is staff-only and does not apply any charge.
Time Only – Allows bookings using only time sessions without offers. This is a paid booking type.
Offer Only – Allows bookings using only offers without time sessions. This is also a paid booking type.
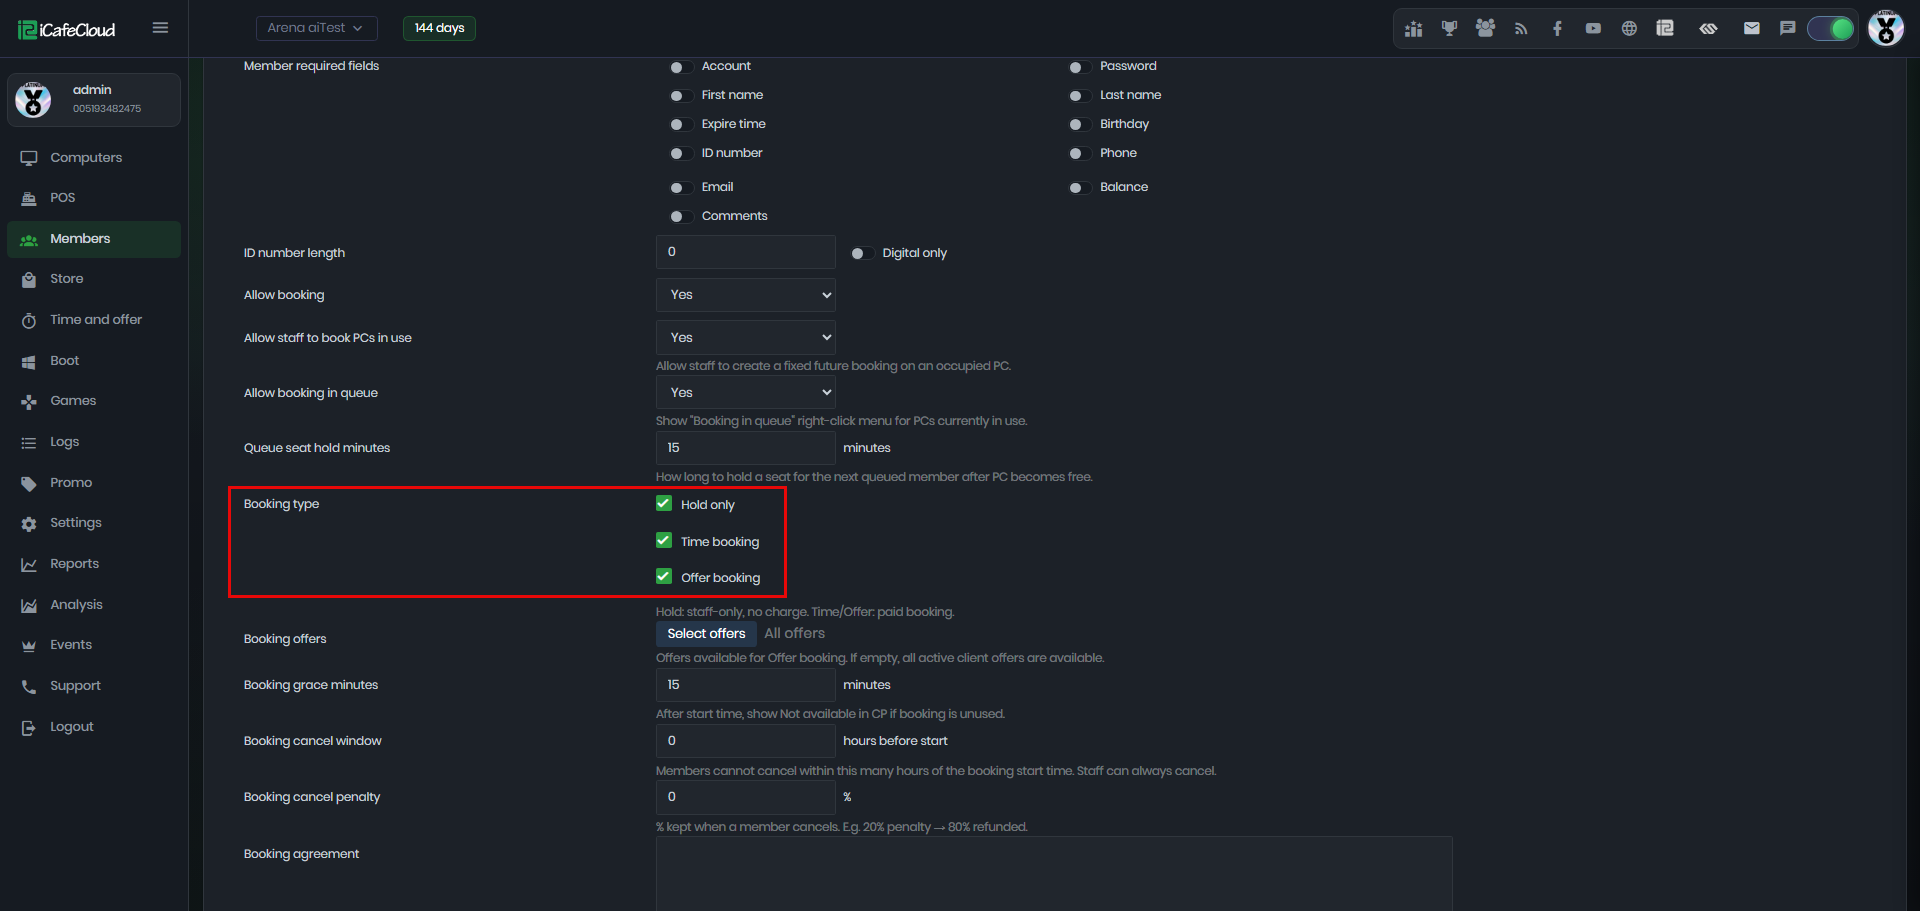
Figure 5
- Booking Offers – You can choose which offers will be available for booking. You may select specific offers or allow all offers. (Figure 6)
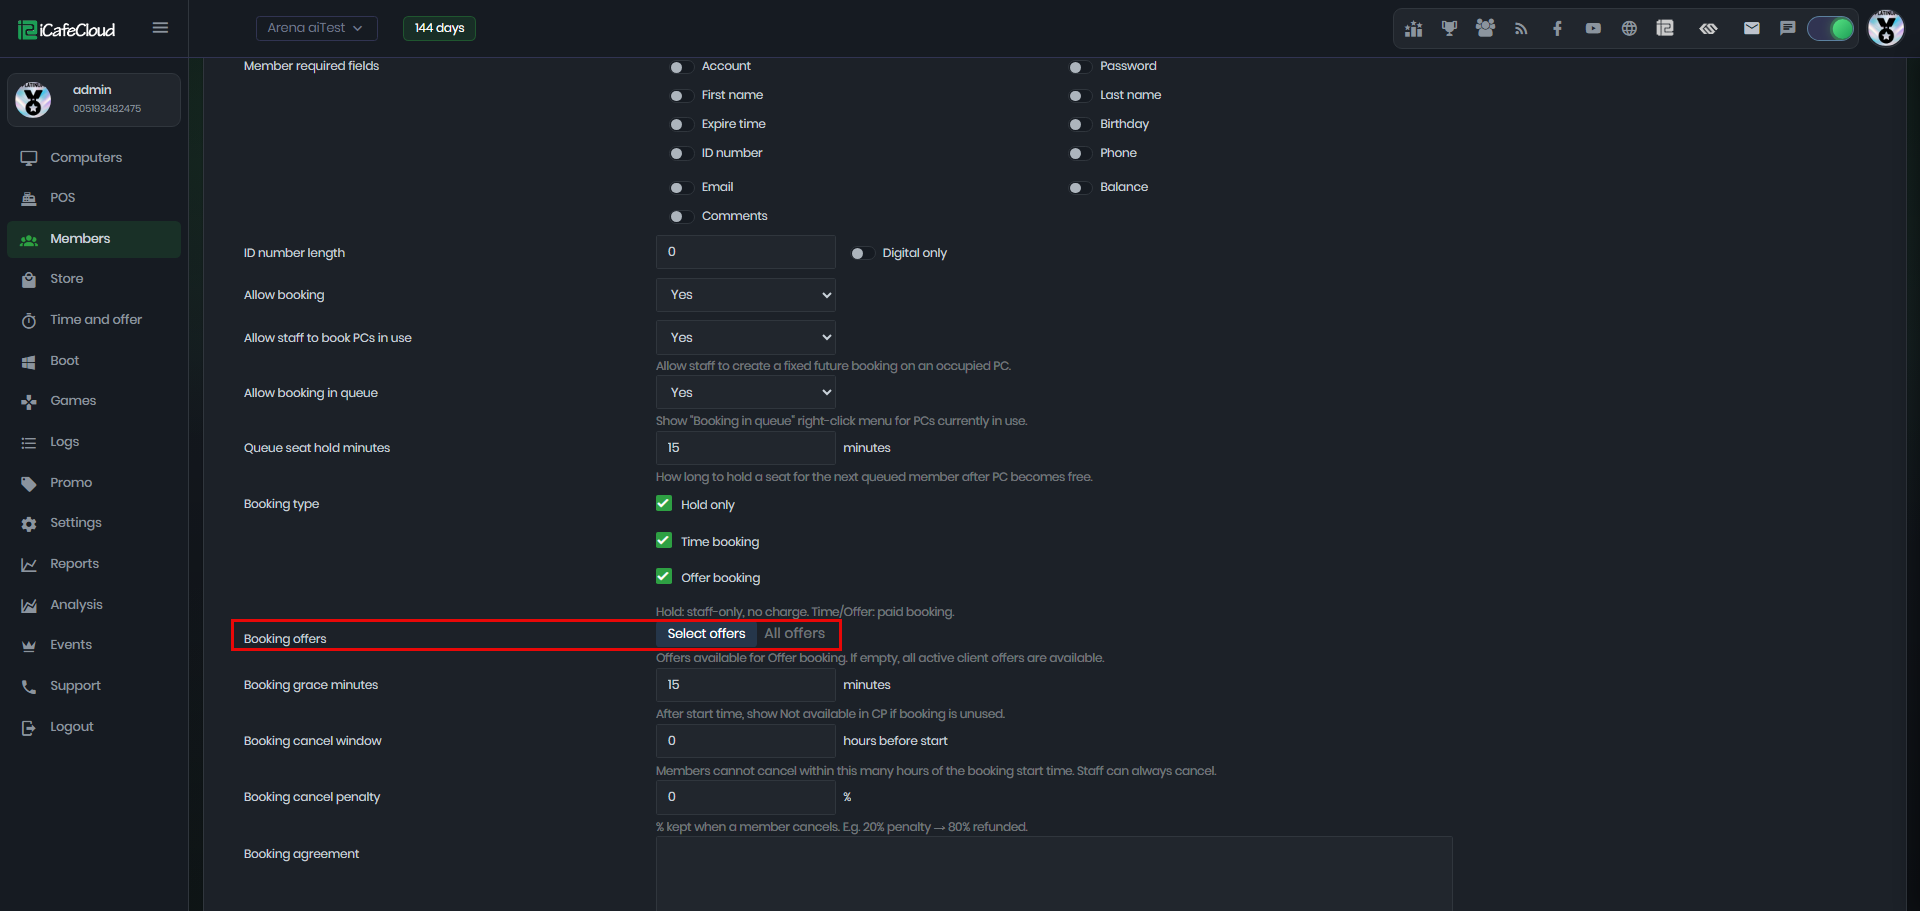
Figure 6
- If no offers are selected, all active offers will be available by default (Figure 7)
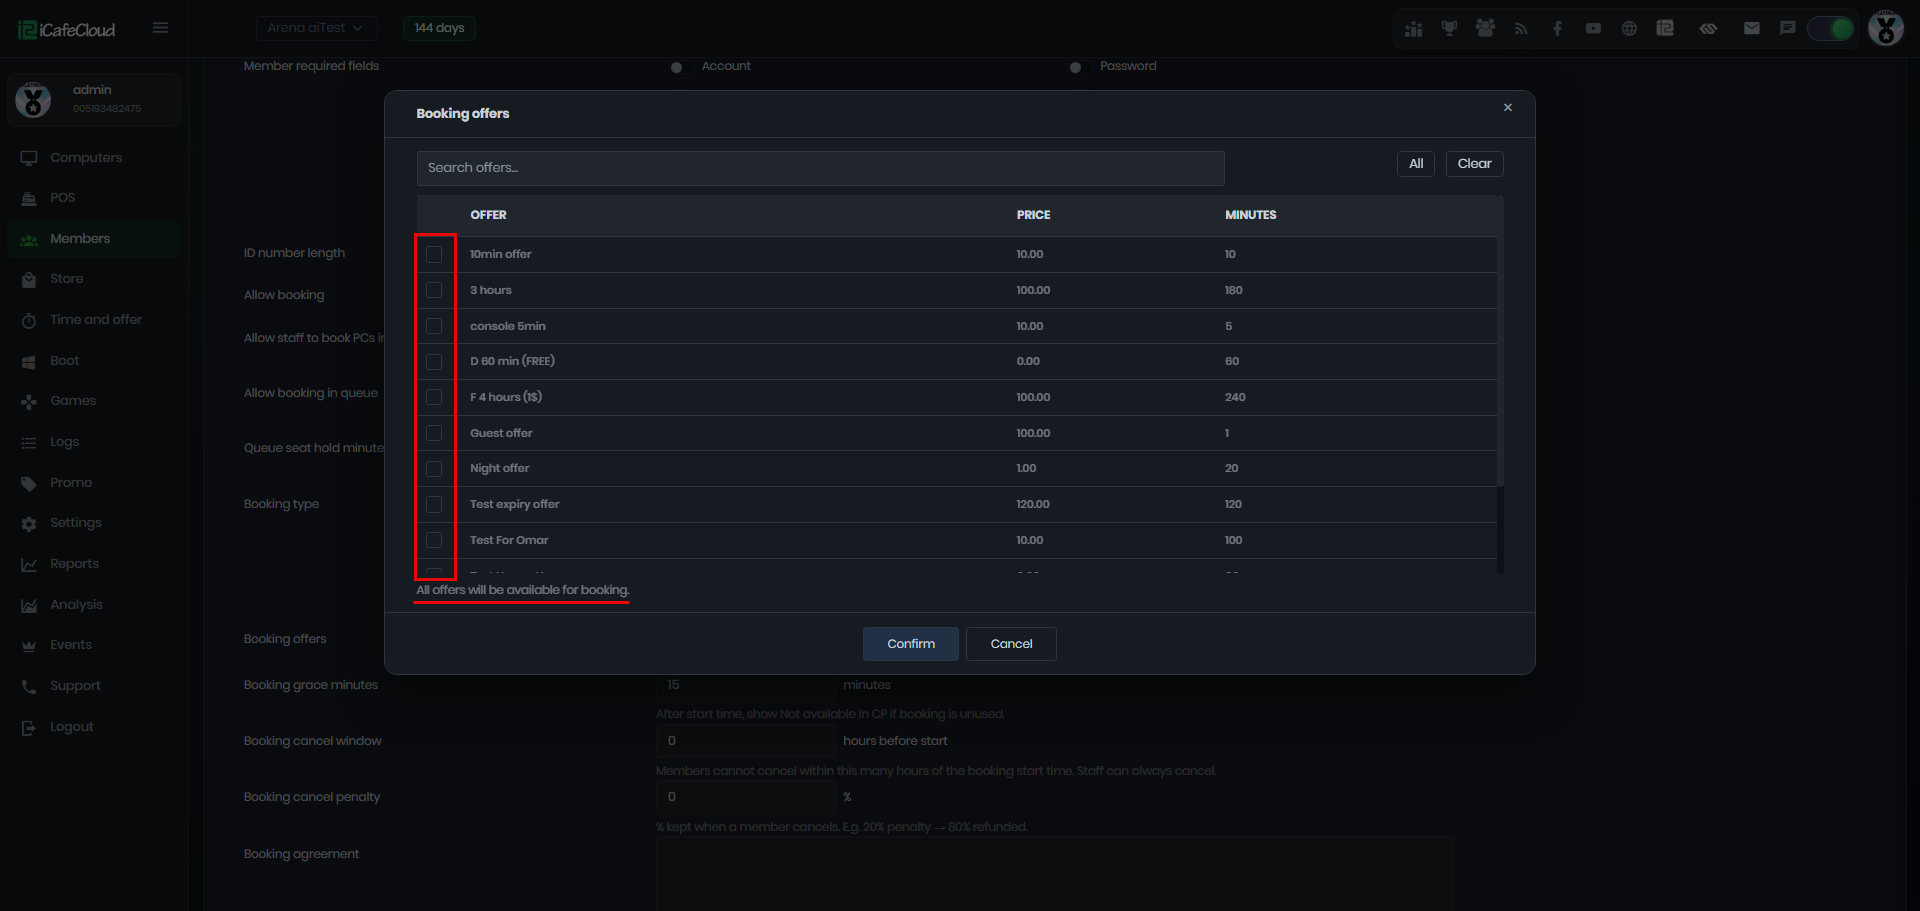
Figure 7
- Booking Grace Minutes – Sets how many minutes a booking can remain unused after its scheduled start time before the PC becomes available again in the Control Panel (Figure 8)
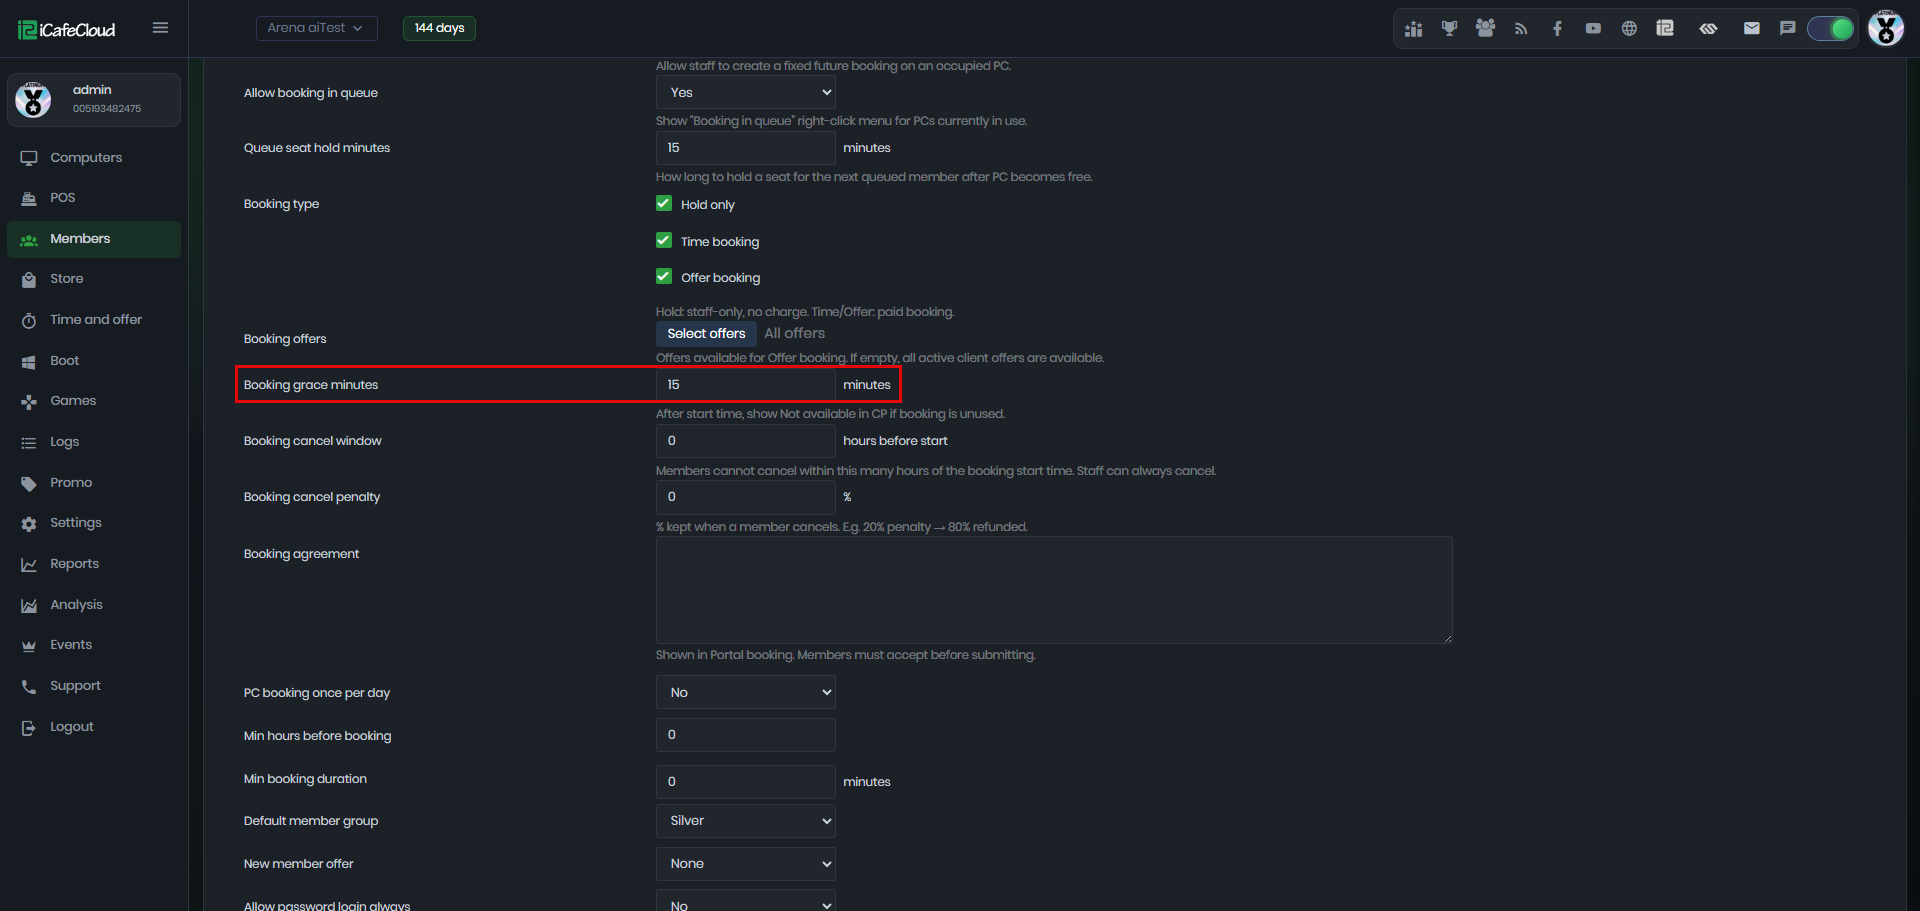
Figure 8
- Booking cancel window - Sets how many minutes before the booking start time a member is allowed to cancel the booking.Staff can cancel anytime (Figure 9)
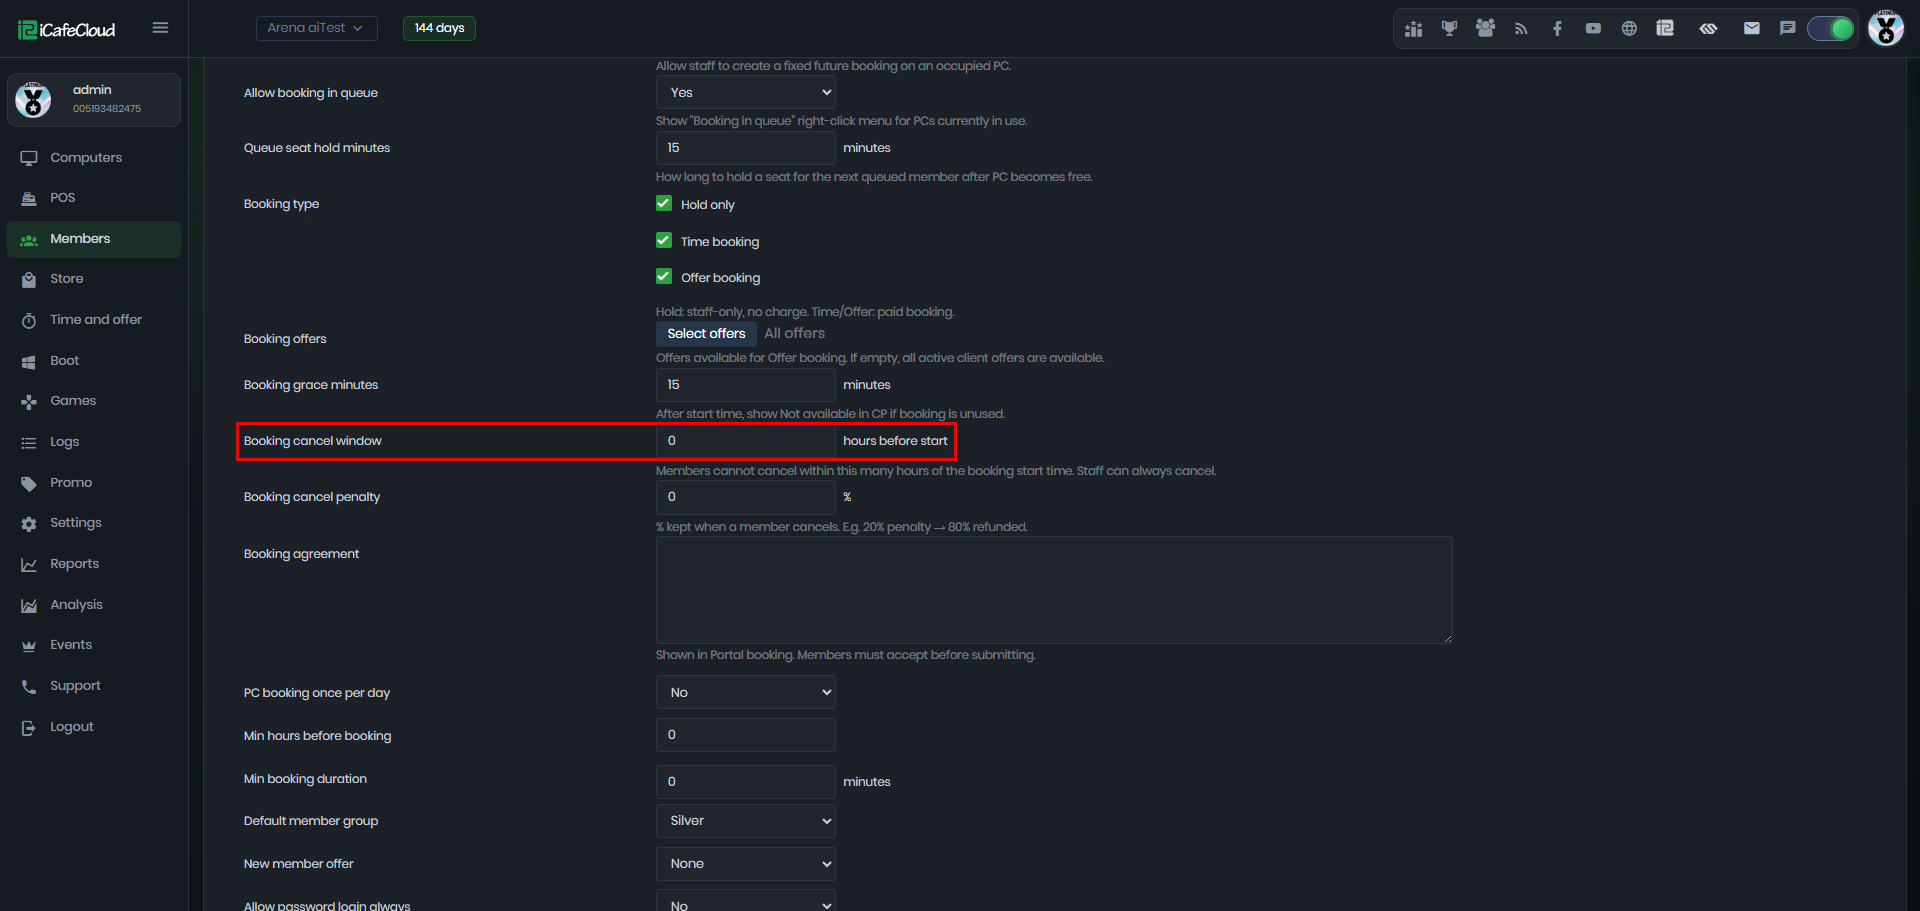
Figure 9
- Booking Cancel Penalty – Sets how much money will be deducted when a member cancels a booking. The remaining amount will be refunded to the member.
Example: If the penalty is set to 20%, the member will receive 80% of the payment back. (Figure 10)
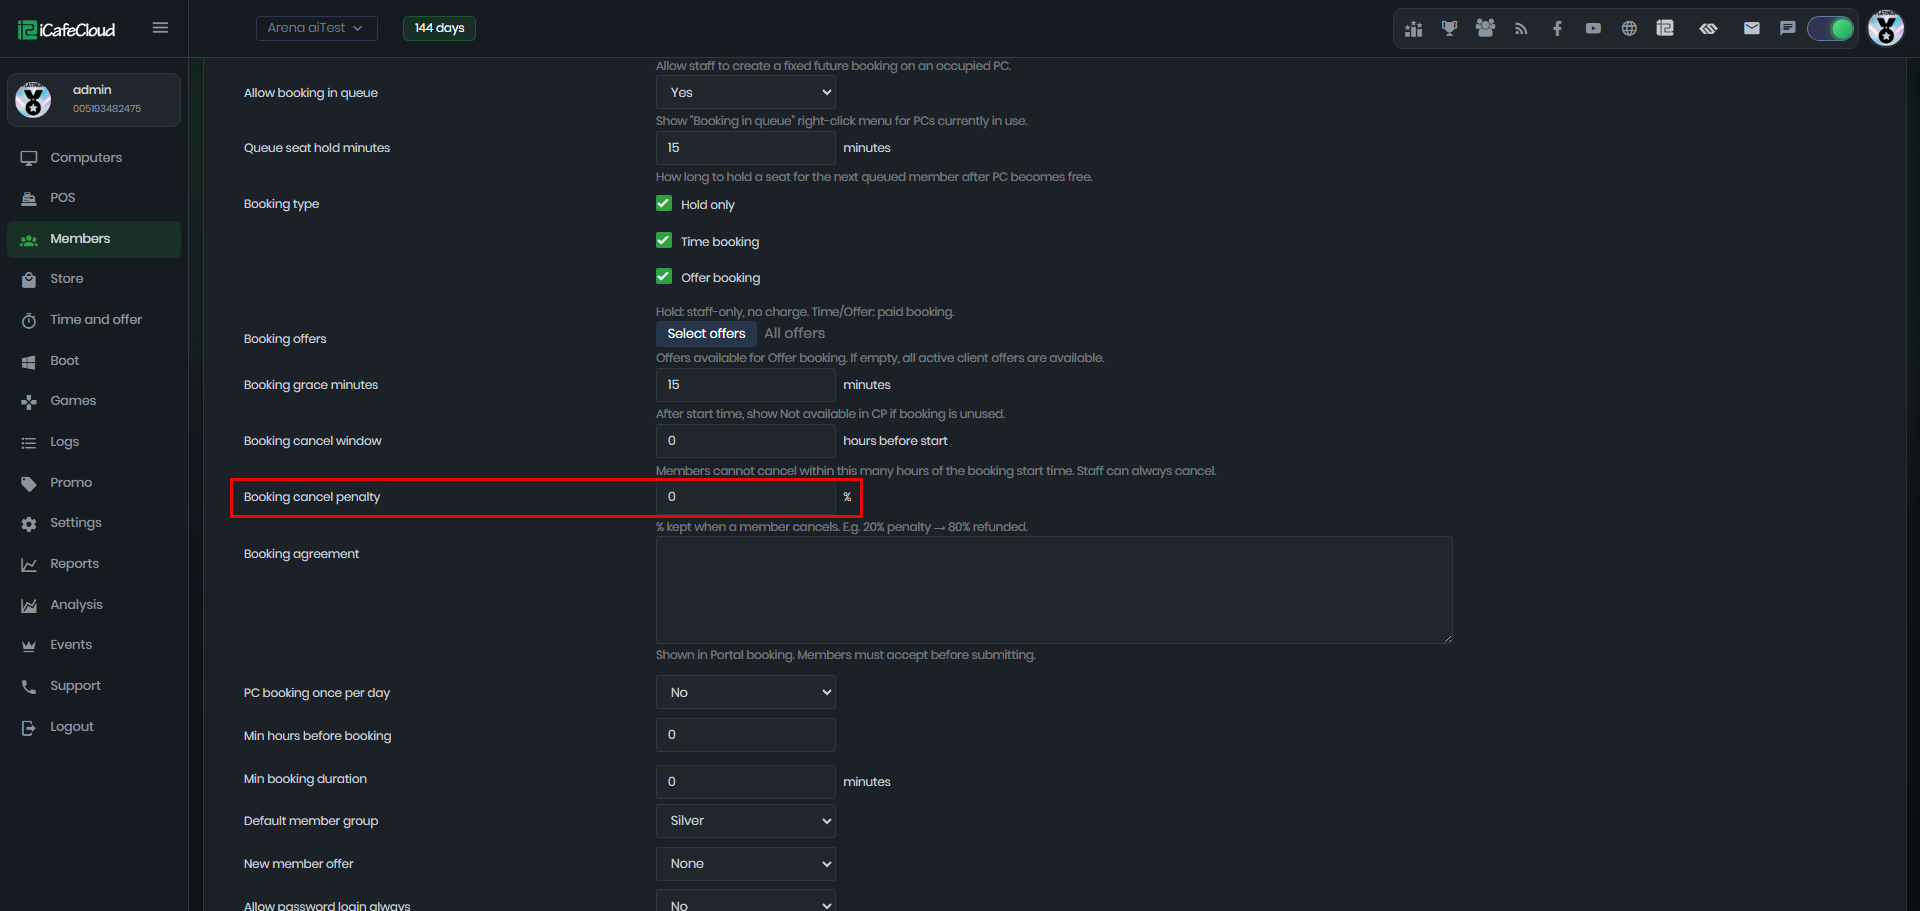
Figure 10
- Booking agreement - This is shown in the Portal booking page. Members must accept the agreement before they can submit or complete the booking (Figure 11)
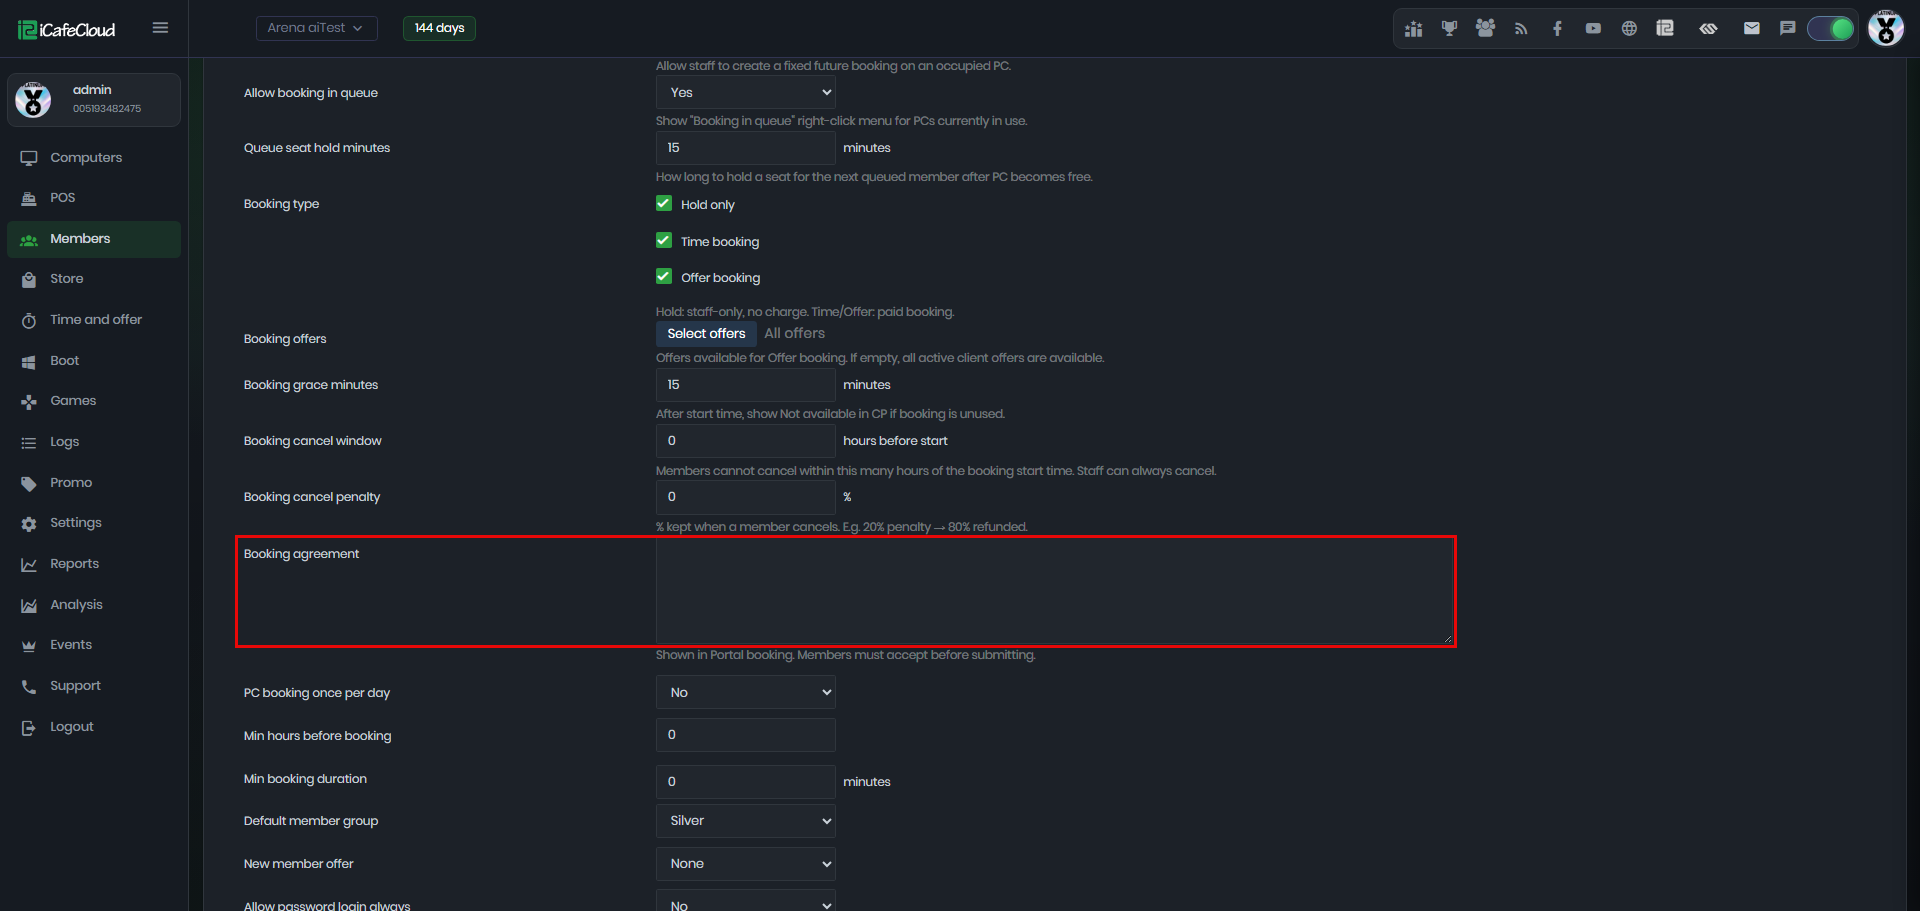
Figure 11
- PC booking once per day - This function limits PCs to be booked only once per day from the portal. (Figure 12)
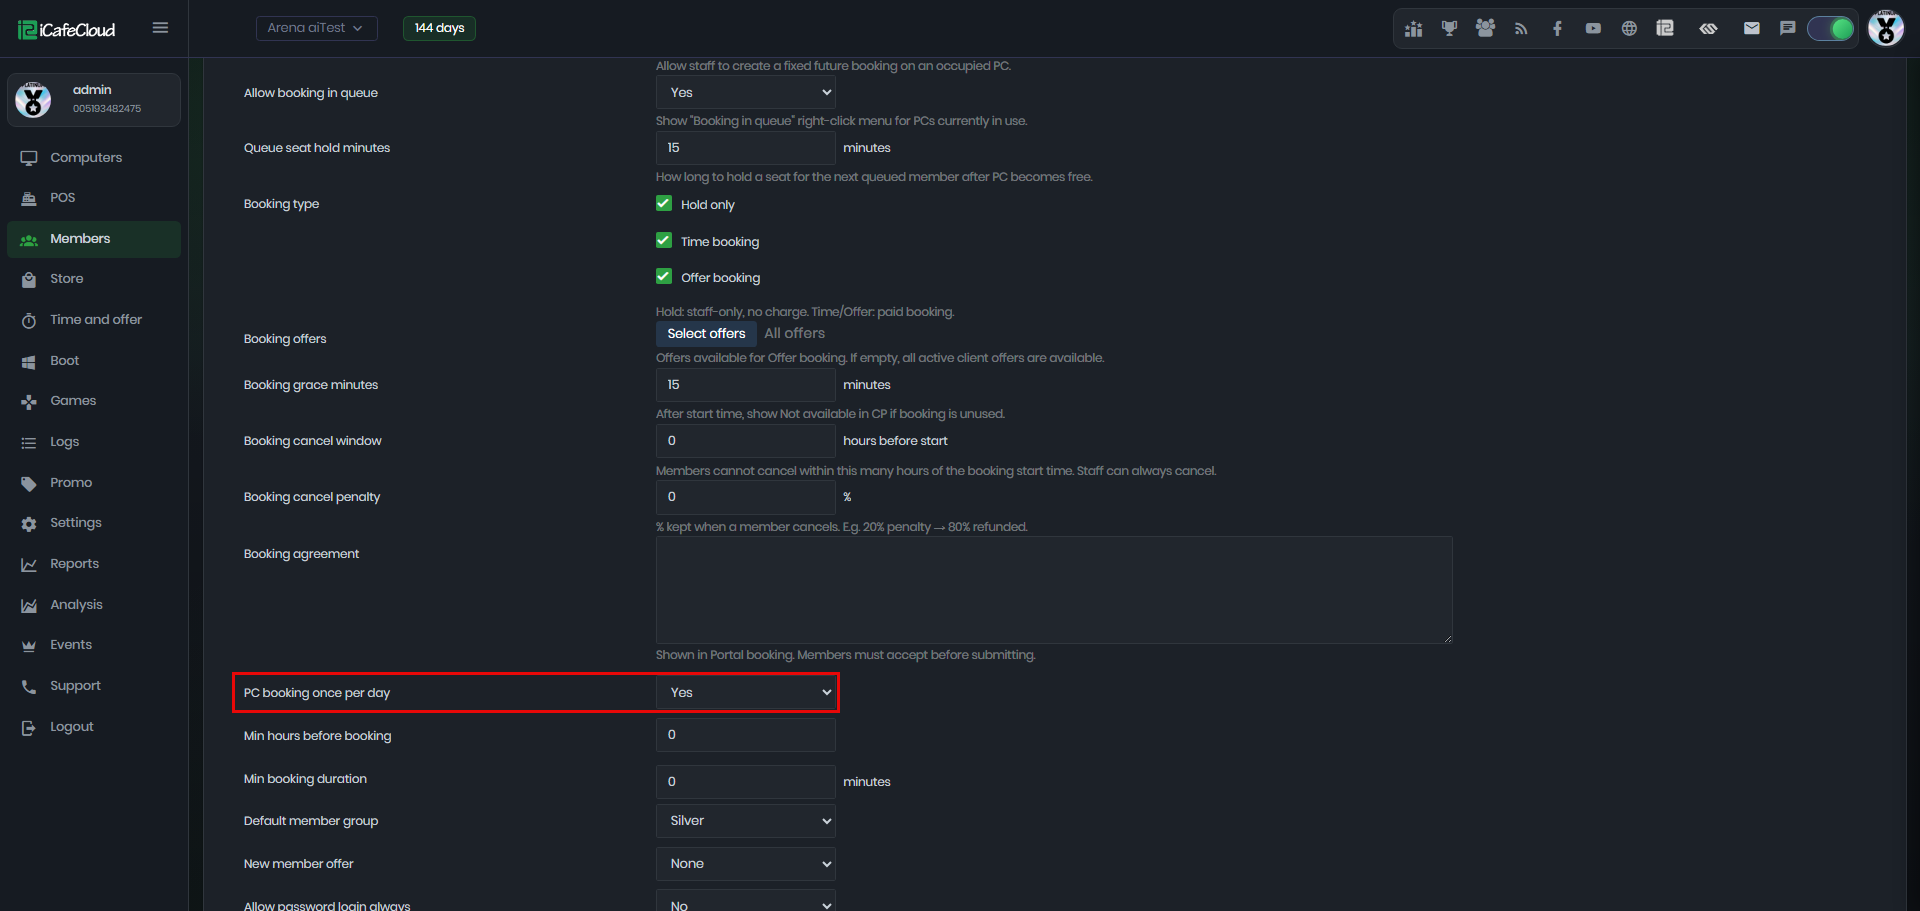
Figure 12
- Min hours before booking - This function allow to configure the minimum time in hours required before a booking is allowed (Figure 13)
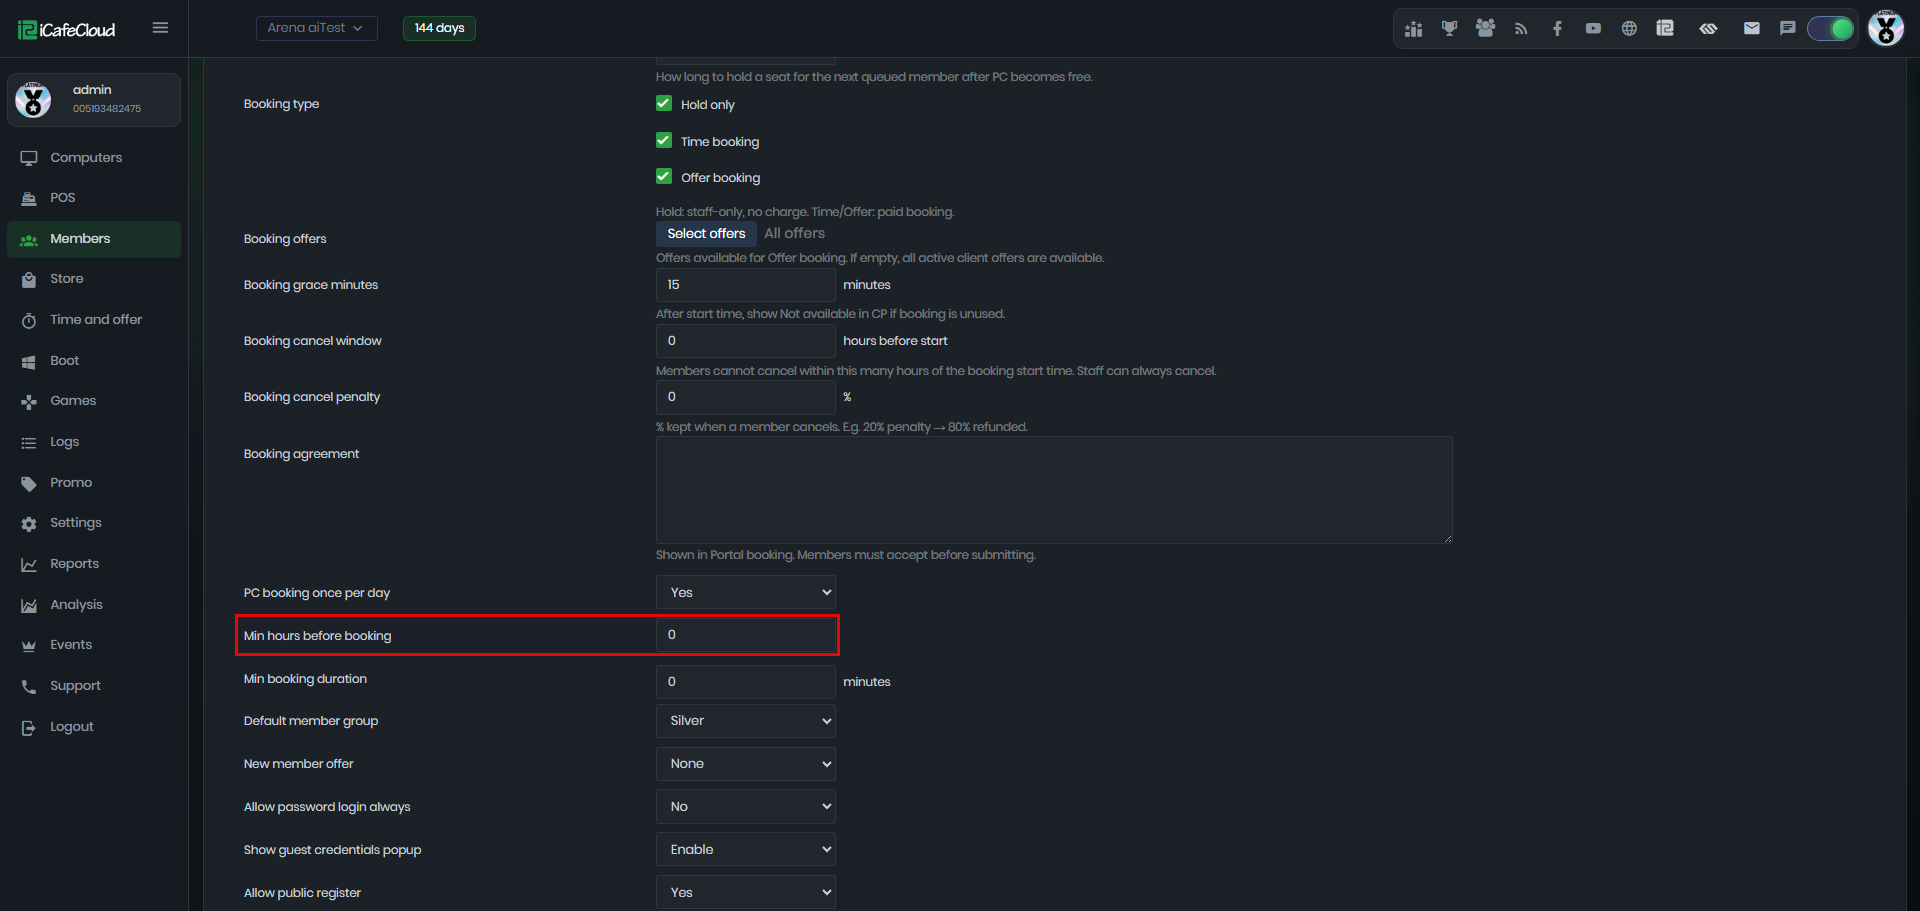
Figure 13
- Minimum booking duration – This sets the shortest time a booking can be made for, in minutes. Members cannot book a session shorter than this limit. (Figure 14)
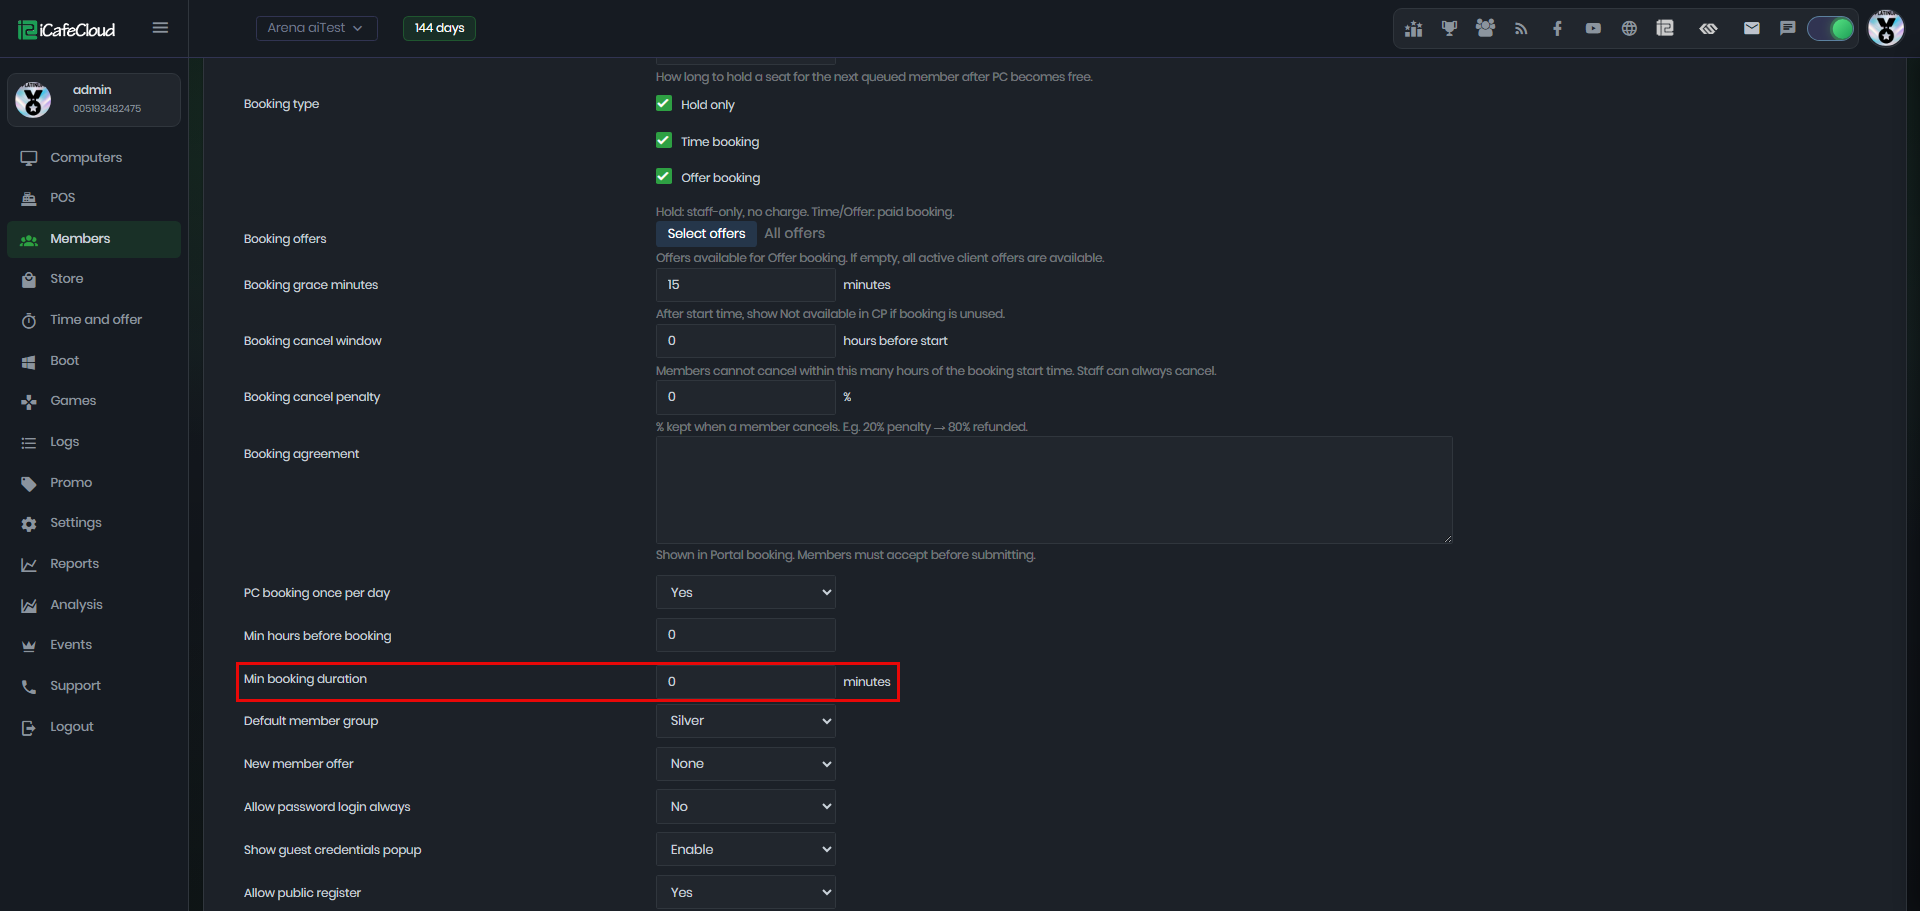
Figure 14
Booking details
- Booking function lets cashiers reserve PCs and devices for members. Only the member who reserved them can use them during that time.
- After using the booking balance it will auto switch to the highest priority offer if customer use offers
- If a PC is booked days in advance, you can still use all sessions available.
- Once the booking time starts, measured in minutes deducted from the member's account balance, no one else can use the reserved PC, and no sessions can start until the booked time has passed.
Example: If a session is booked for 30 minutes and the time hasn't yet passed the 30-minute mark, only the member who booked it can log in. Once 30 minutes have elapsed, at 31 minutes and beyond, all sessions can be accessed. - If a postpaid session is active when the booking time starts, the system will automatically check out the postpaid session.
- Admin account can cancel booking , if booking is canceled it will refund the amount fully.
- Start time must not be past and must be future. (Check Settings - timezone to be always correct)