Wiki Home Settings page QR topup with Yoomoney
QR topup with Yoomoney
2025-03-22
qr, topup, pay, yoomoney
- Navigate to Yoomoney website and register an account [HERE]
- Get shopId on the top of Yoomoney dashboard
- Integration - API keys - create Secret key, this is your gateway api token.
- Integration - HTTP notification - Fill the URL for notifications (you can get your cafe id from iCafeCloud api settings)
[ https://api.icafecloud.com/api/v2/cafe/YOUR_CAFE_ID/yoomoney ] - Turn on all the options and Save the changes(Figure 1)
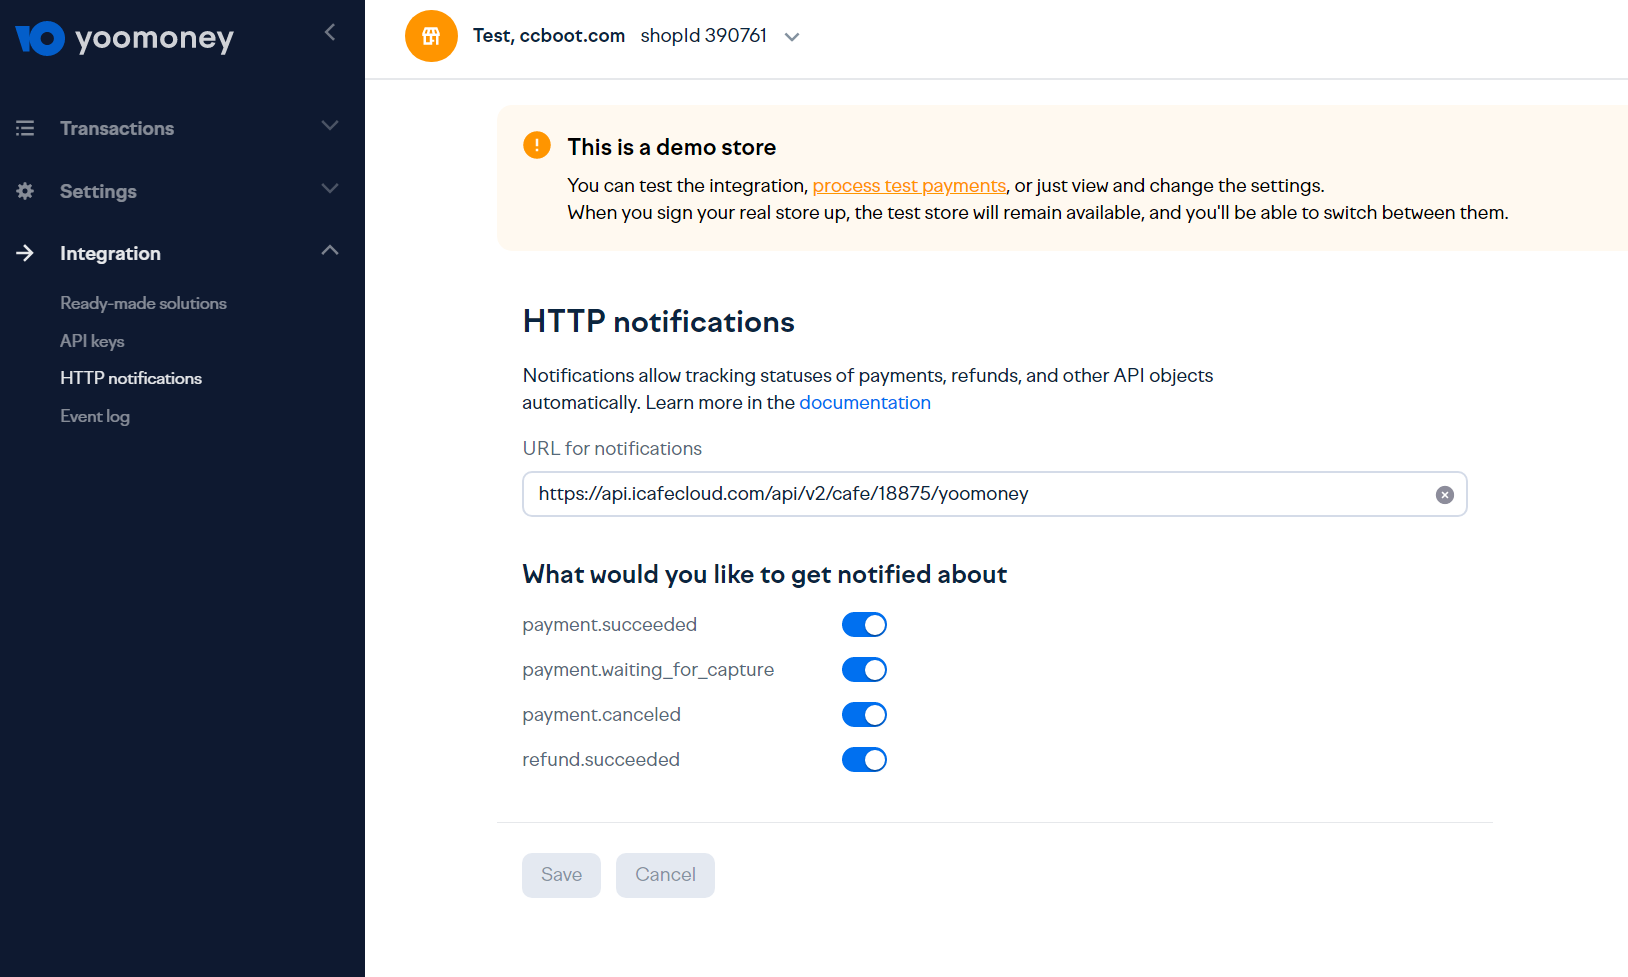
Figure 1
Server side
- In the iCafeCloud control panel, navigate to Settings > Client and enable the Allow top-up at client option. Then, fill in the Shop ID and Gateway API Token for YooMoney. (Figure 2)
- Mini QR Payment: If an amount is set, it represents the minimum payment amount accepted
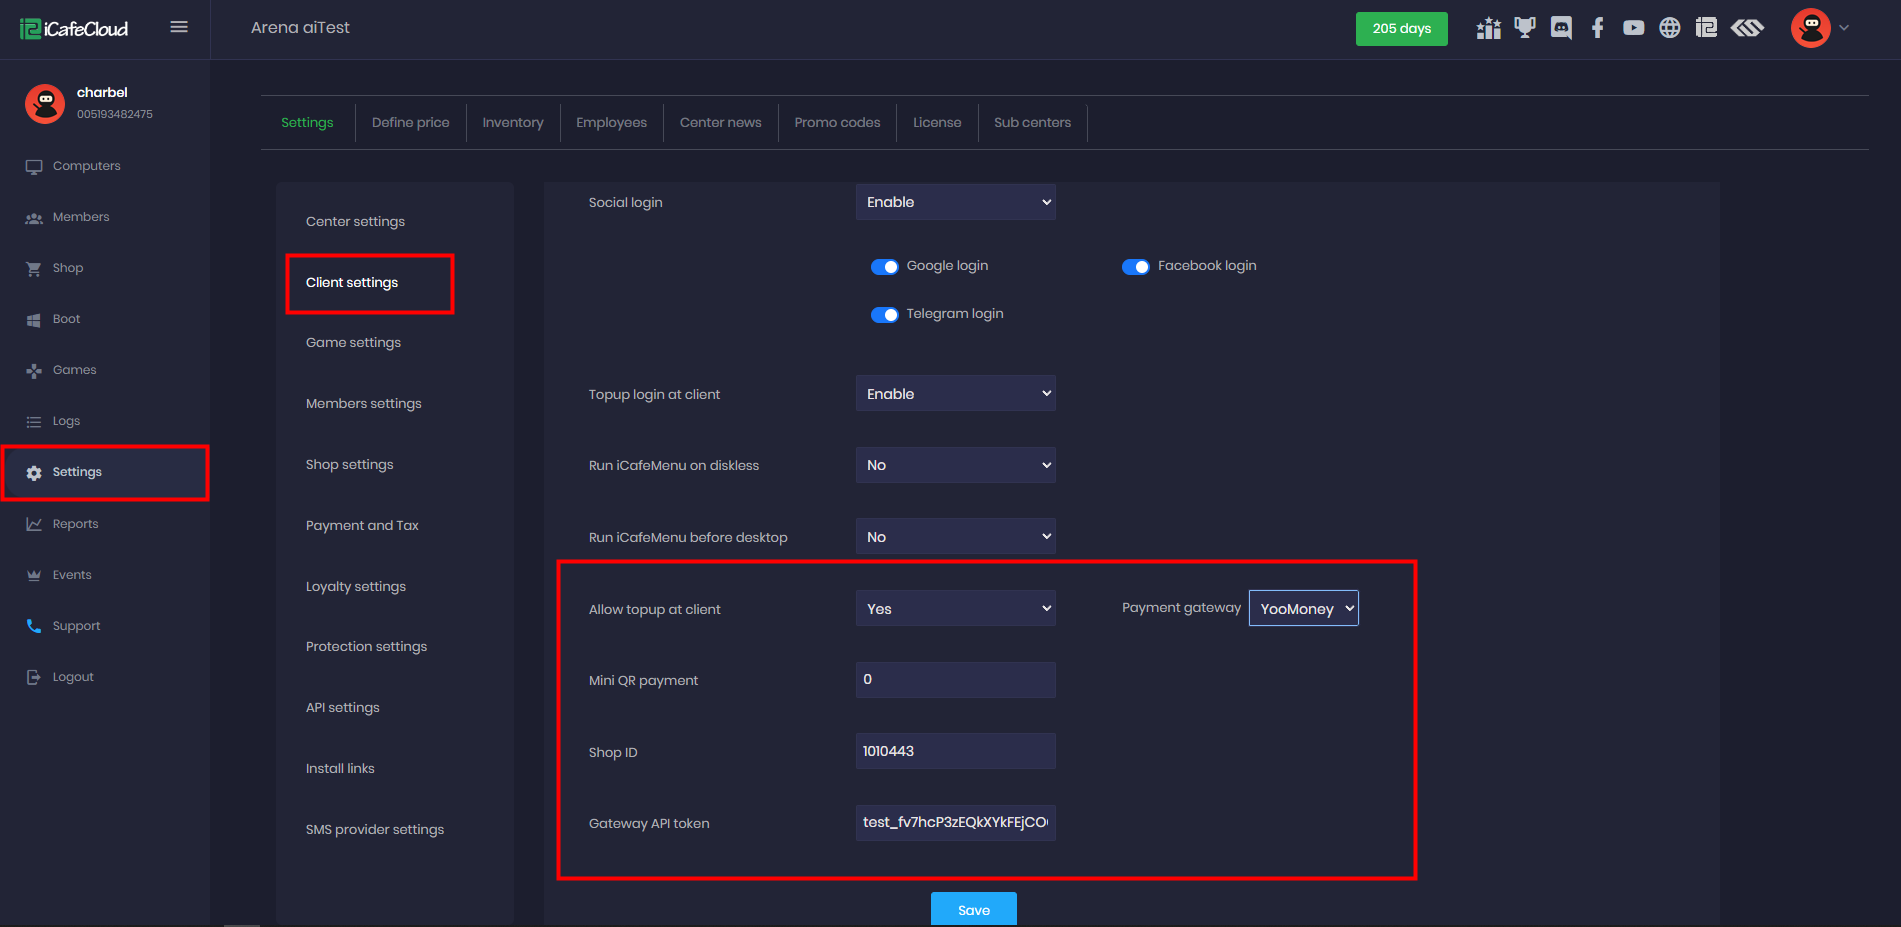
Figure 2
- In the iCafeCloud control panel, navigate to Settings > Payment and set the currency symbol to RUB. (Figure 3)
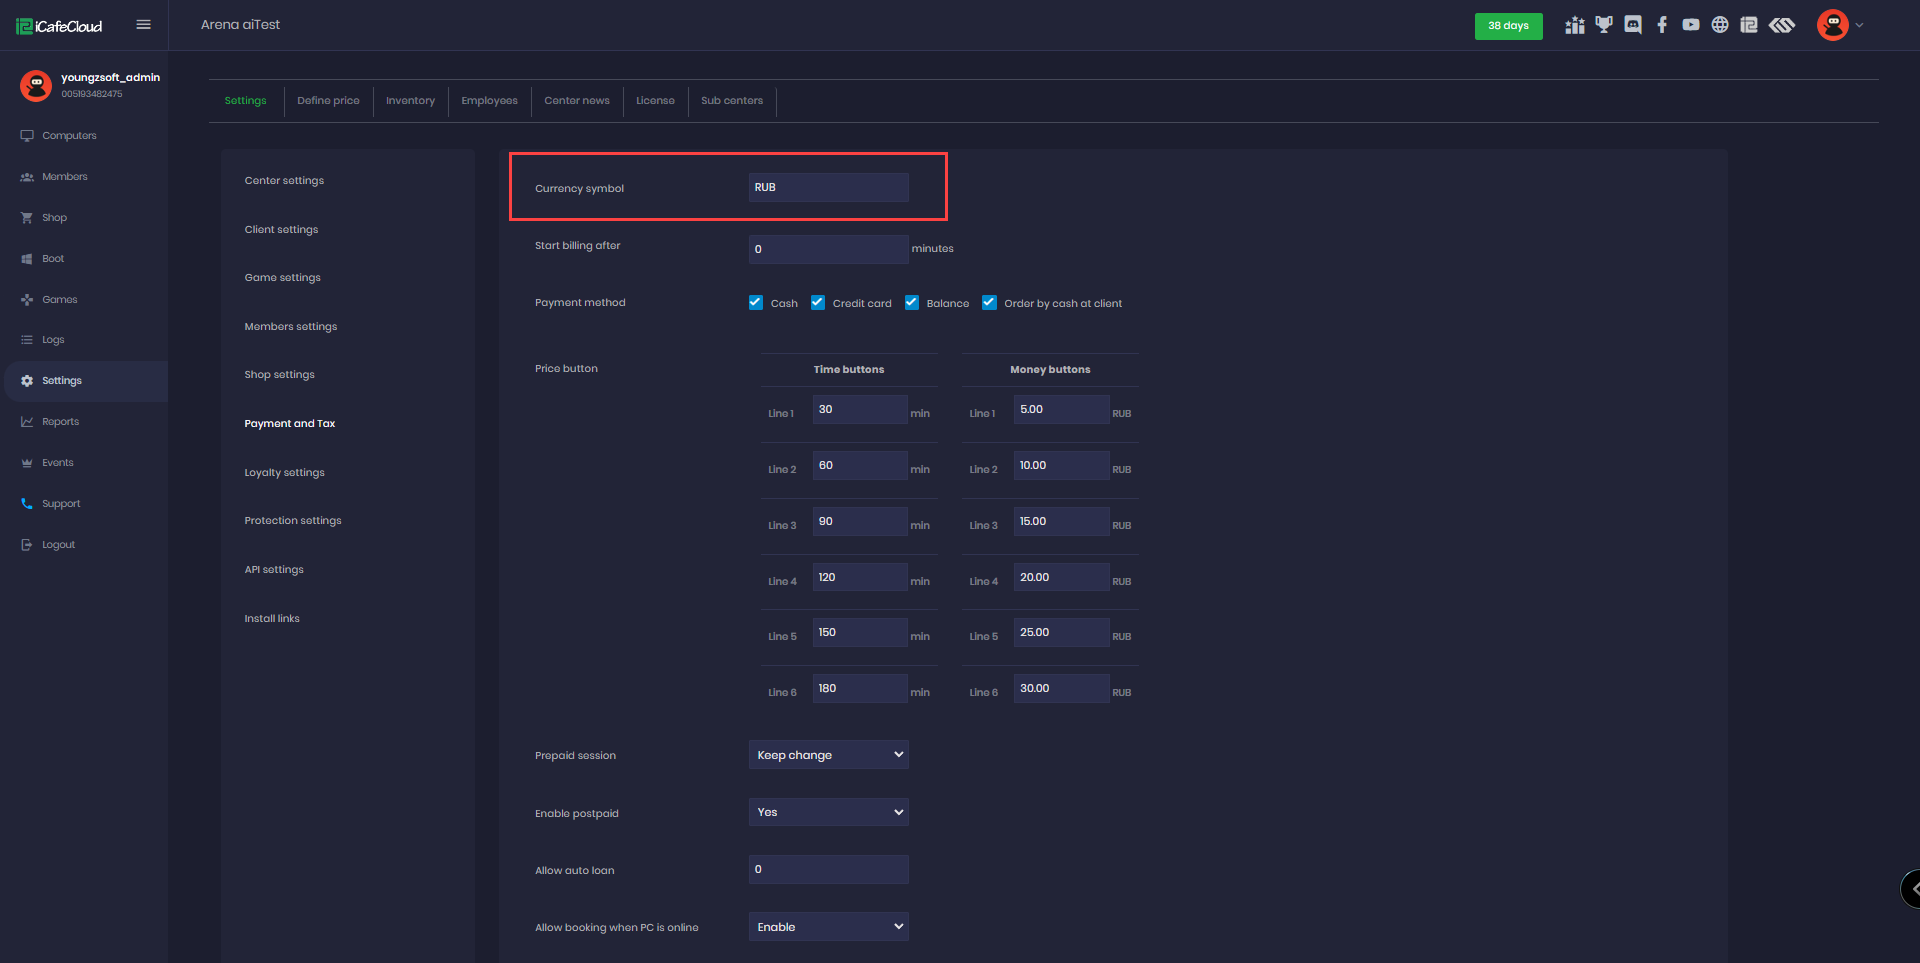
Figure 3
Client side
- On the iCafeMenu login screen, a new button will be added to allow you to top up directly. (Figure 4)

Figure 4
- Click on it, and a new window will pop up. Enter the account or playtime you want, and the system will automatically calculate the amount to top up; then click the green button to confirm. (Figure 5)
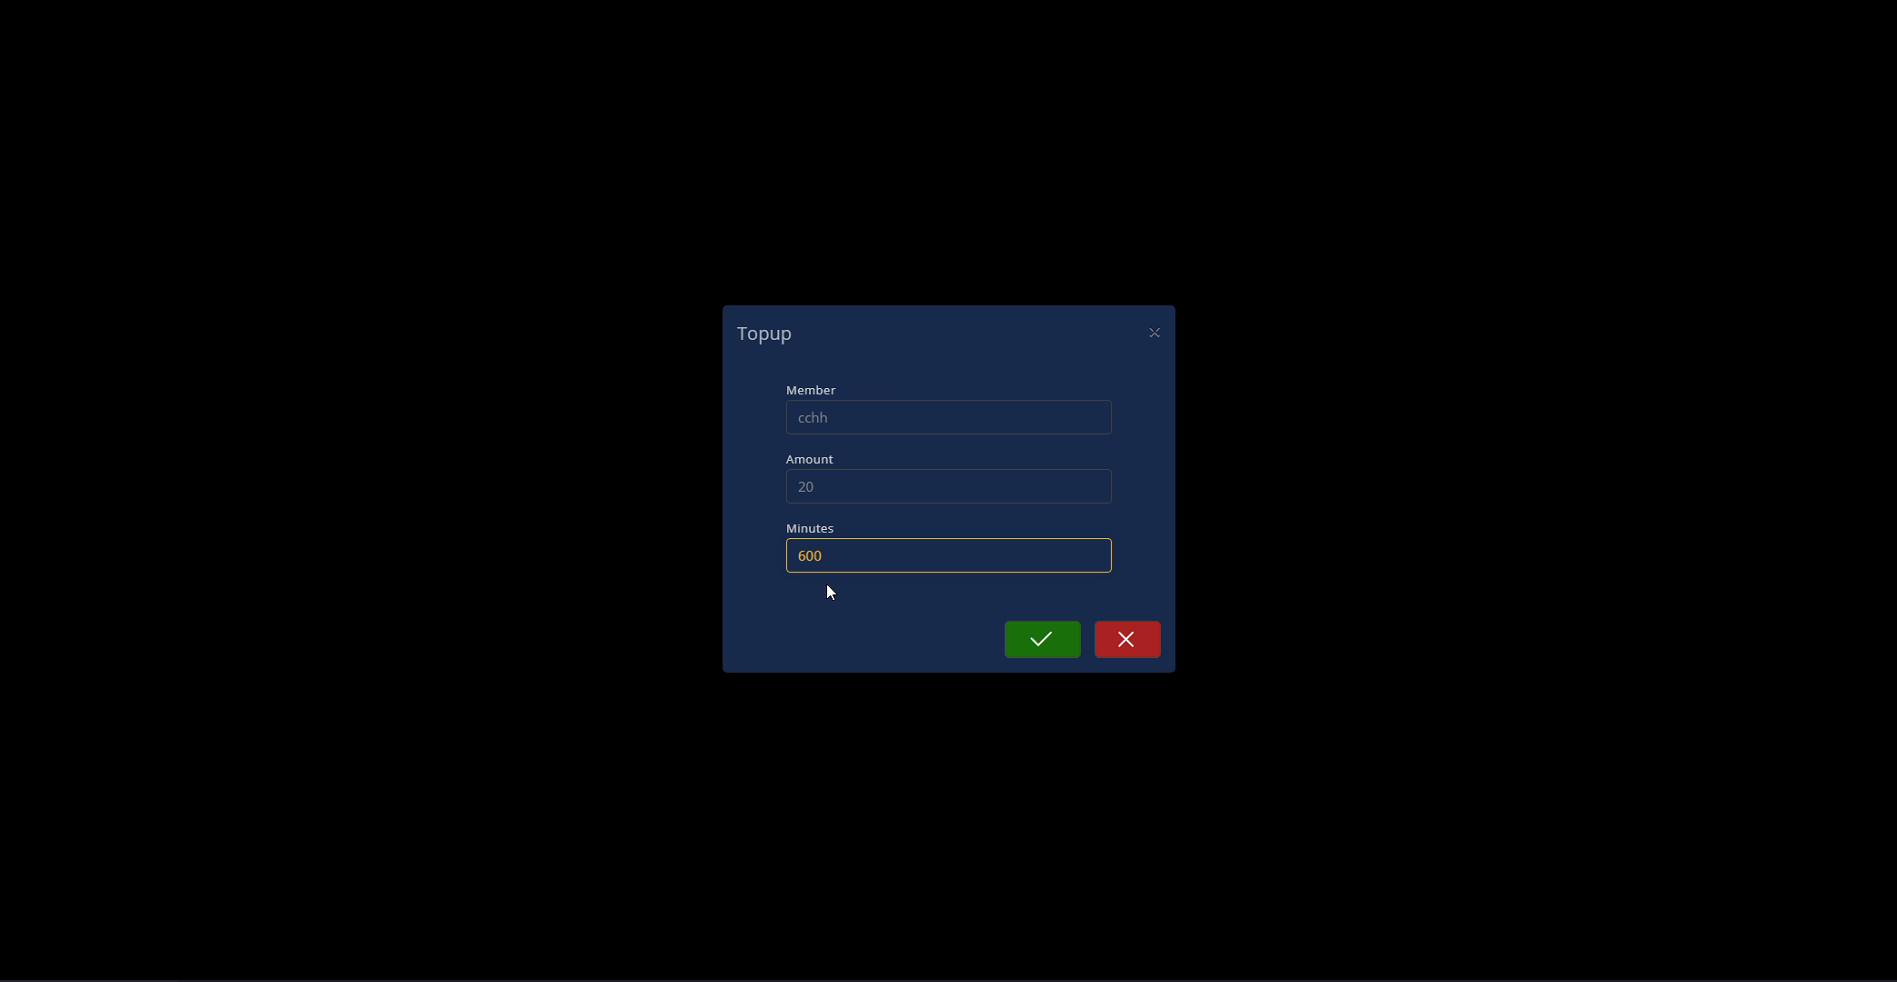
Figure 5
- After you click "OK" to confirm the top-up, a QR code will be displayed. (Figure 6)
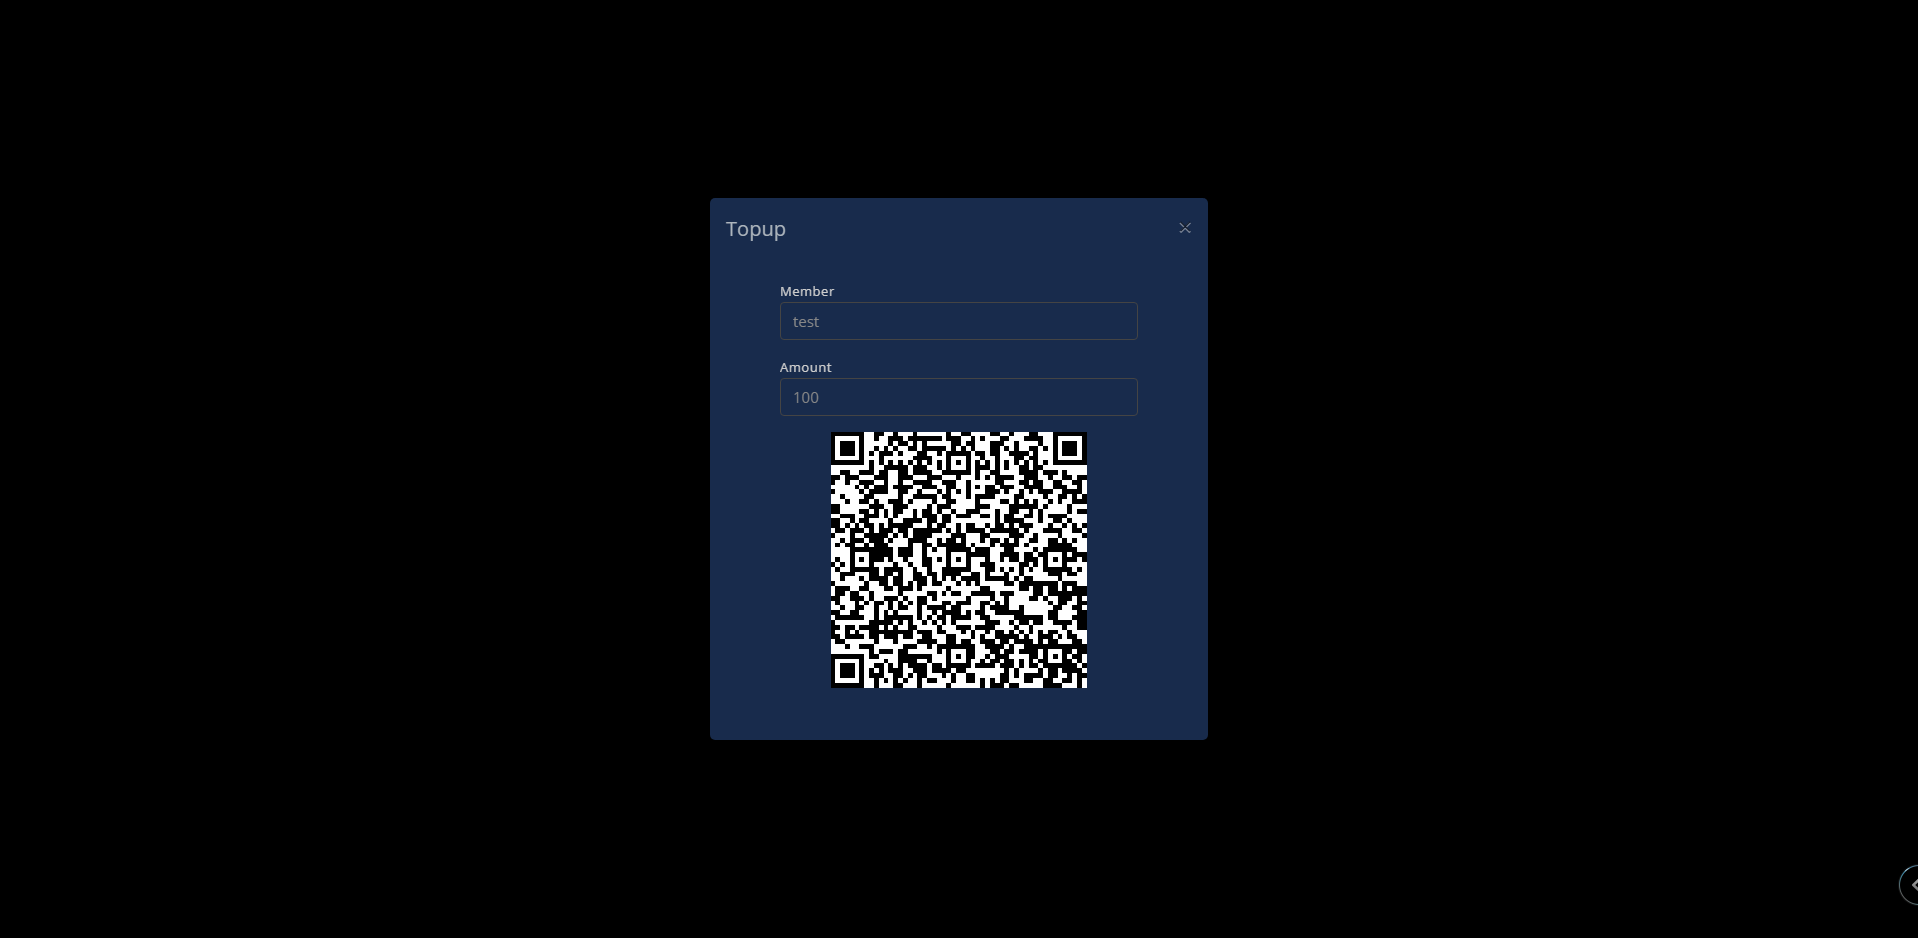
Figure 6
- In the admin panel, under the SHOP history transactions, transactions will be displayed as "In Progress" (Figure 7)
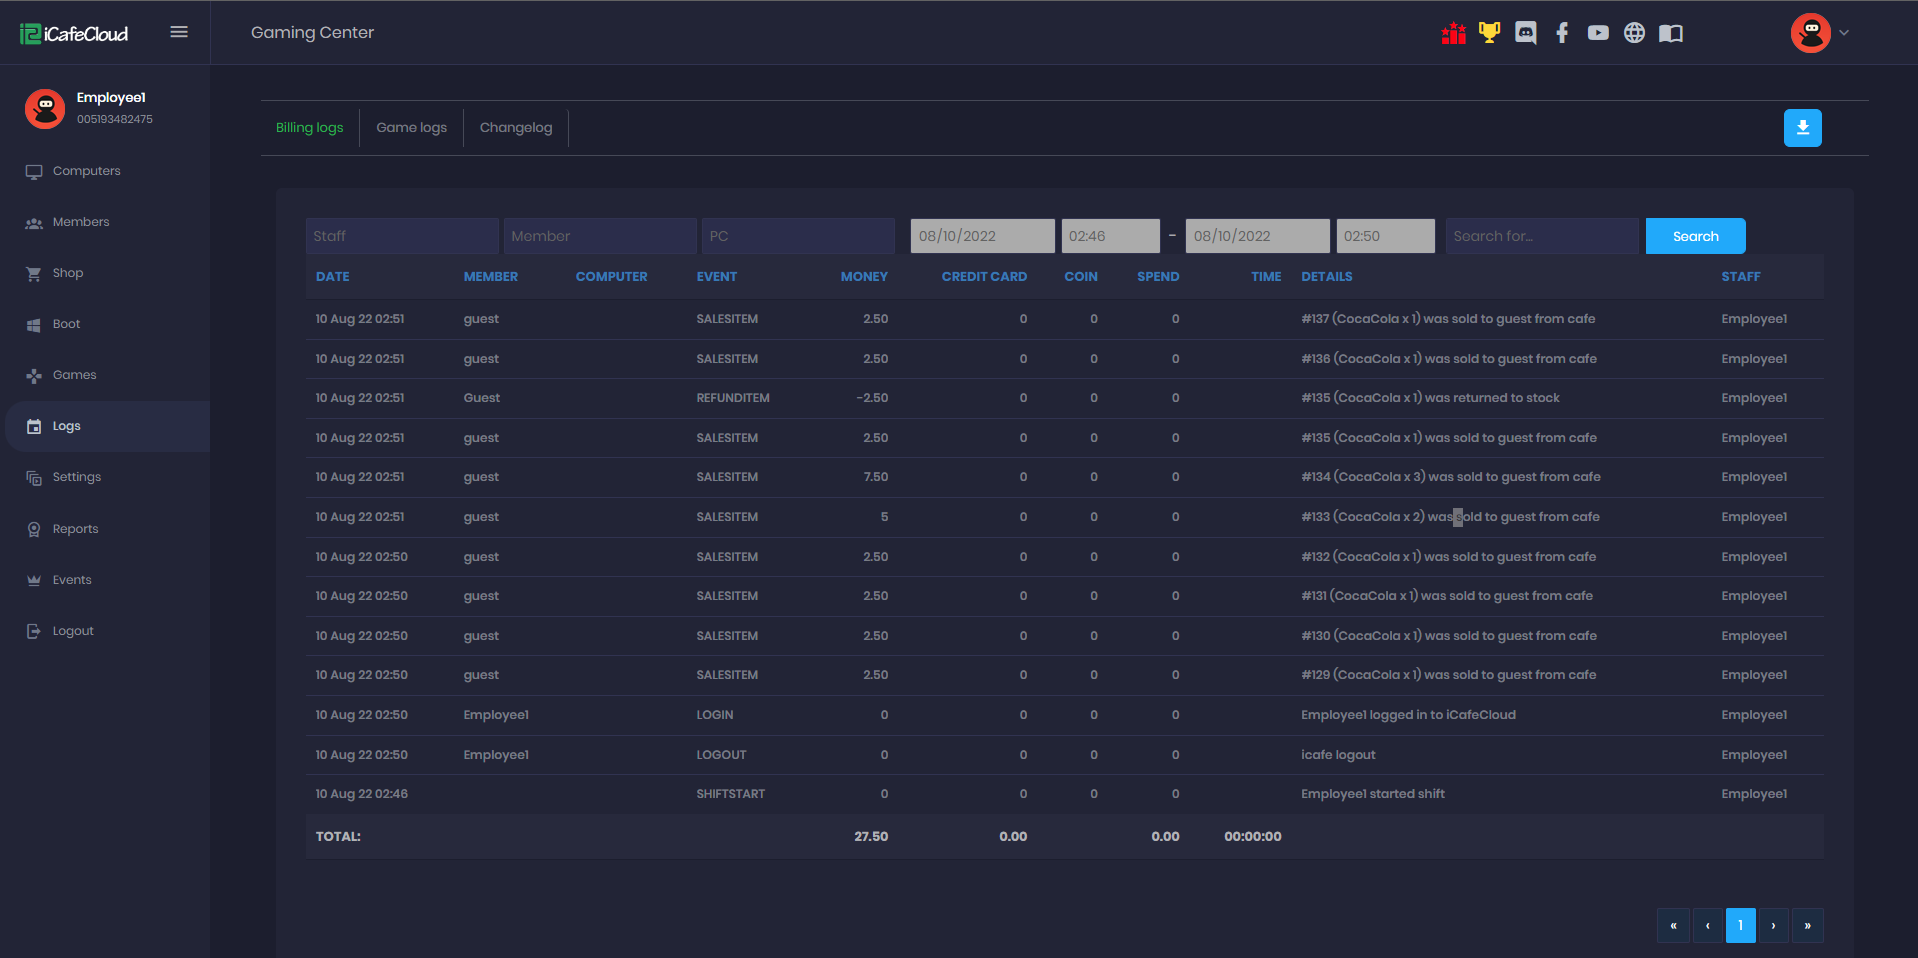
Figure 7
- Continue by scanning the QR code, and the transaction will be marked as successful. (Figure 8)
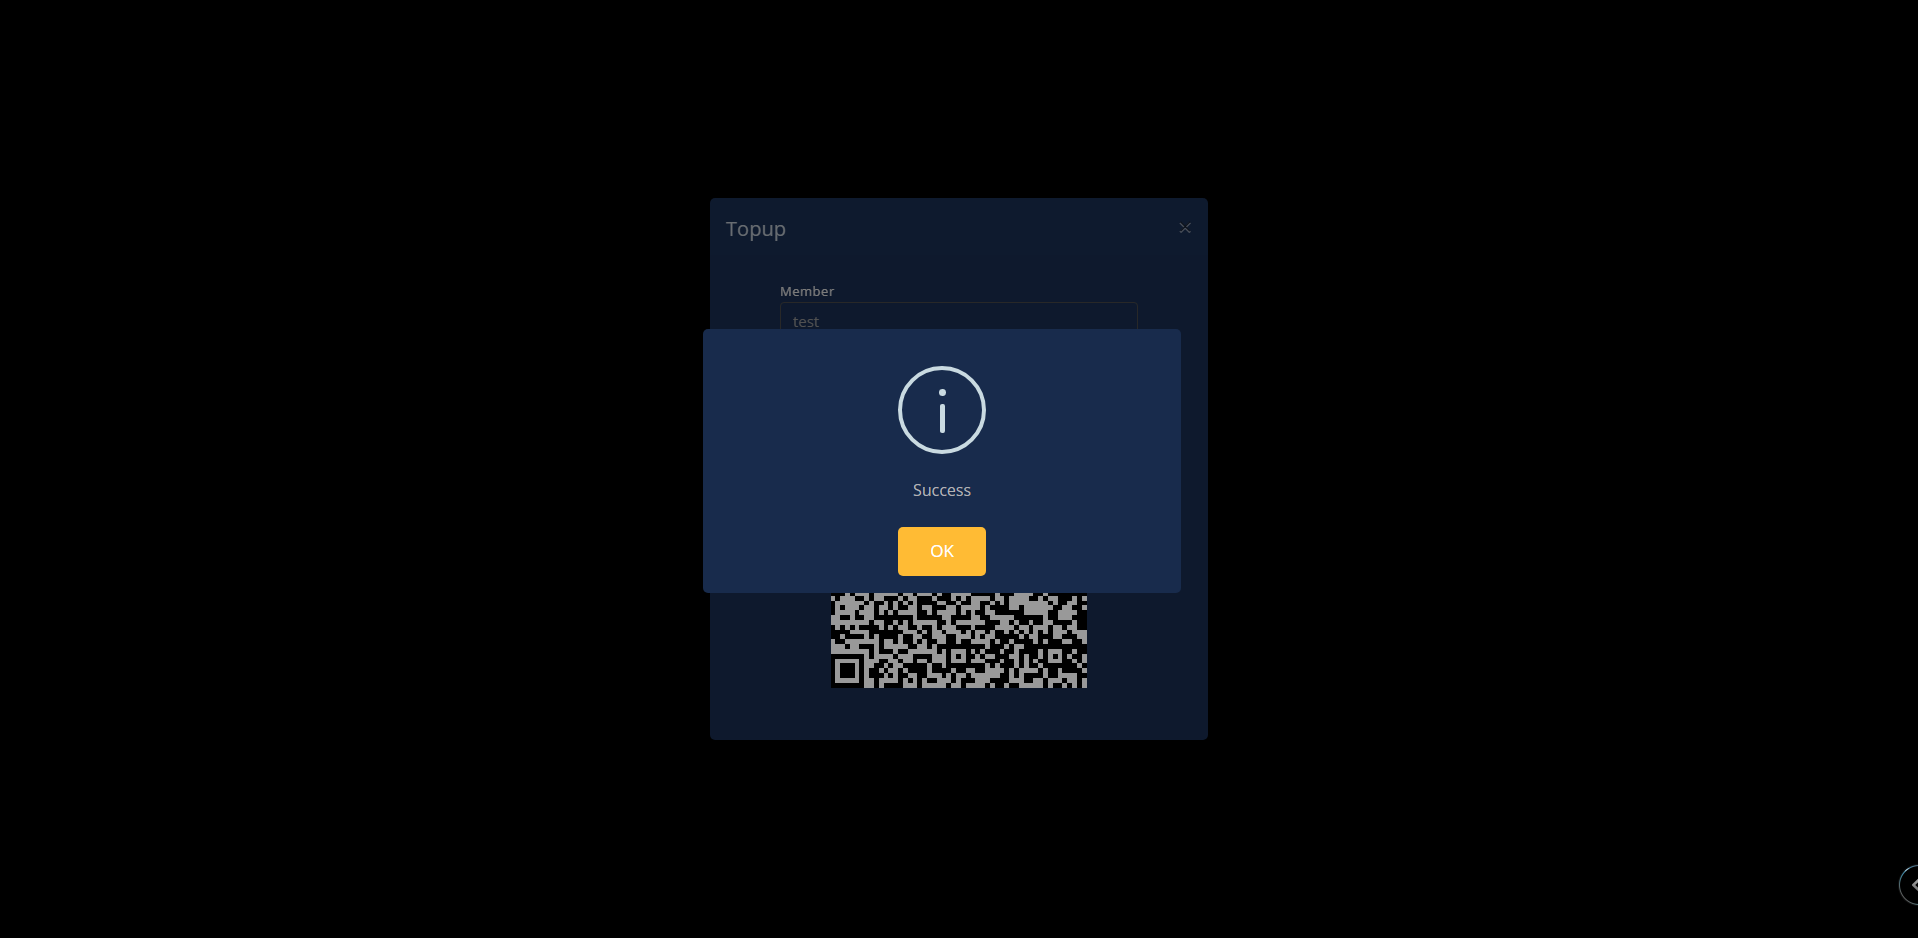
Figure 8
- Once the transaction payment has been verified , under the SHOP history transactions, transactions will be displayed as "Paid" (Figure 9)
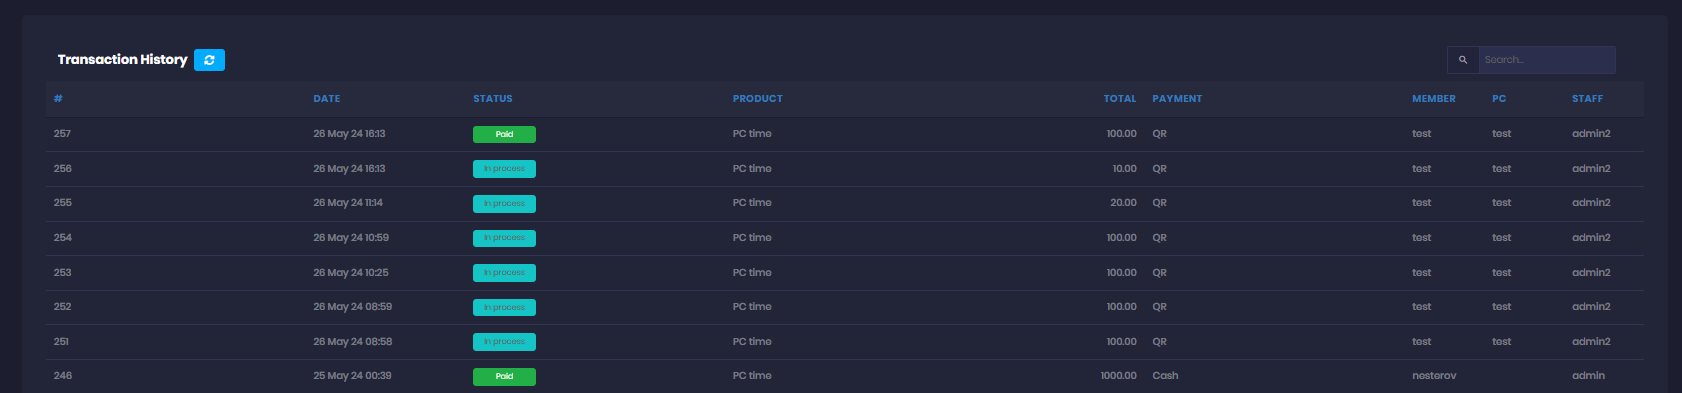
Figure 9
- If the Mini QR payment is set to 10, for example, the minimum payment should be 10; if less, an error will show at the client, preventing the transaction. (Figure 10)
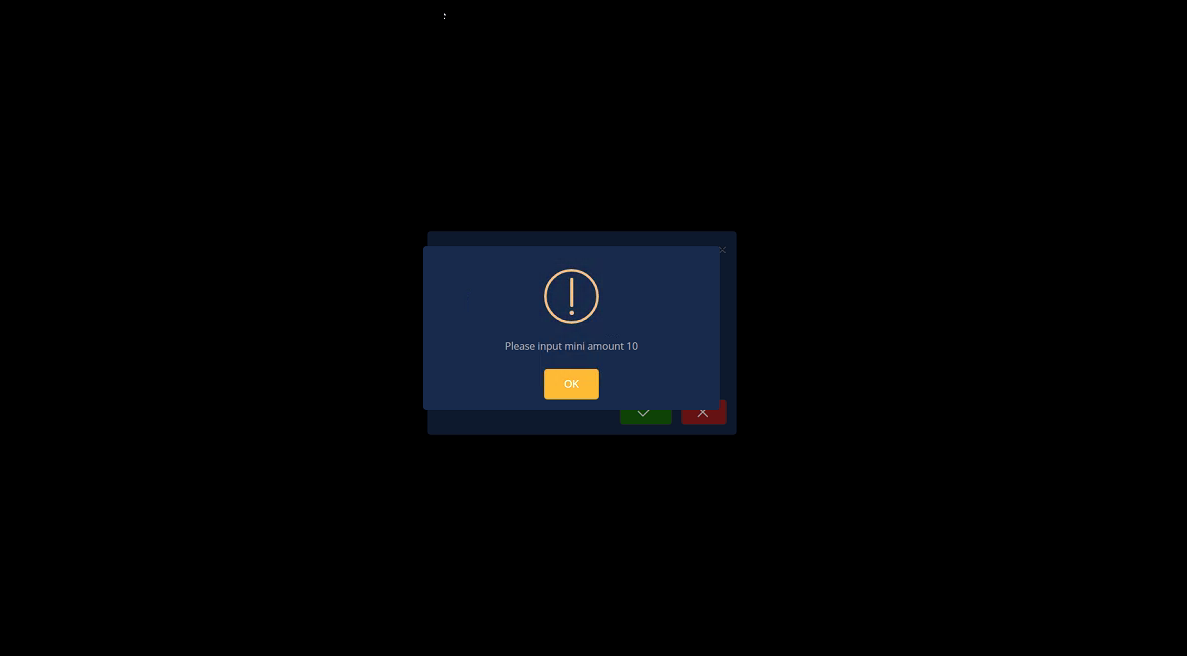
Figure 10