2023-05-23
installing, atol, printer
Before proceeding with the steps below, please make sure that the ATOL printer is connected to the same computer as the iCafeCloud Server.
- Download the ATOL printer driver from the corresponding website and copy it to the desktop and double click the installer to start the installation process, then click the “Next” button (Figure 1).
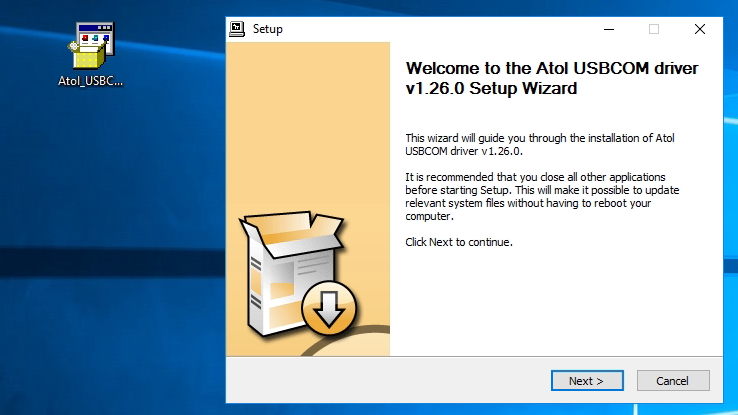
Figure 1
- Choose the “Destination folder” and then click the “Next” button (Figure 2).
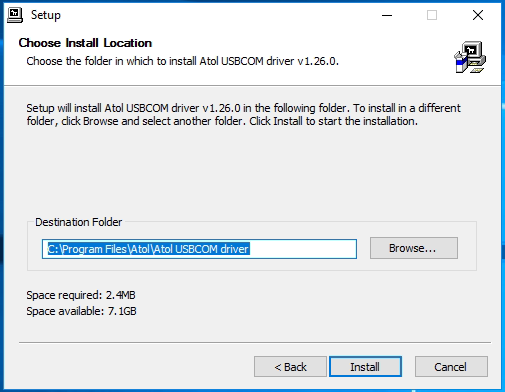
Figure 2
- Installation will still start, wait for it to finish (Figure 3).
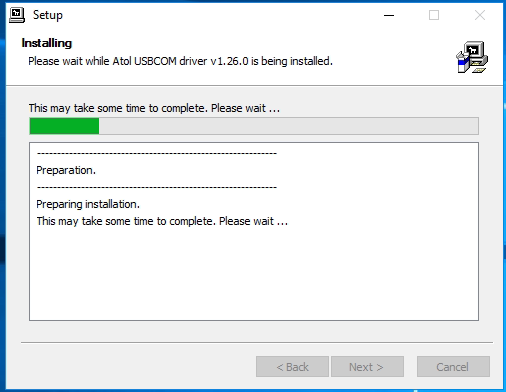
Figure 3
- Once installation is done, then click the “Next” button (Figure 4).
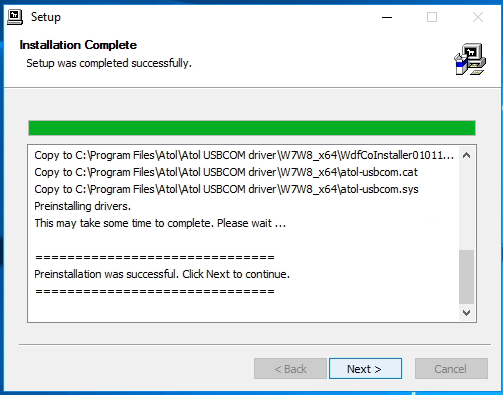
Figure 4
- Now, click the “Finish” button to close the installation windows (Figure 5).
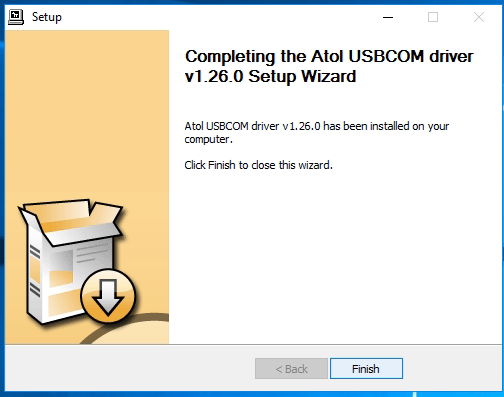
Figure 5
- You can check if the drivers are installed properly or not from the device manager under “COM and LPT” (Figure 6).
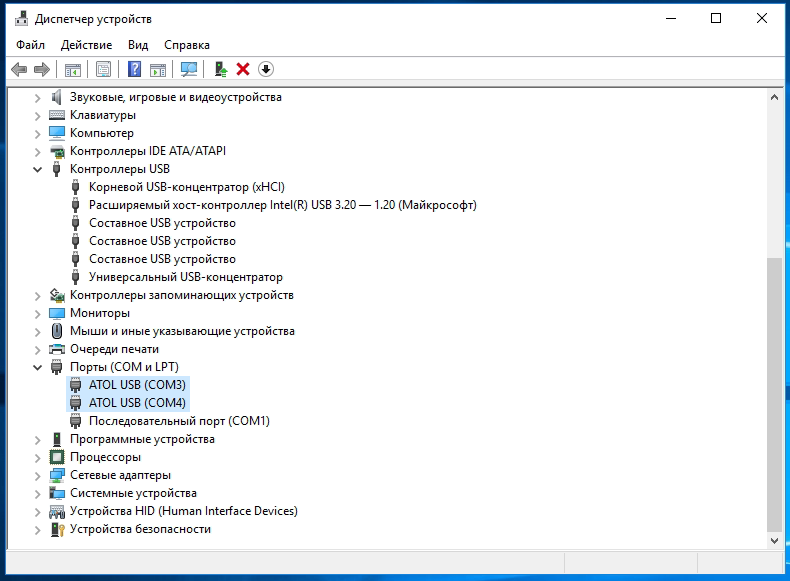
Figure 6
- Open cloud panel login and then from “Settings” choose the default printer as “ATOL” printer (Figure 7).
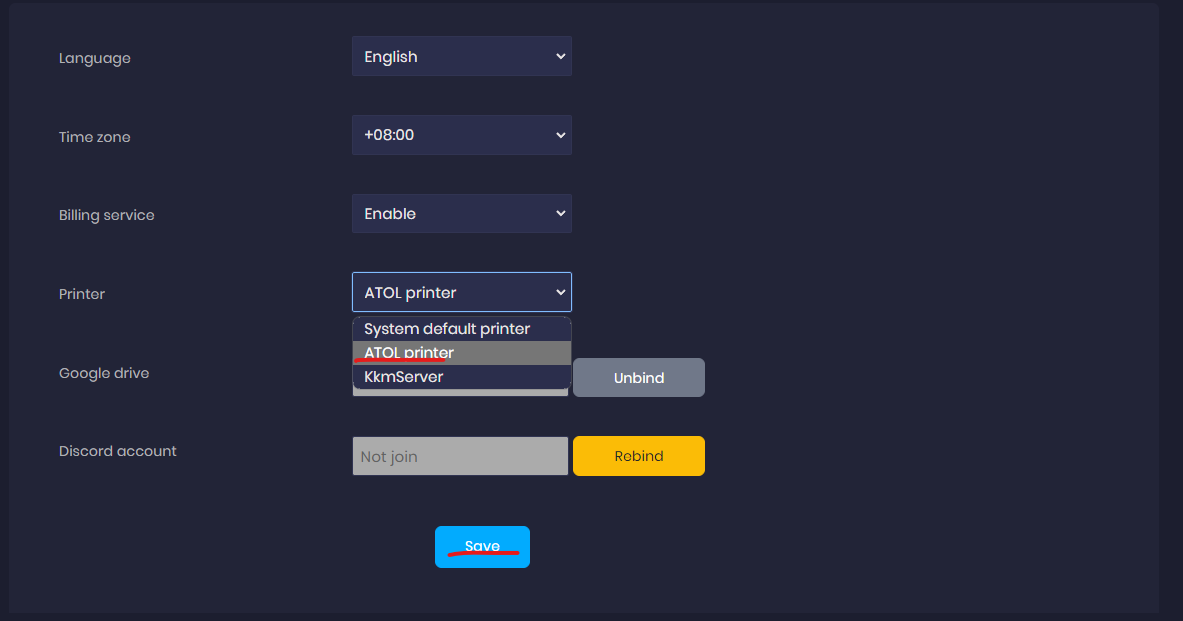
Figure 7
- Afterwards, when you make a sale for a product or offers, click the “Confirm and Print” button (Figure 8).
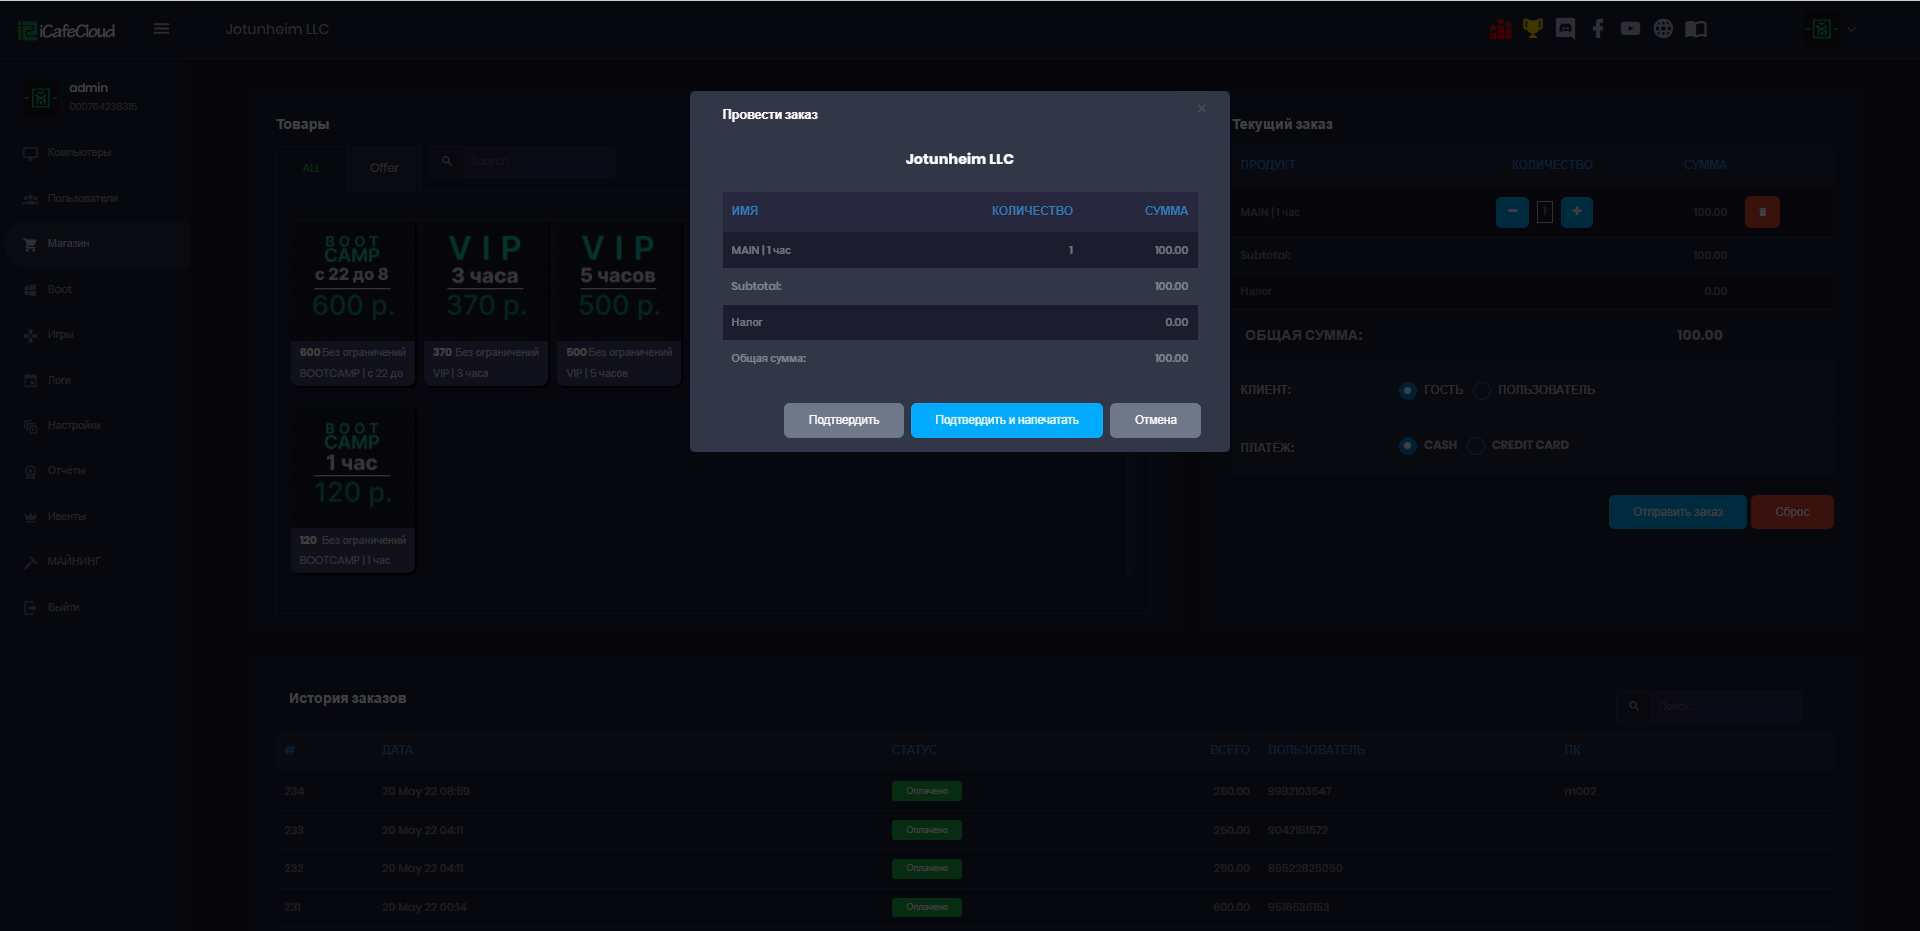
Figure 8
- You will see a “Info” modal, click “OK” to send a print command (Figure 9).
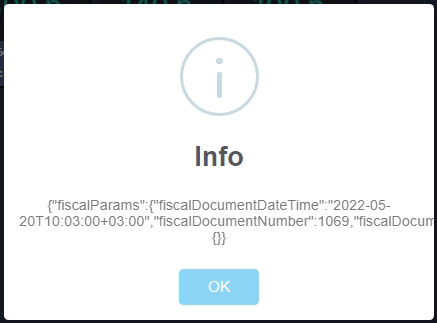
Figure 9
- The printer will print a print for the invoice/check (Figure 10).
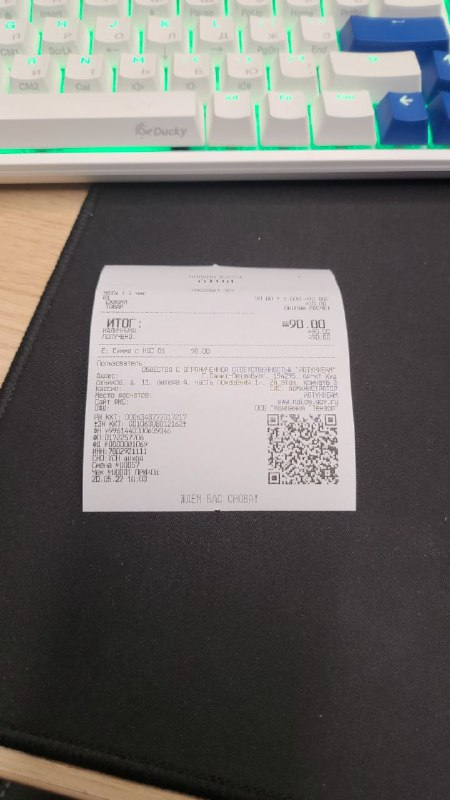
Figure 10
Notes:
- You may need to configure your KKT to use an ATOL printer (Figure 11).
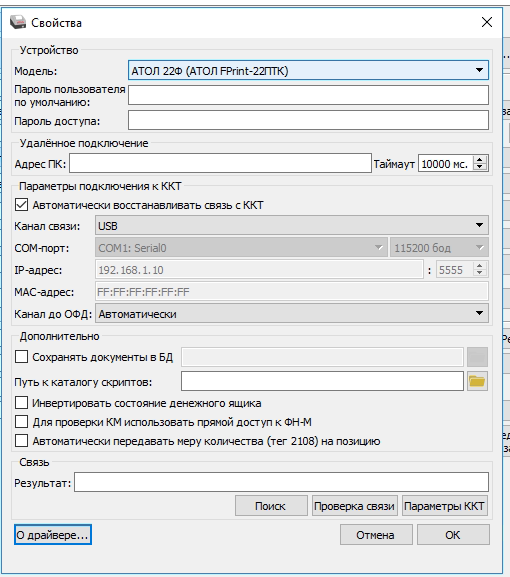
Figure 11