2025-09-28
protection, settings, blocked, program
The following explains how to configure the Blocked Programs feature in the Protection Settings so certain applications cannot run on your system.
- Blocking rules are not enforced immediately after creation. Windows applies them after a delay, and the timing can vary randomly
- Navigate to Settings → Protection Settings. On that page, locate and click Blocked Programs.(Figure 1)
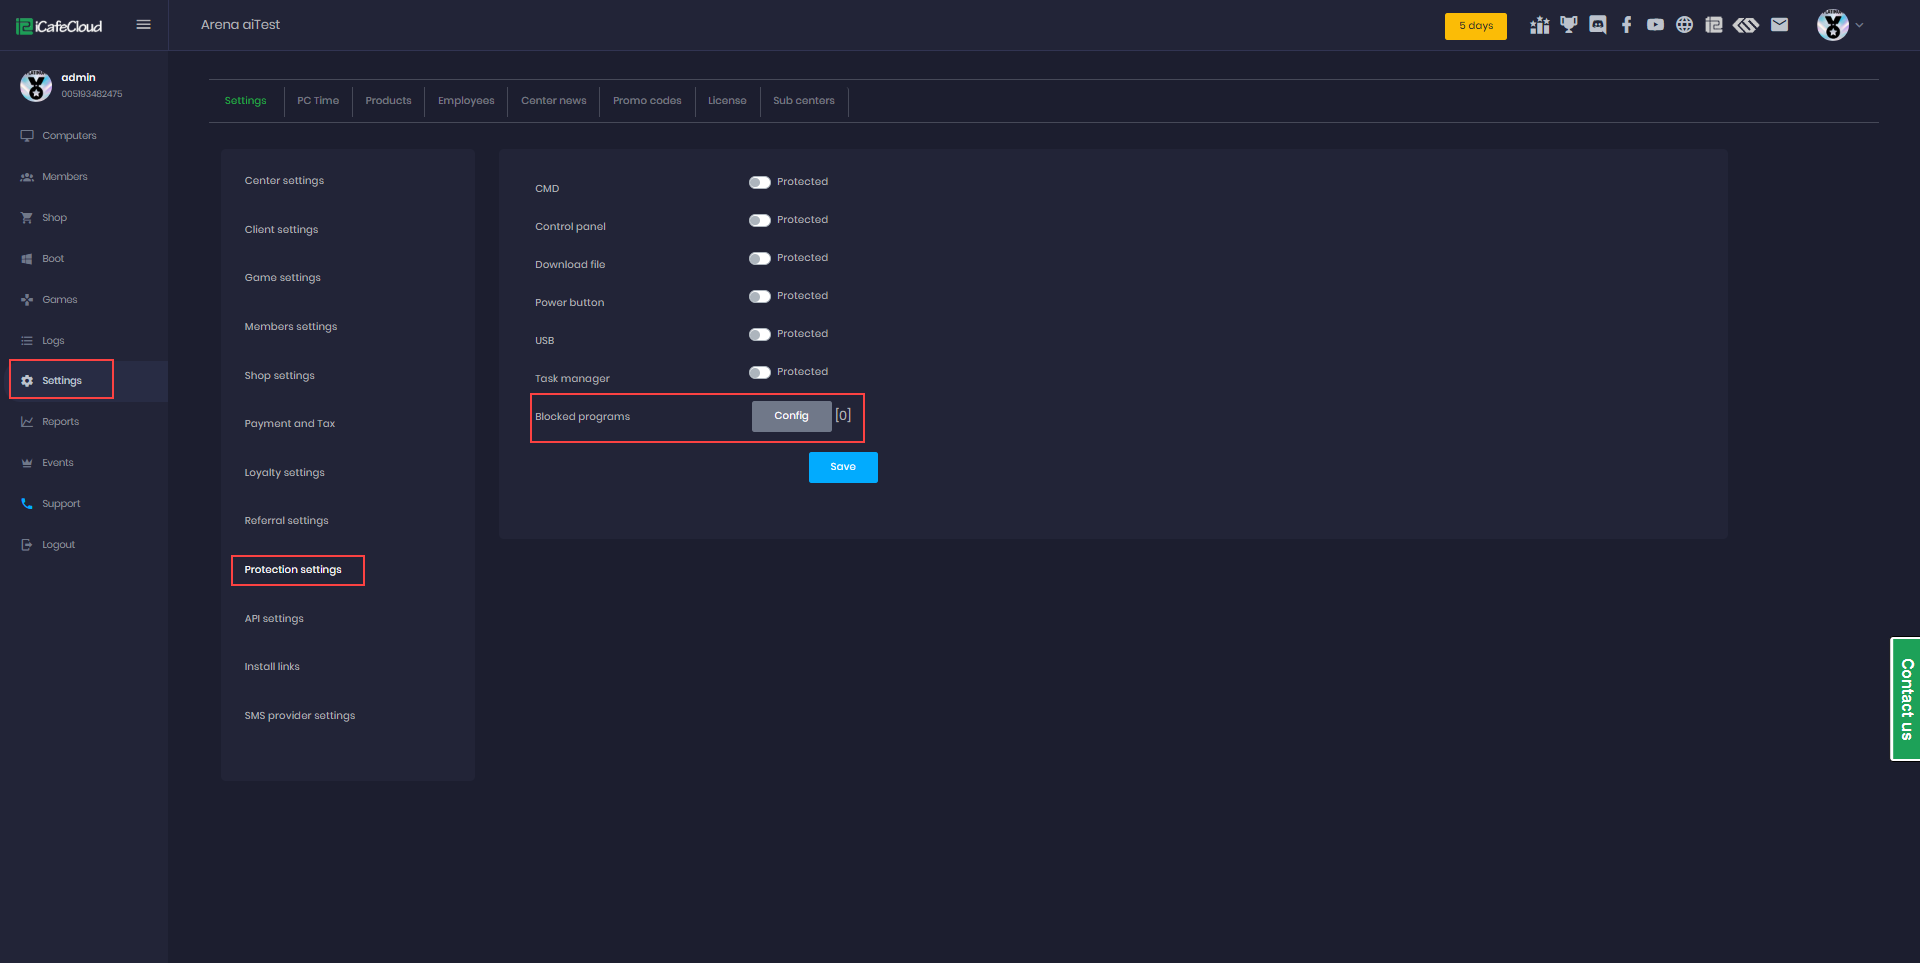
Figure 1
- Click the Config button.This opens the configuration window ( Figure 2)

Figure 2
- Add a program by filling in the Name and Hash (SHA-256) fields manually.
- The hash must start with the prefix 0x.
Example:0xFBC838B56711F3F06B12710DA86423181E9BC444FA823951347C3827C3BBA5D - To compute the hash, run this PowerShell command (replace the path with your program’s path):
powershell /c "(Get-AppLockerFileInformation -Path 'D:\Program Files\BaiduNetdisk\BaiduNetdisk.exe').Hash.HashDataString" - Only PowerShell’s Get-AppLockerFileInformation method is supported for valid hashes other tools may produce incompatible formats.
- (Alternative) Click the Browse button.Select the executable file from your computer.(Figure 3)
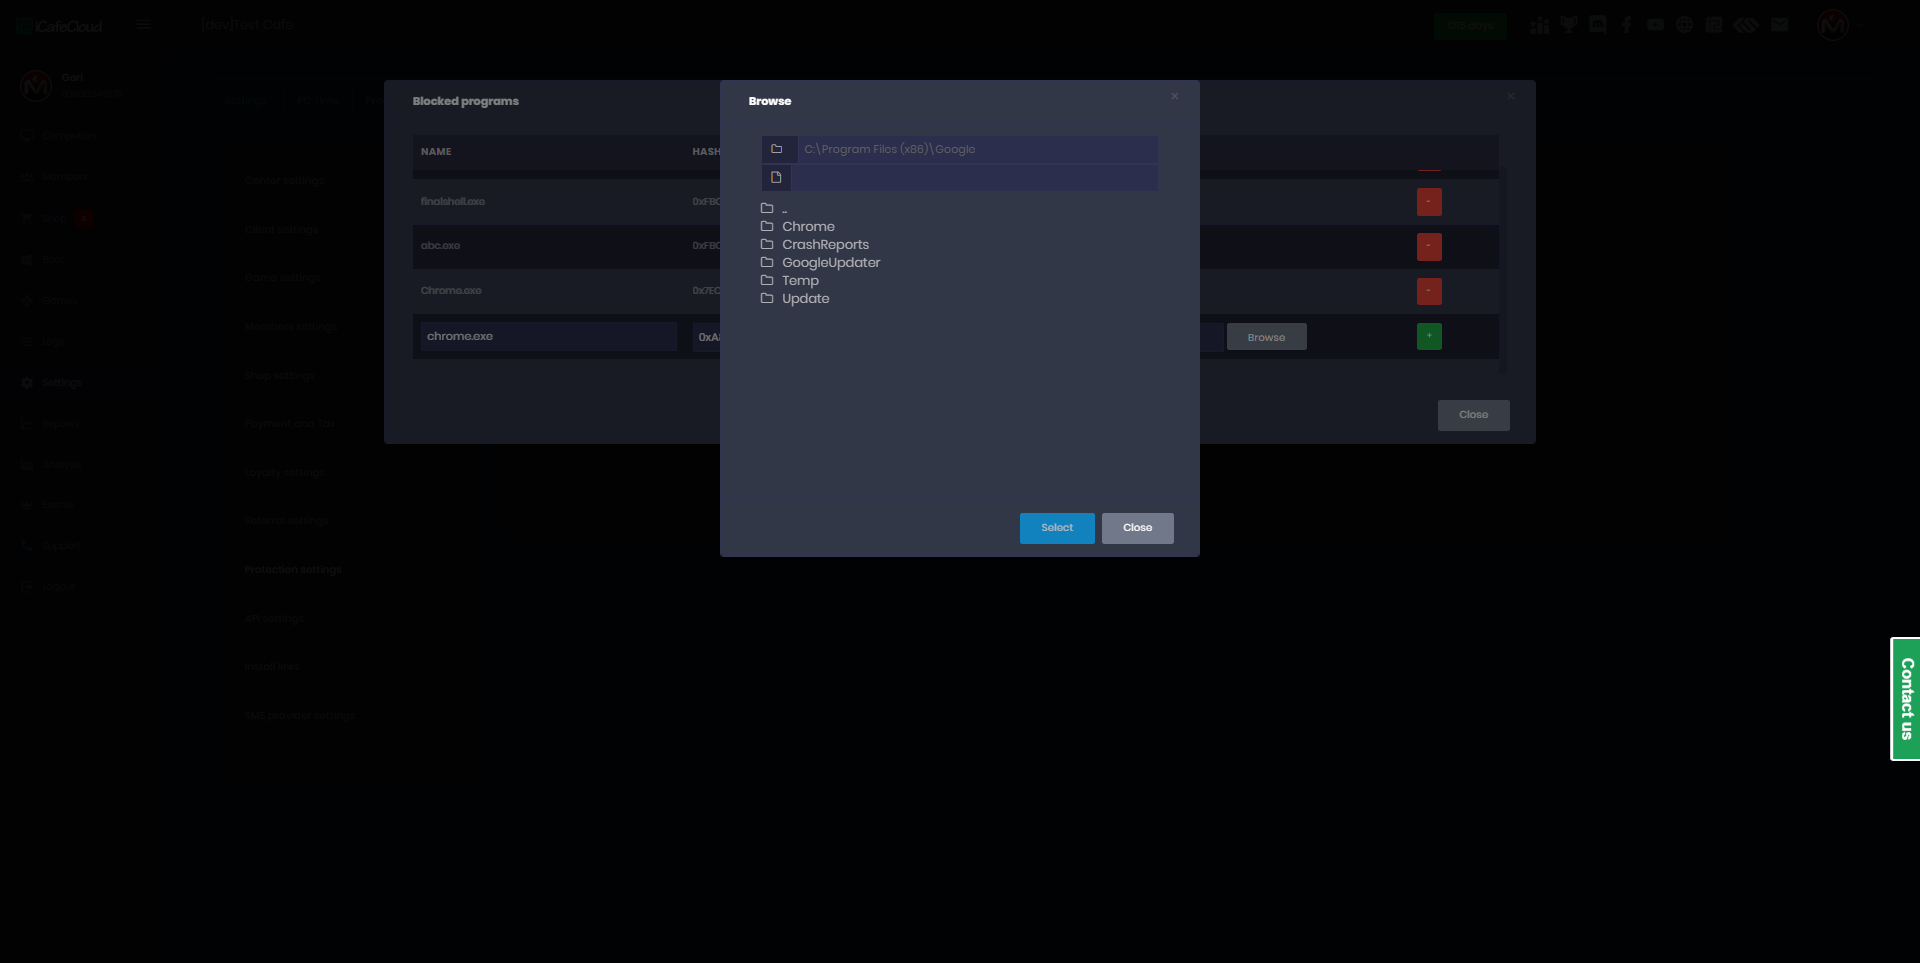
Figure 3
- The system will auto-populate the Name and Hash fields (Figure 4).
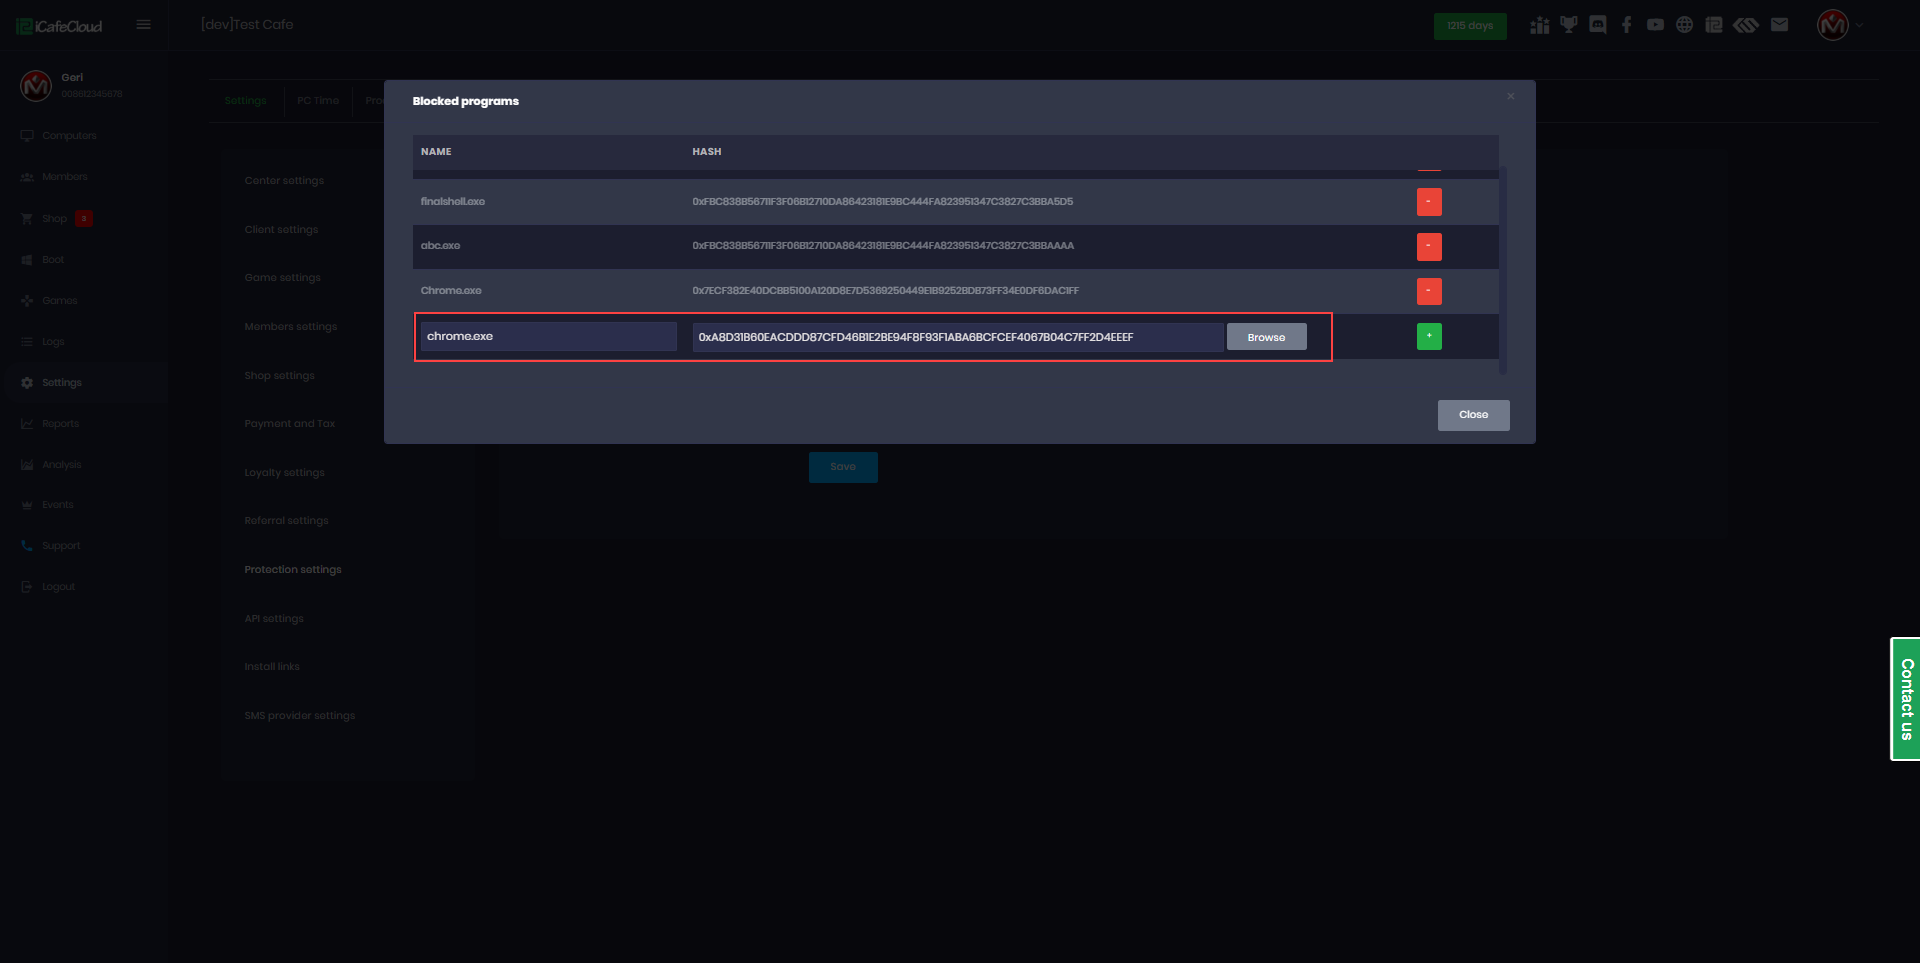
Figure 4
- To add this entry, click the green + button.To remove an entry, click the red – button.
- You can manage multiple entries in the list. But each program must have a unique name / hash.
- If the Application Identity service is not running, the blocking rules will not take effect.
- Close the configuration window, then click Save to confirm your changes.
- Open Windows Services:
- Press Win + R, type services.msc, press Enter.
Find Application Identity in the list.
If its status is not “Running”:
Right-click → Start
Right-click → Properties → set Startup type to Automatic (Figure 5).
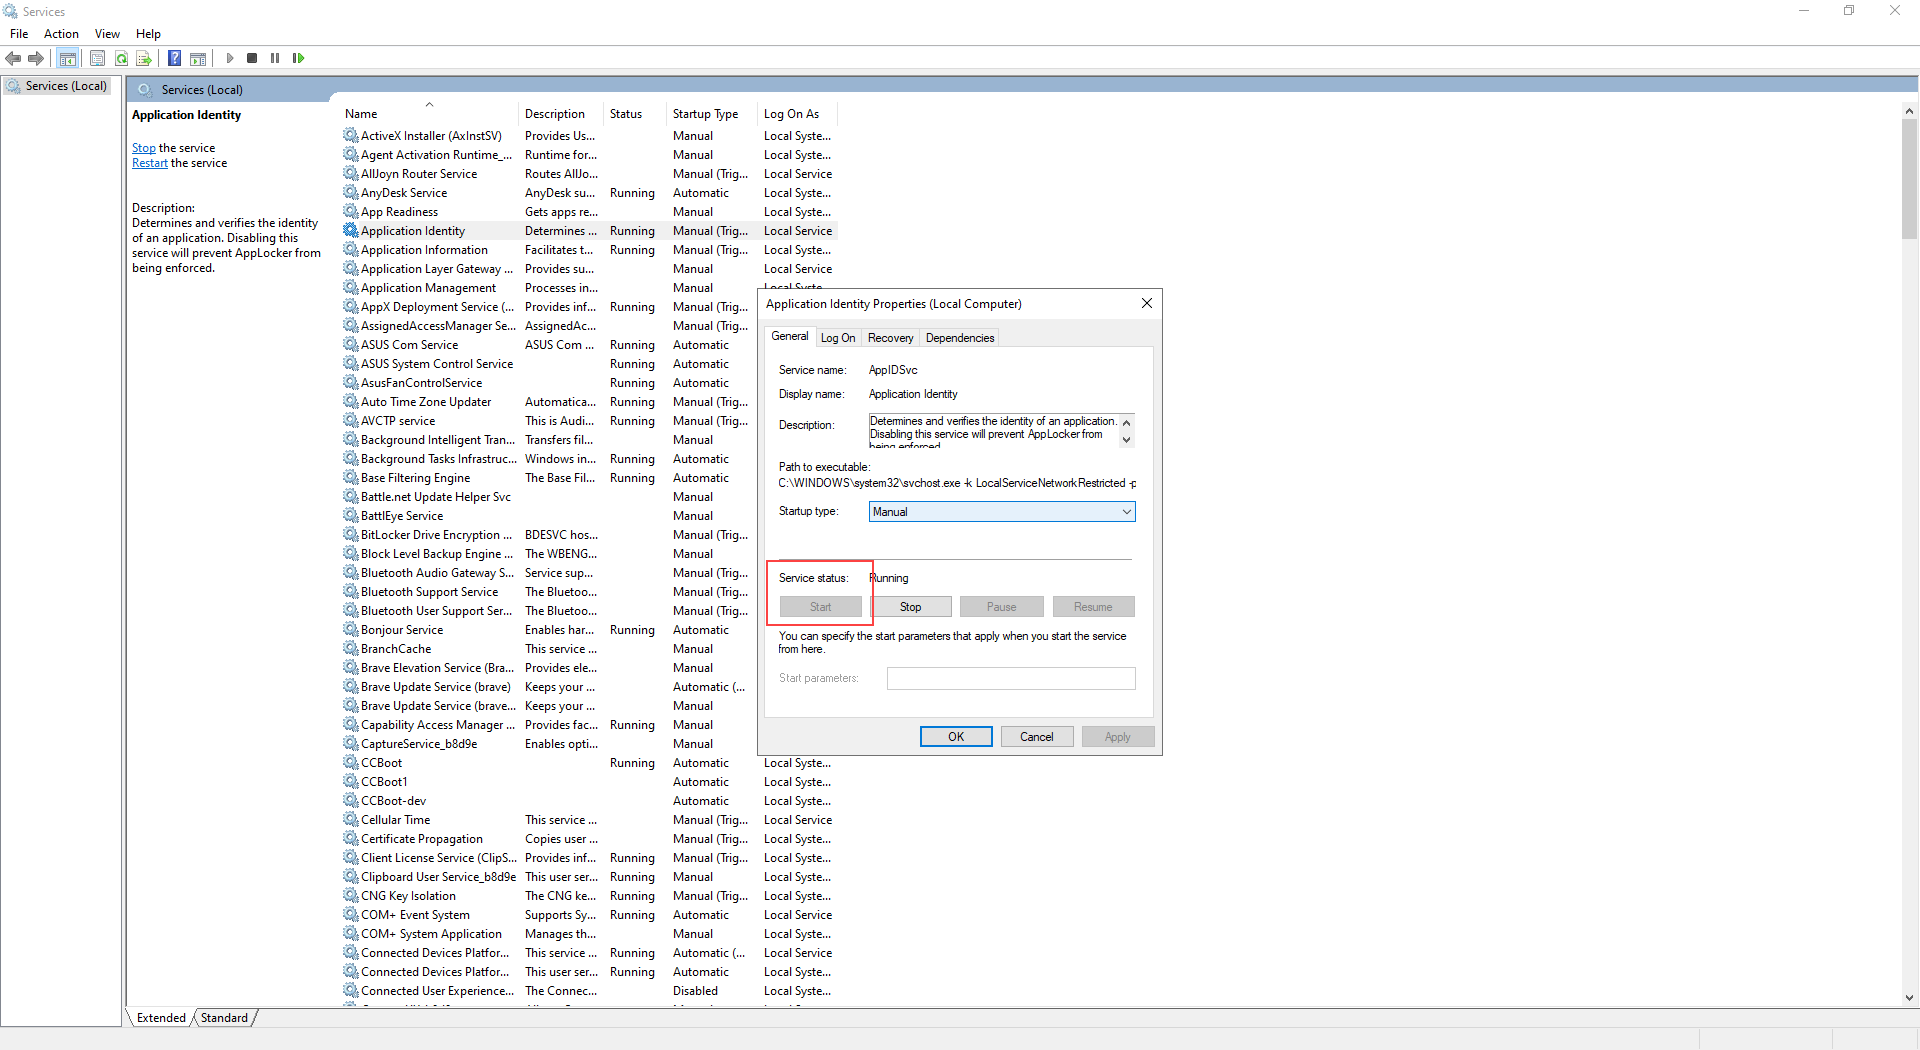
Figure 5
- The programs will be blocked on client side if you try to run any of them will show up an windows notification “This app has been blocked by your system administrator” (Figure 6)
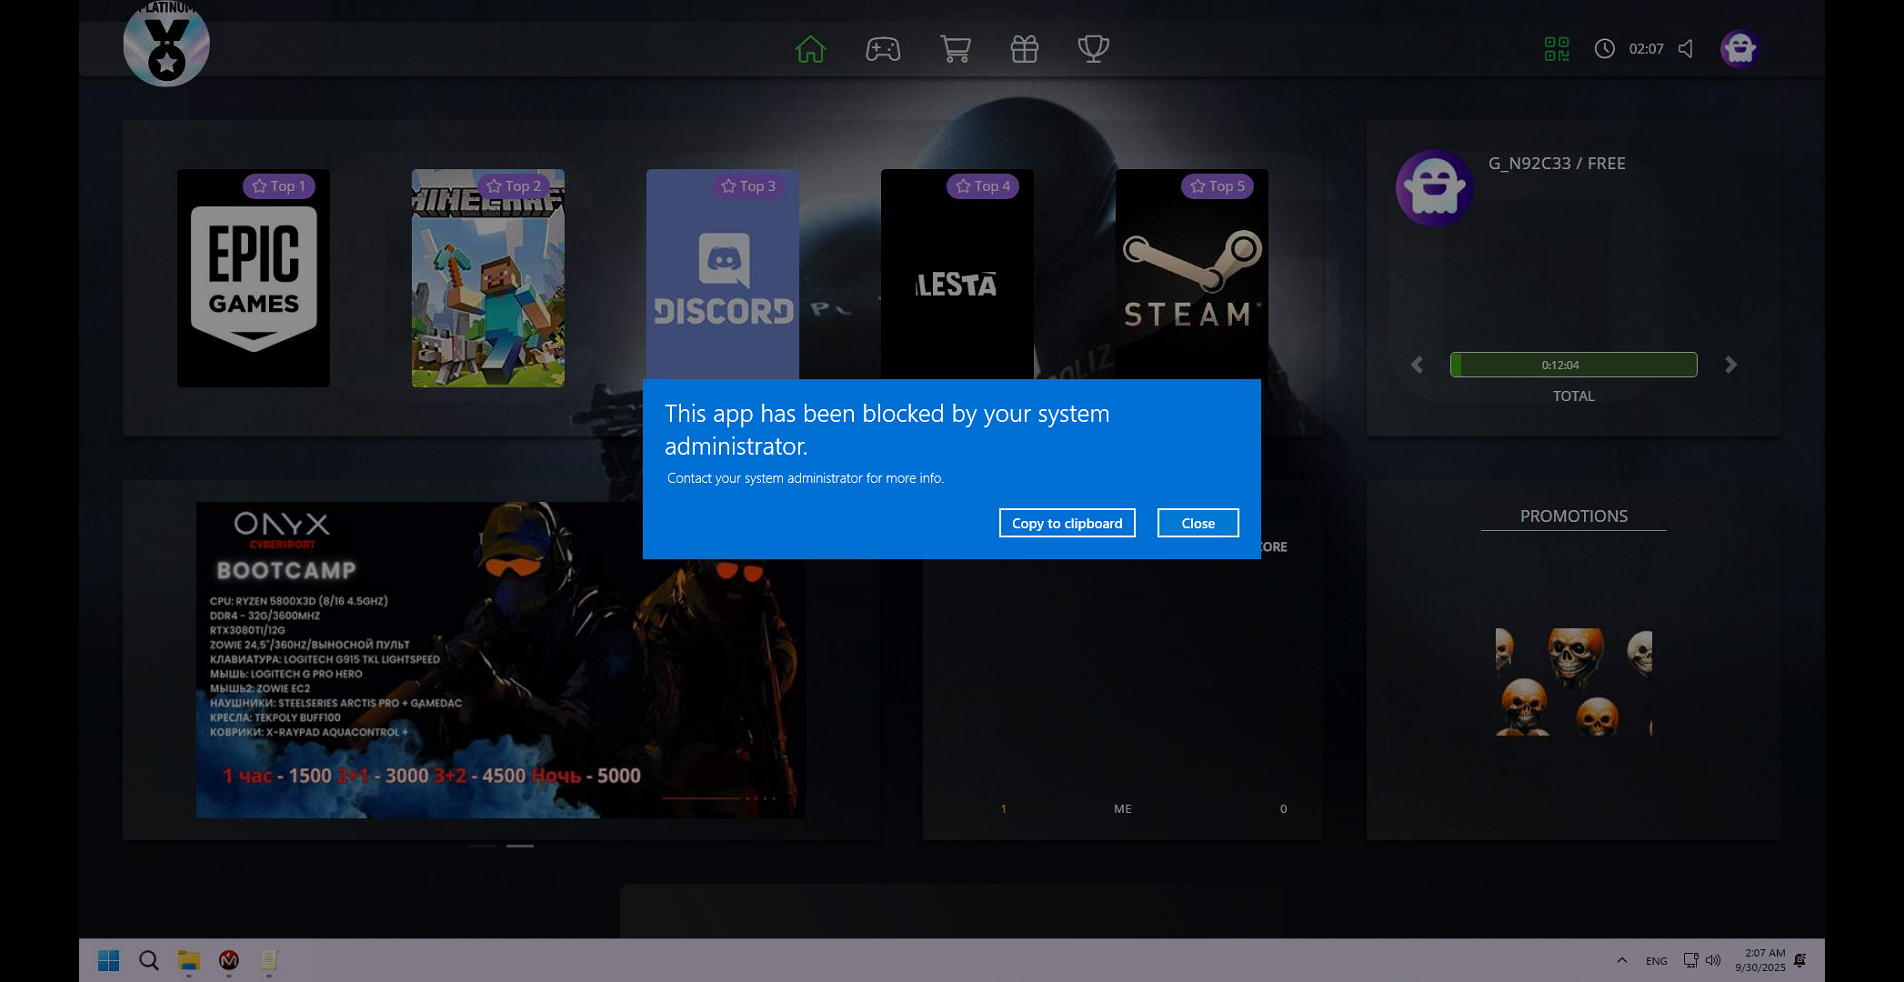
Figure 6